With the news today that Iran has sent a monkey into space, it seems appropriate to post these pictures of the less than luxury accommodation occupied by chimpanzee Ham in an earlier era of space exploration.
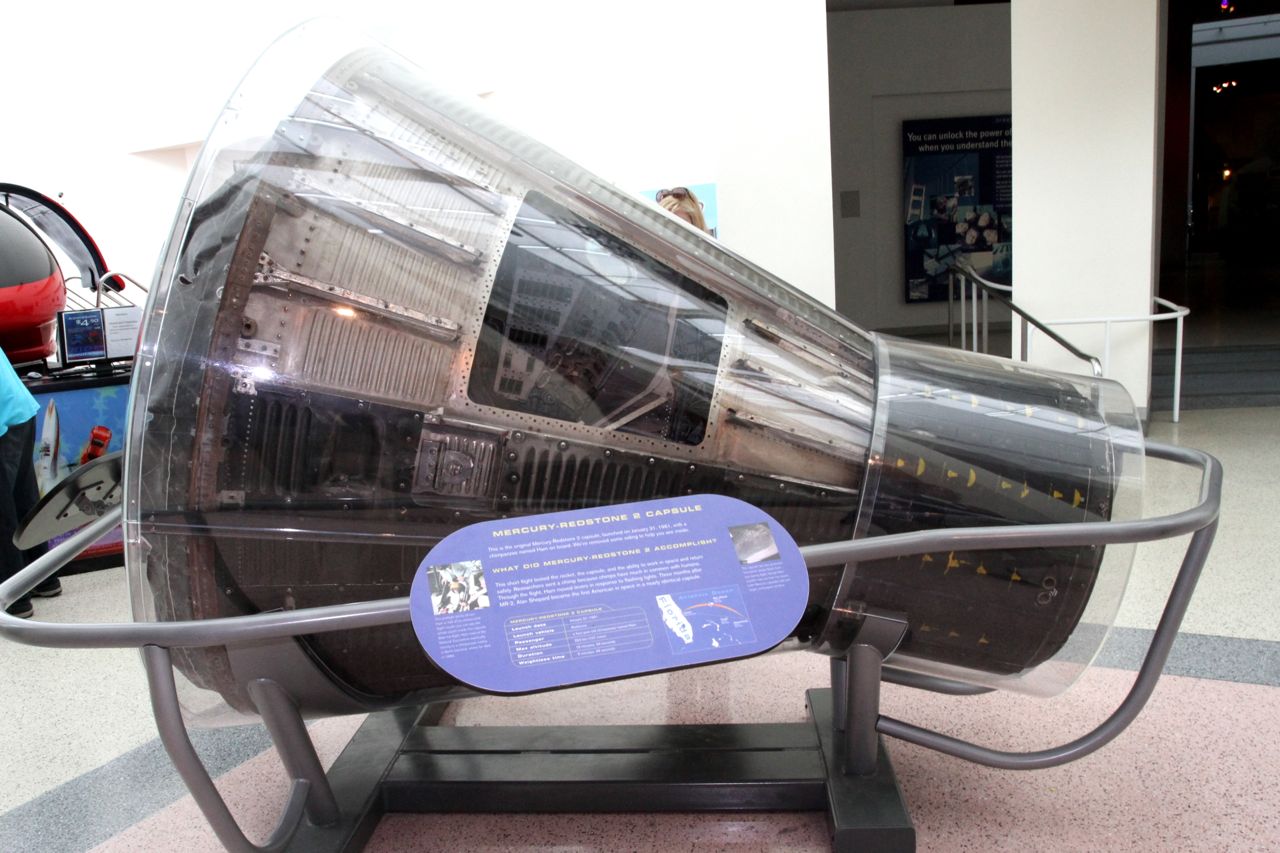
Mercury-Redstone 2 Capsule (Photo: Tim Jones. Taken at California Science Center)
I checked out the Mercury-Redstone 2 capsule on display at the California Science Center while waiting to view the Space Shuttle last week.
Mercury-Redstone 2 Capsule (Photo: Tim Jones. Taken at California Science Center)
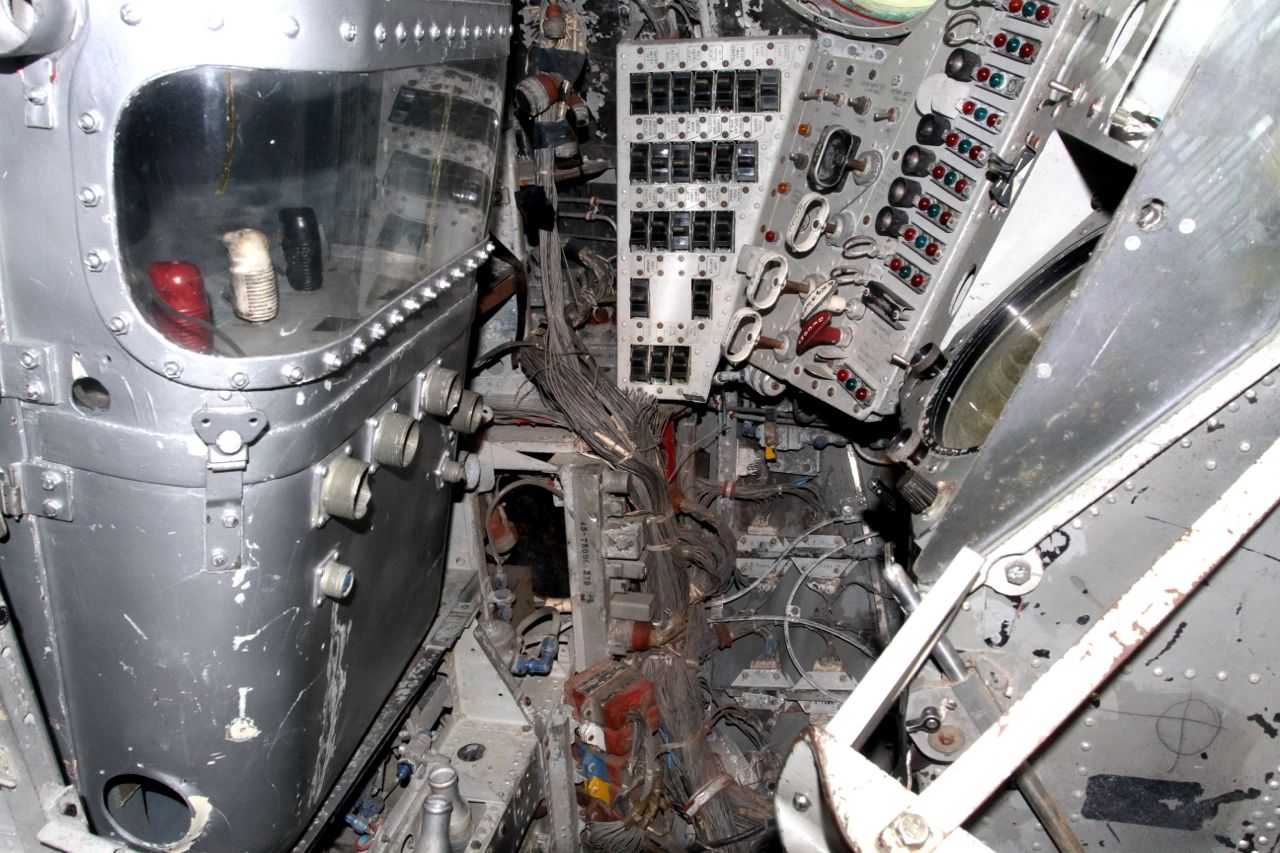
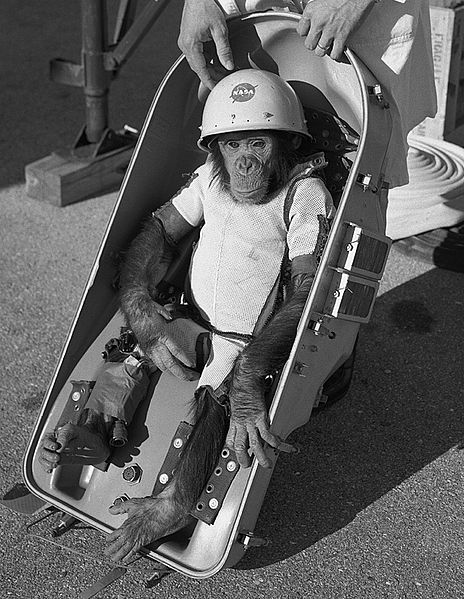
Four year old Ham, who was an ape rather than a monkey, launched into space on 31st January 1961. He proved that beings similar to humans could survive and perform functions in space: to which end Ham was given a series of levers to pull on command (red, white, and black above).
Ham on his way (Photo:NASA)
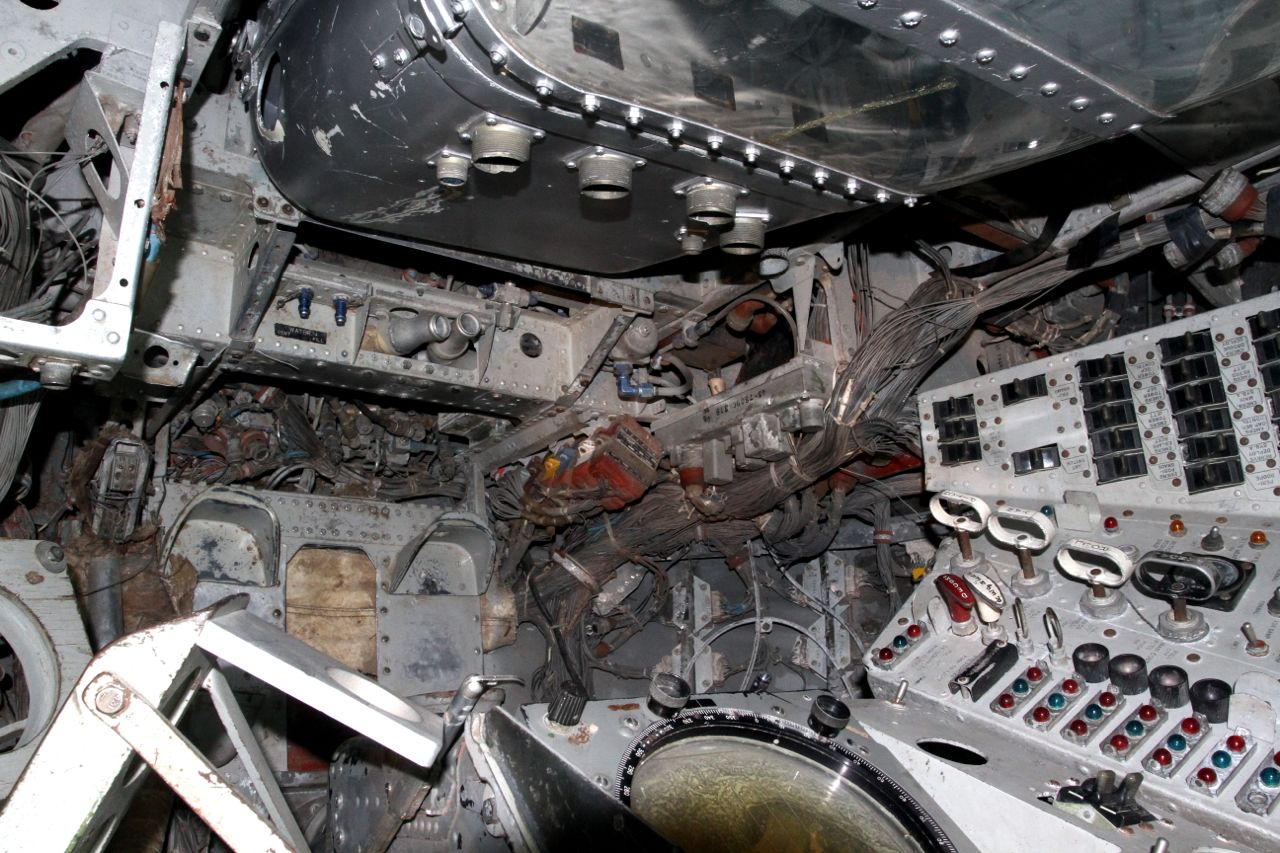
It’s quite a mess in there:
Mercury-Redstone 2 Capsule (Photo: Tim Jones. Taken at California Science Center)
Amazingly, the capsule Alan Shepard piloted to orbit three months later didn’t look that much different.
Ham beats the Iranian monkey on altitude, reaching 157 miles against the Iranian’s 75 miles – not that either would be aware of how high they were. The BBC report suggests the Iranian’s were testing the acceleration and deceleration of the rocket – although there’s the inevitiable ambiguity over why they’d want to do that, and the implications for weapons testing [monkey survives = warhead survives ?].
In related news, the U.S. National Institutes of Health announced this month they’d be stopping the use of chimpanzees for medical research; although I’m not sure where that leaves potential future space chimps.
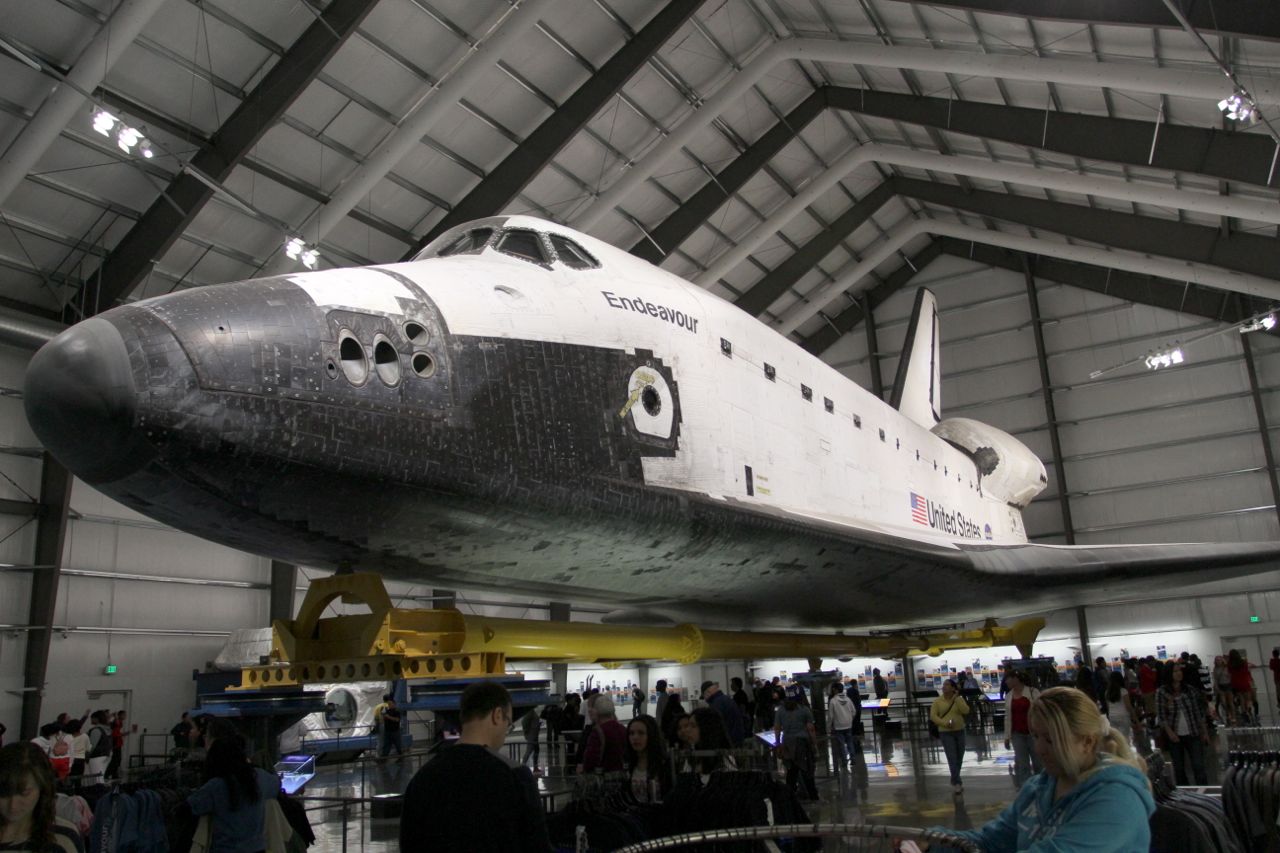
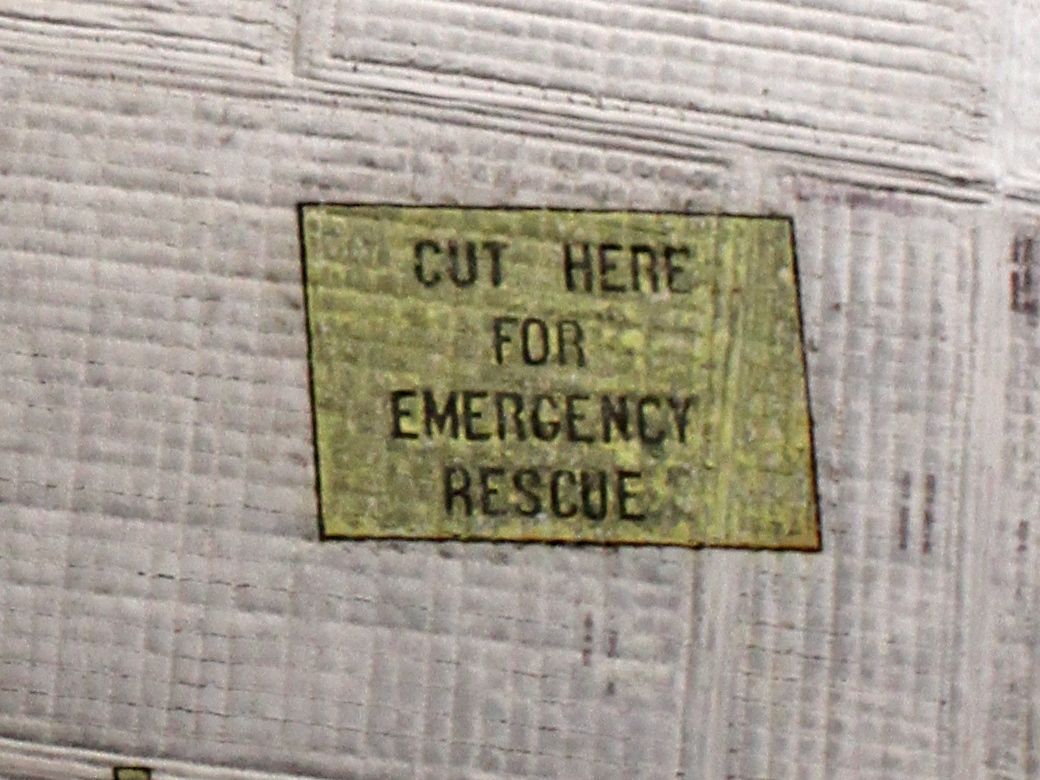
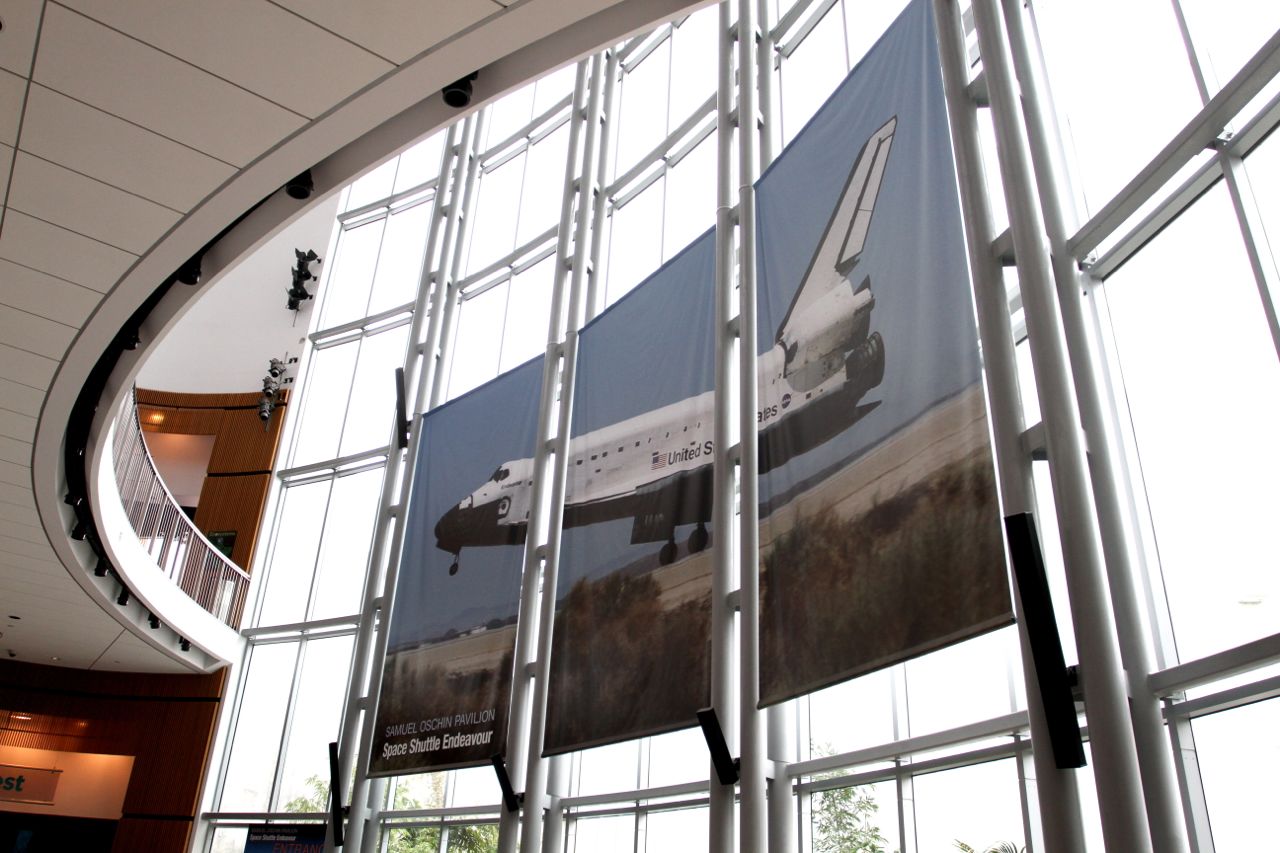
Space Transportation System STS-47 (Endeavour Space Shuttle) at the California Science Center.
Evocative Endeavour
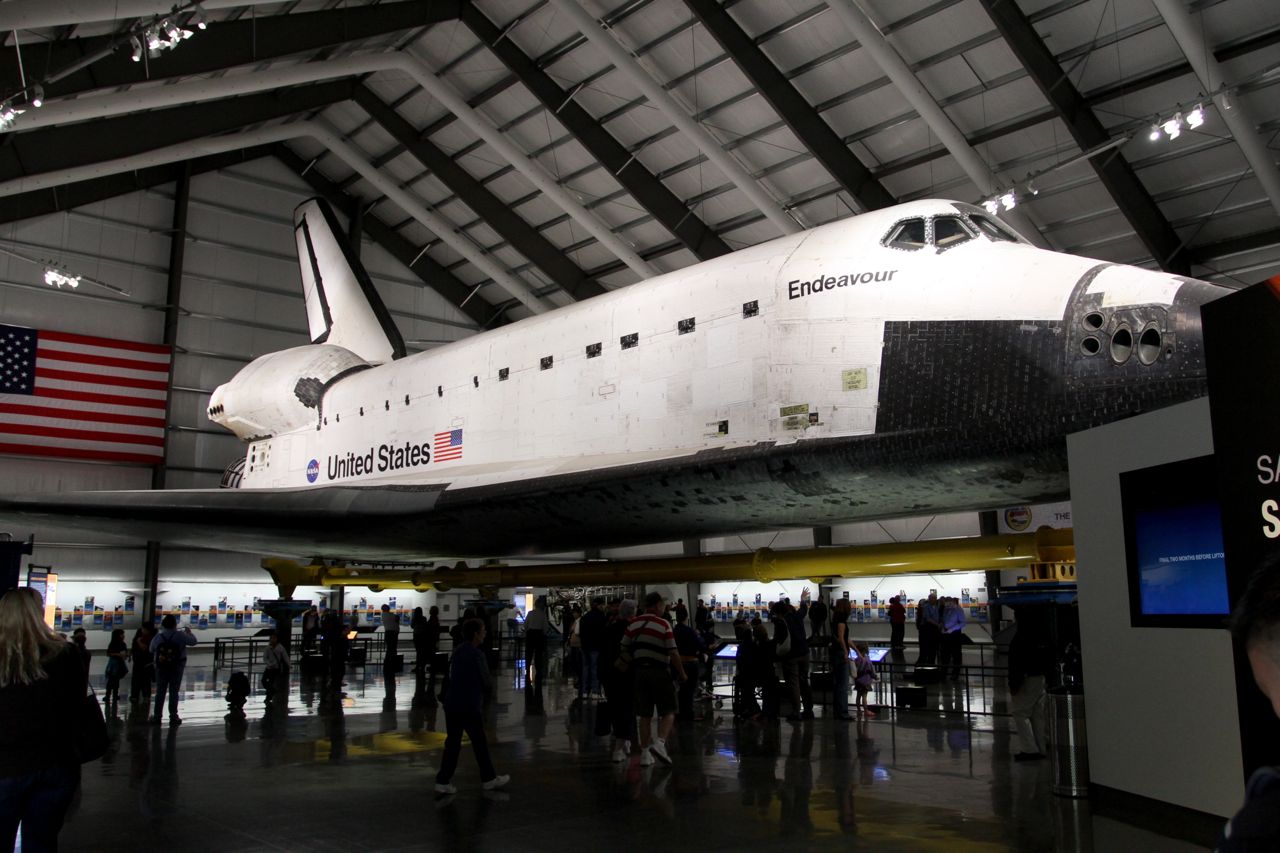
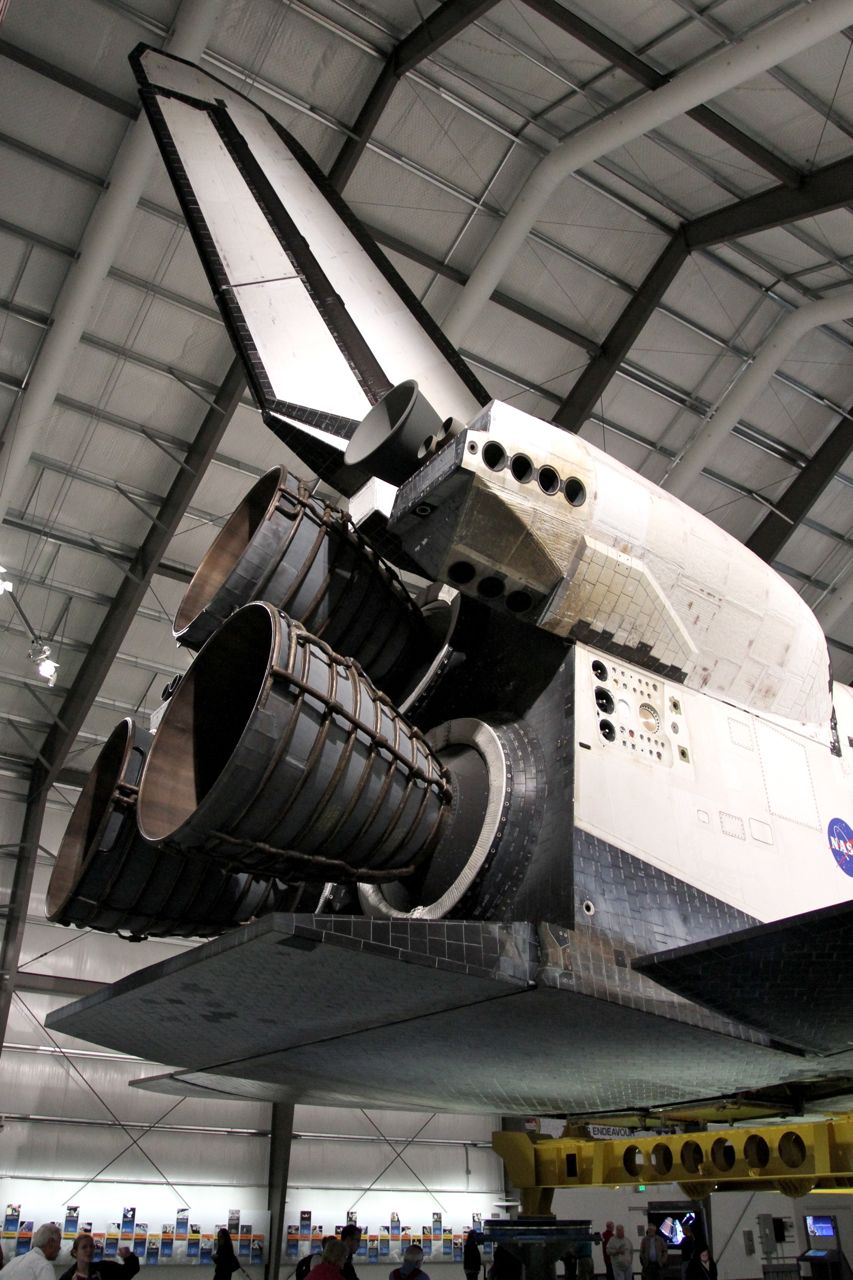
I did kind of wish for a second or two today, staring up at the big, black, underbelly of Space Shuttle Endeavour – boxed away at the California Science Center in Los Angeles – that I’d made more of an effort to see she or her sisters performing live.
Am I getting all mushy and romantic about a spacecraft now? Well, maybe just a bit. My wife Erin said she felt unexpectedly moved after our visit. I’d set myself to appreciative-engineer-mode before I went in, but still felt like I was standing on the rim of the Grand Canyon for the first time; you’ve seen all the postcards and videos, and can’t imagine the real deal adding anything new – but it does. That’s twice I’ve been emotionally sucked in by an iconic cliché. Shocking.
Space Shuttle Endeavour at the California Science Center.
Objects are evocative. At one point I found myself back in my lab as a research student in Birmingham in 1986, hearing about the Challenger accident. Then I’m back imagining all those tiles, engines, doors, and windows flying apart.
And there on Endeavour is that area of wing leading-edge, damaged on Columbia by falling debris during launch, causing her demise on re-entry in 2003 (more on that in this earlier post).
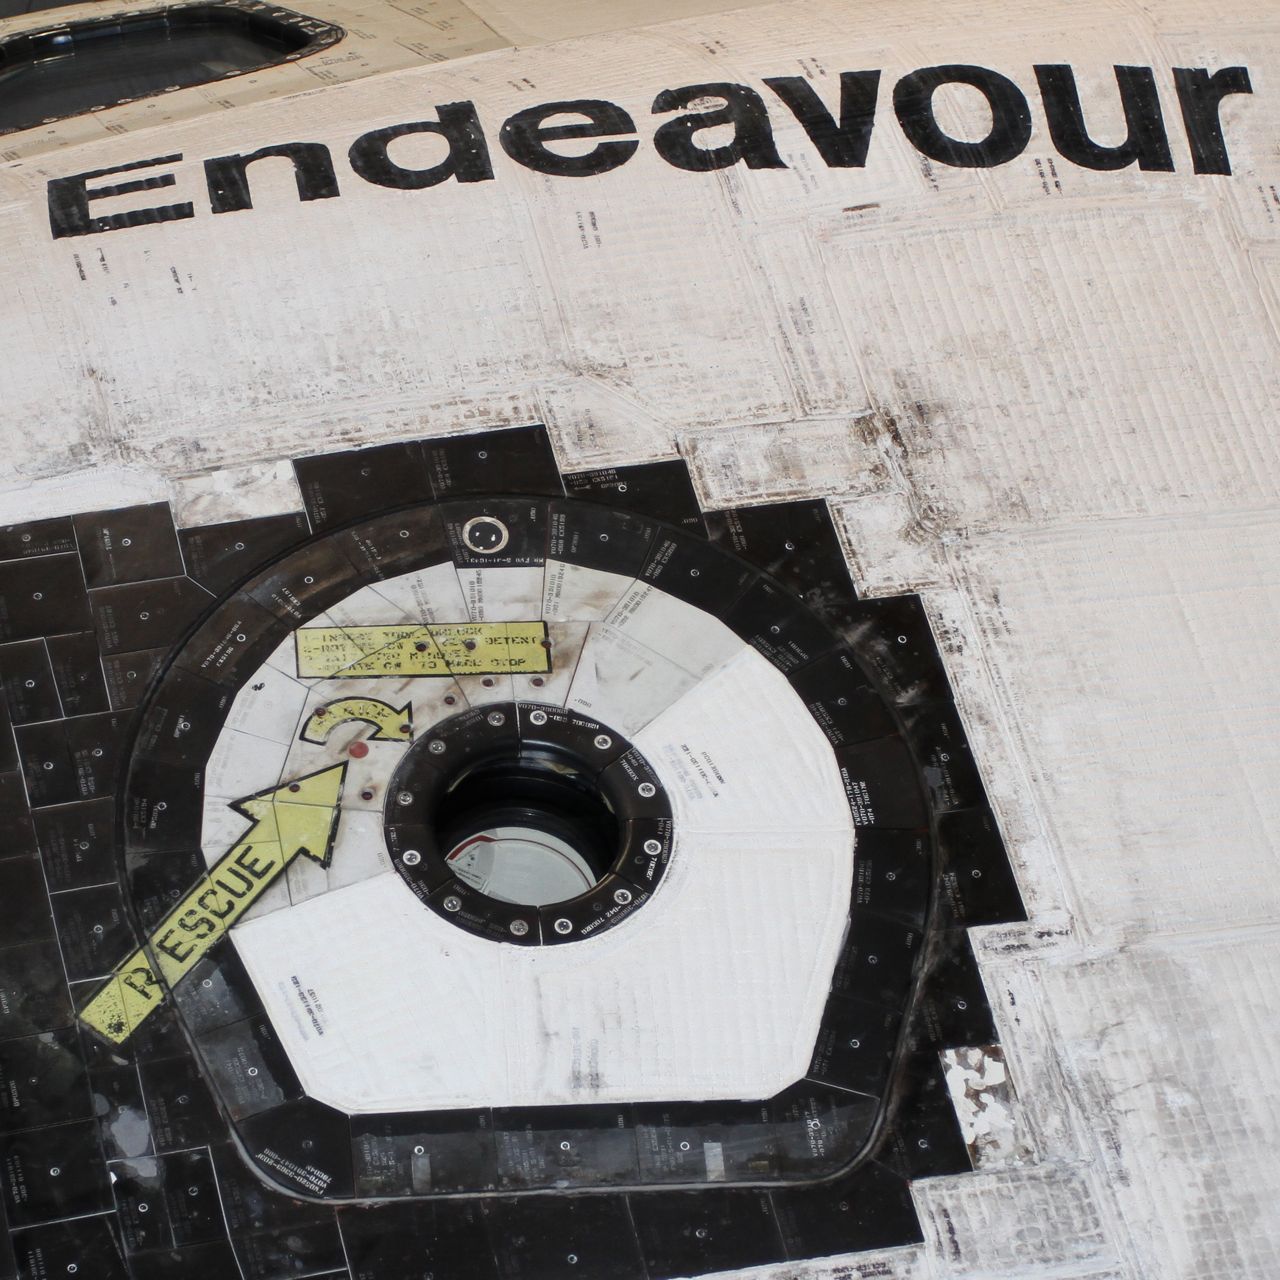
Main HatchSpace Shuttle Endeavour at the California Science Center
First Impressions
There is of course plenty of engineering to appreciate, and science behind it to ponder. But my gut reaction is how big she is, the length of the cargo bay, and how….dirty . It looks like she’s been treated like some science fiction fan might treat an Airfix model of the Millennium Falcon: roughed up, artificially distressed – so it looks like the real thing. Except the distress, evidently manageable, is real.
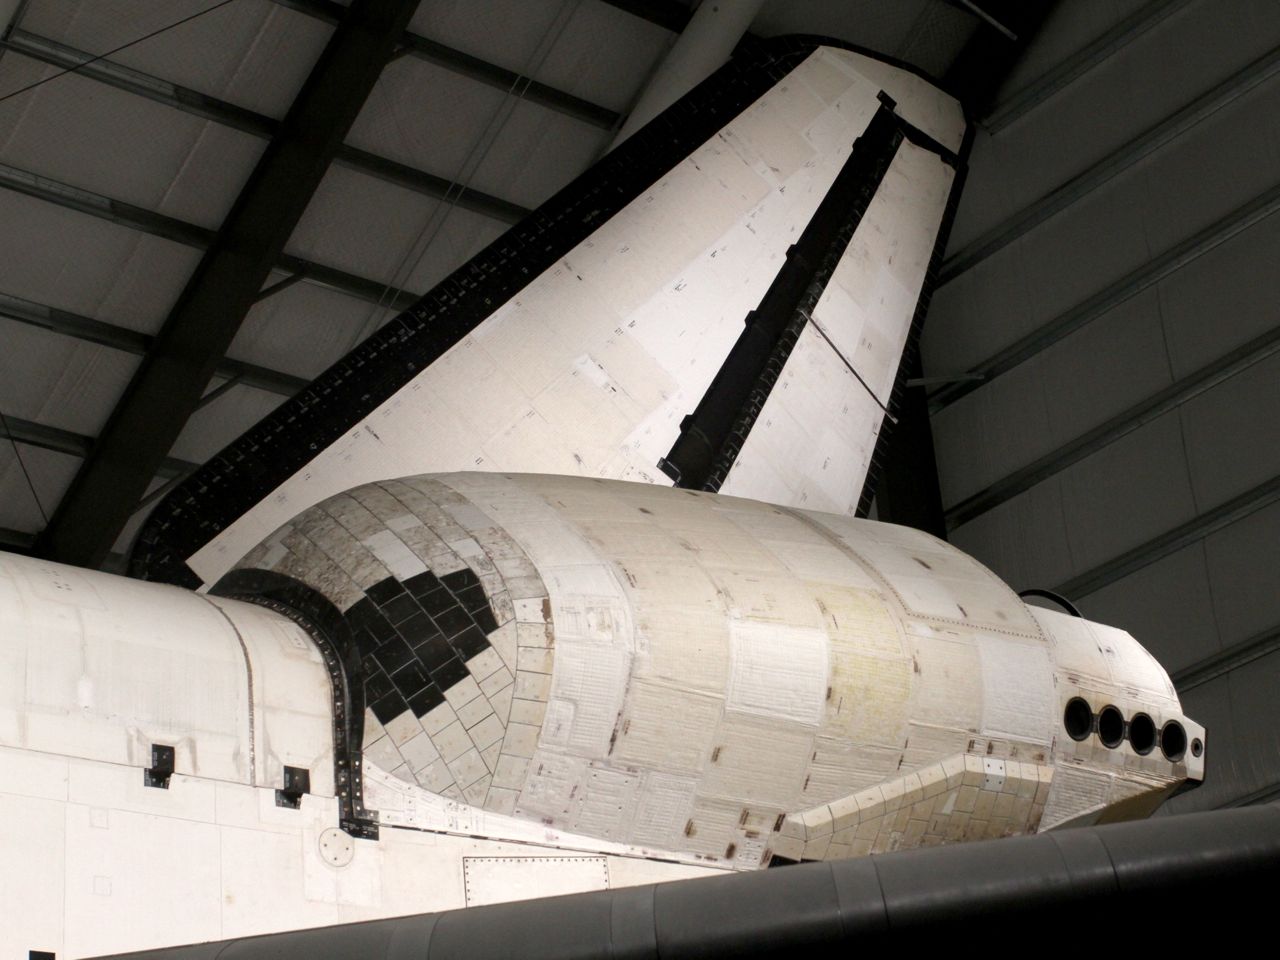
Size perception is odd too. I’ve seen video of the shuttle during ascent (in fact you can see it in Matt Mellis’s movie/iPad App called ‘Ascent’), where the ‘body flap’ – that piece below the engine in the picture below – is vibrating violently; it’s positively oscillating. The flap looks small and flimsy on the film, but it’s a huge construction; the forces must be tremendous.
Space Shuttle Endeavour at the California Science CenterFlap
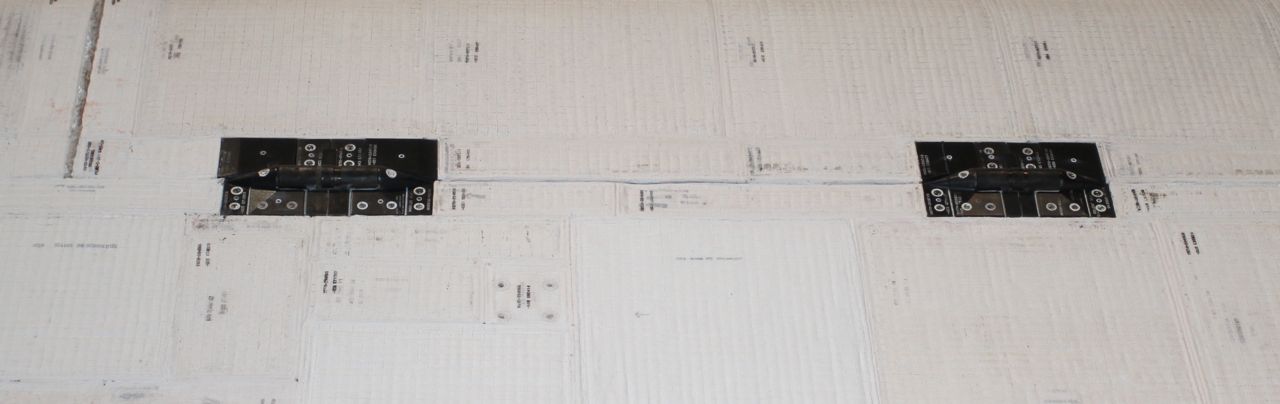
Cargo Door Hinges
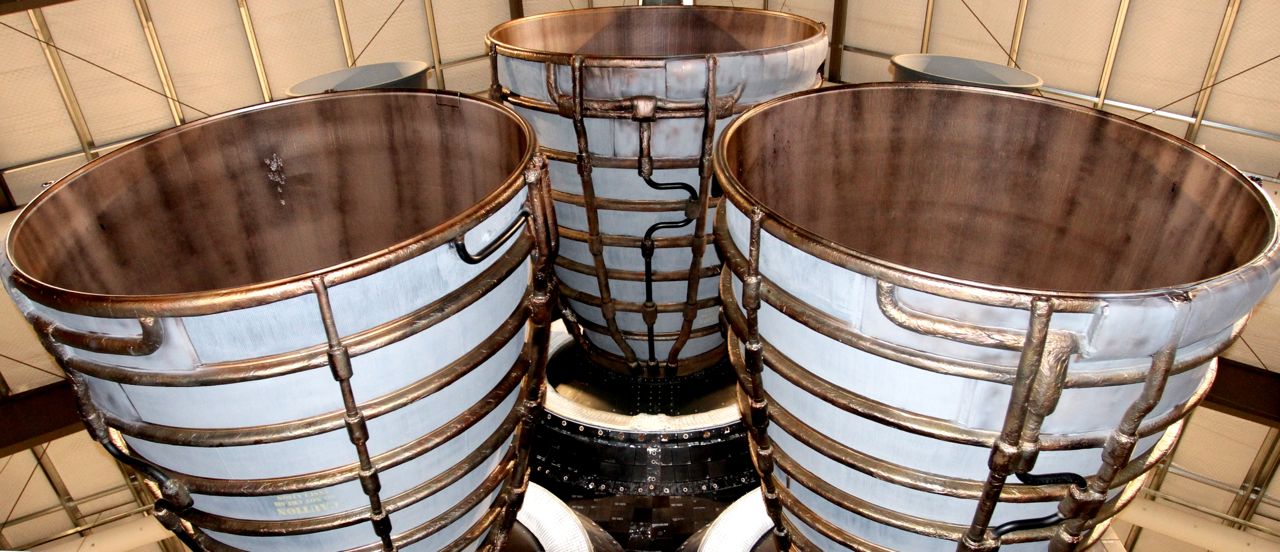
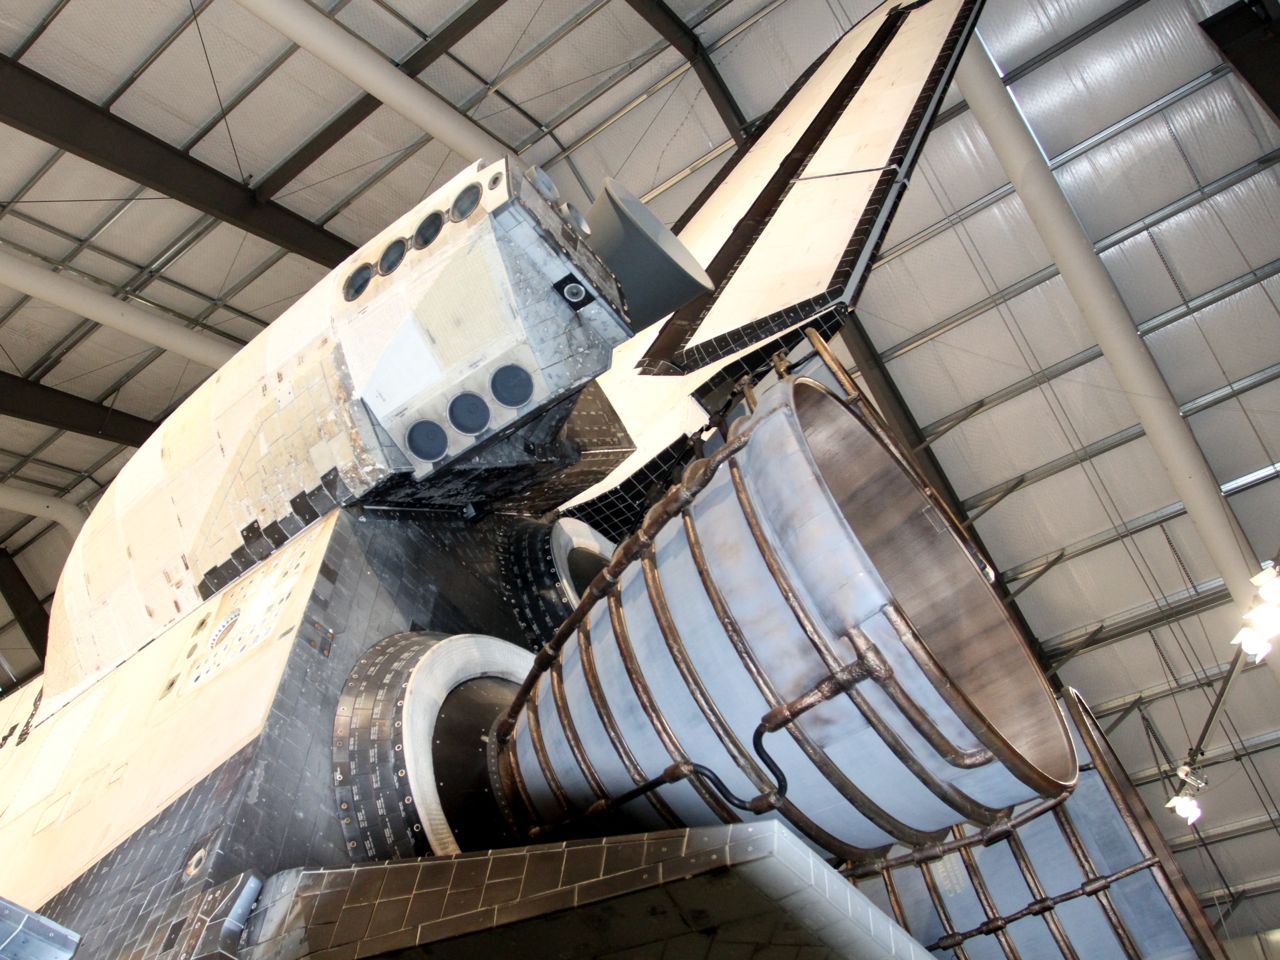
Engines
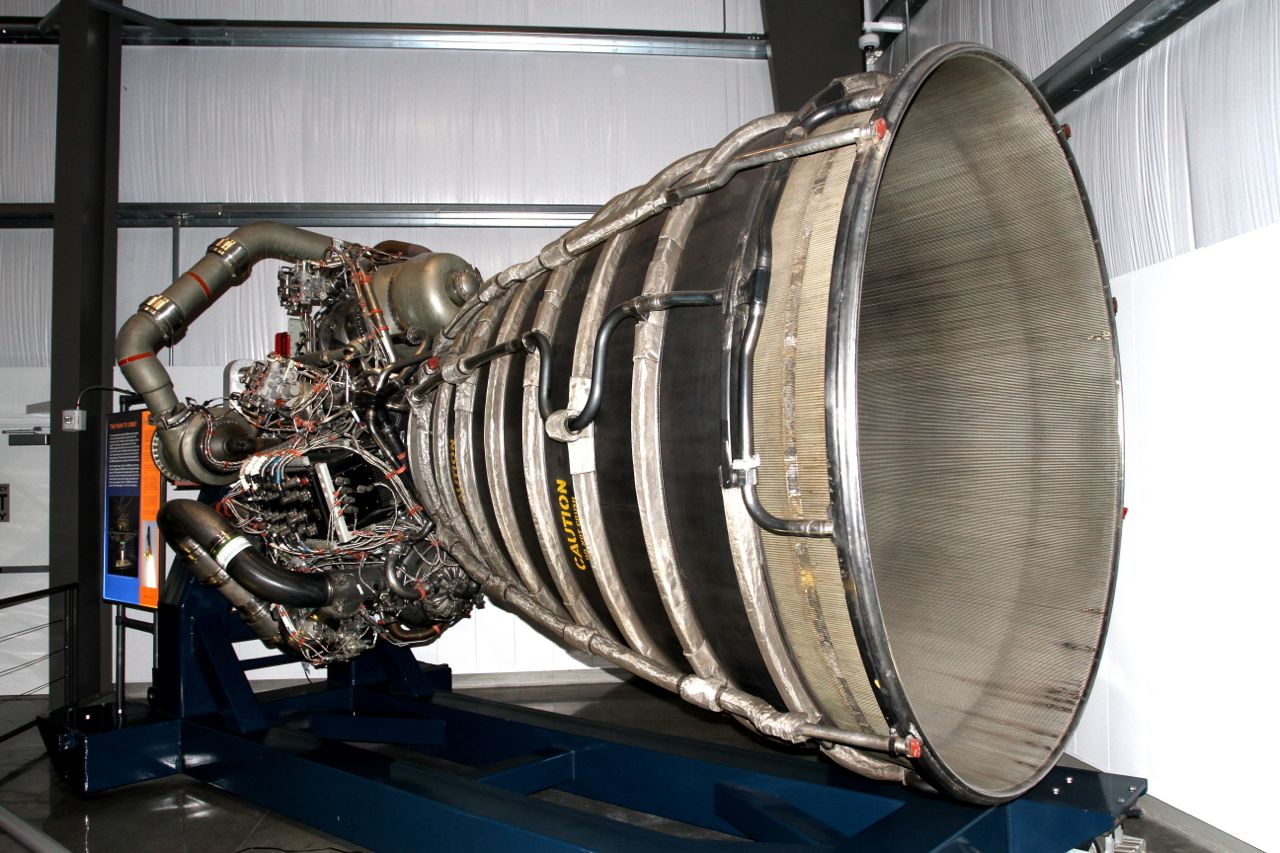
RS-25 Space Shuttle Main Engines (SSME)RS-25 Space Shuttle Main Engines (SSME) and port Orbital Maneuvering System (OMS) podRS-25 Space Shuttle Main Engines (SSME), Gimbal areaGimbal area close-upMain Engine
Thrusters
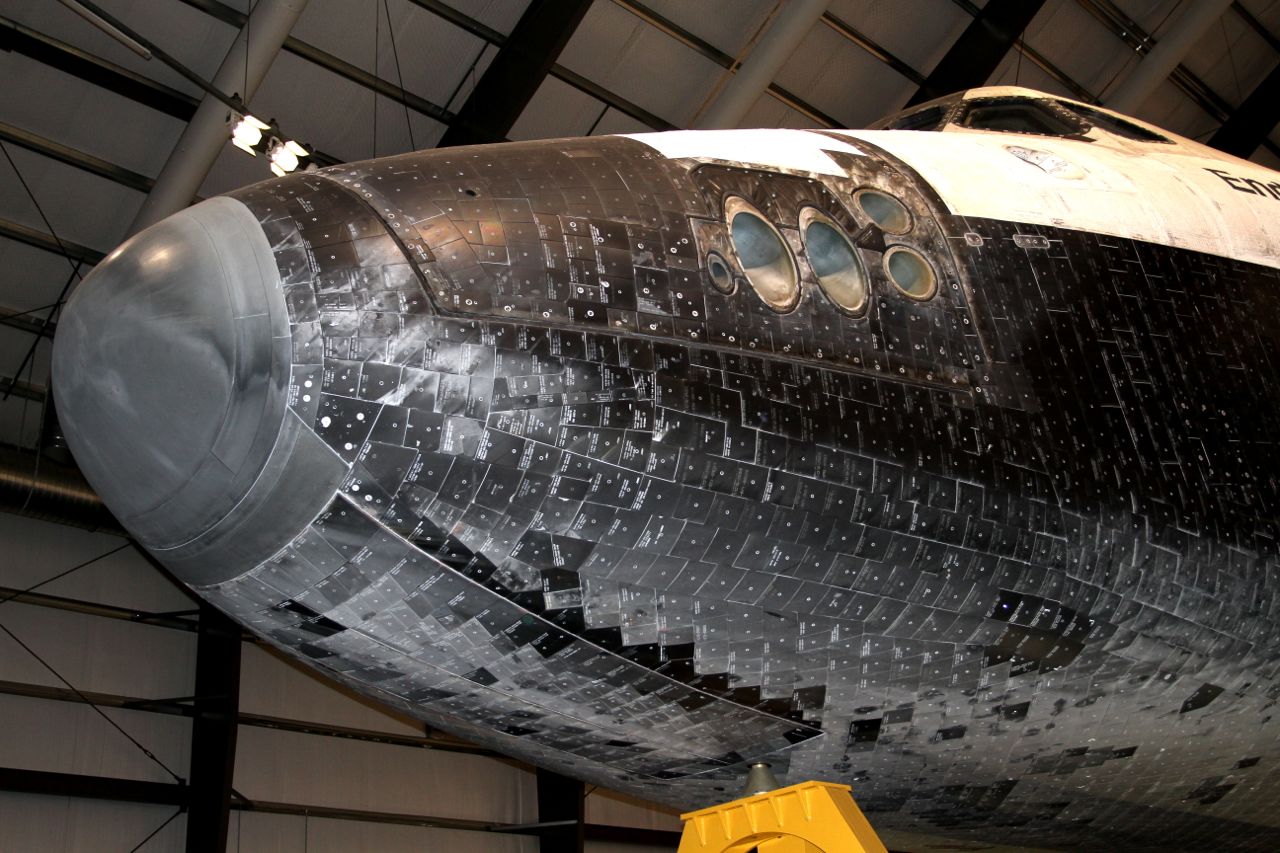
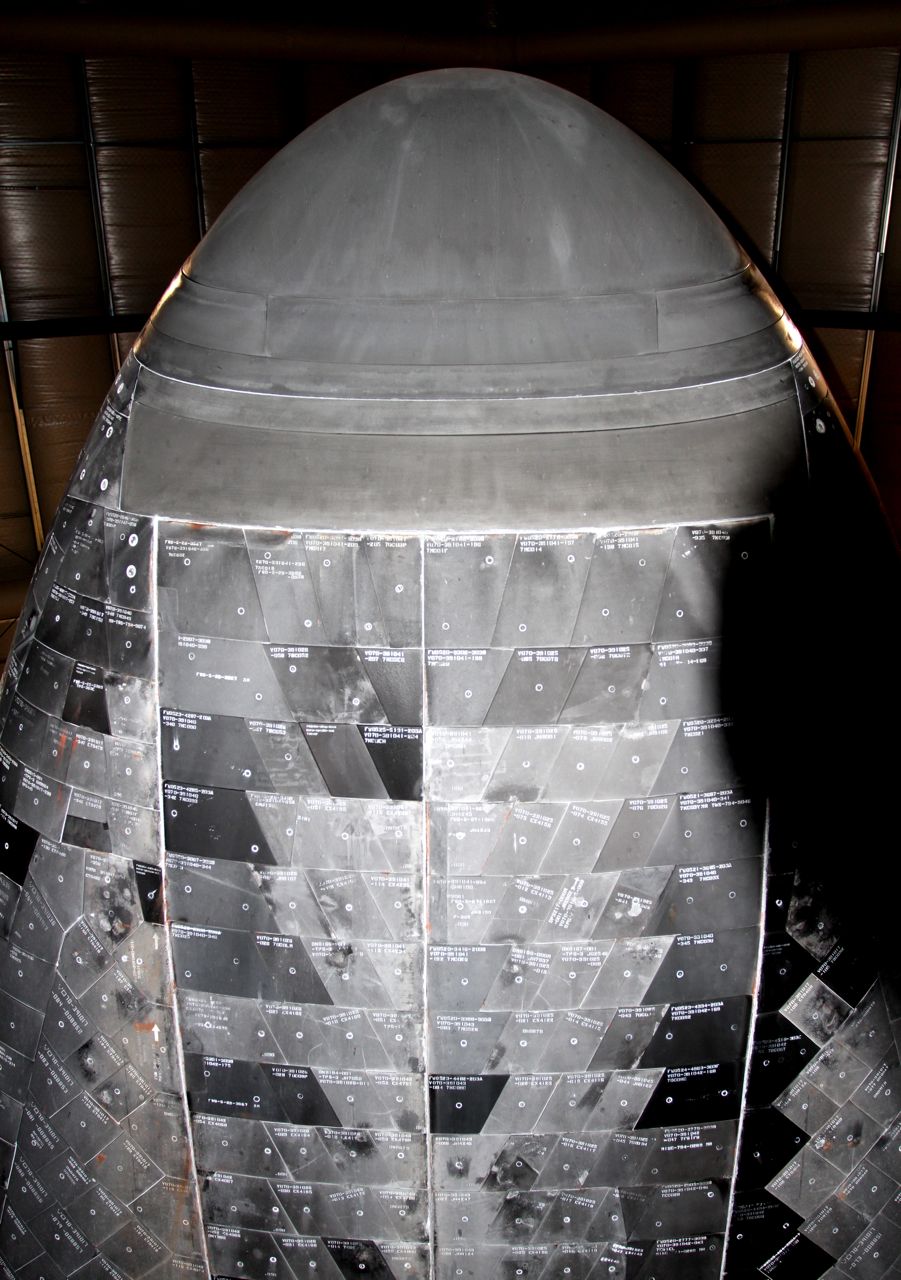
Nose Thrusters (Reaction Control System)Nose Thrusters Close-upOrbital Maneuvering System (OMS) Pods with thrusters
Tiles
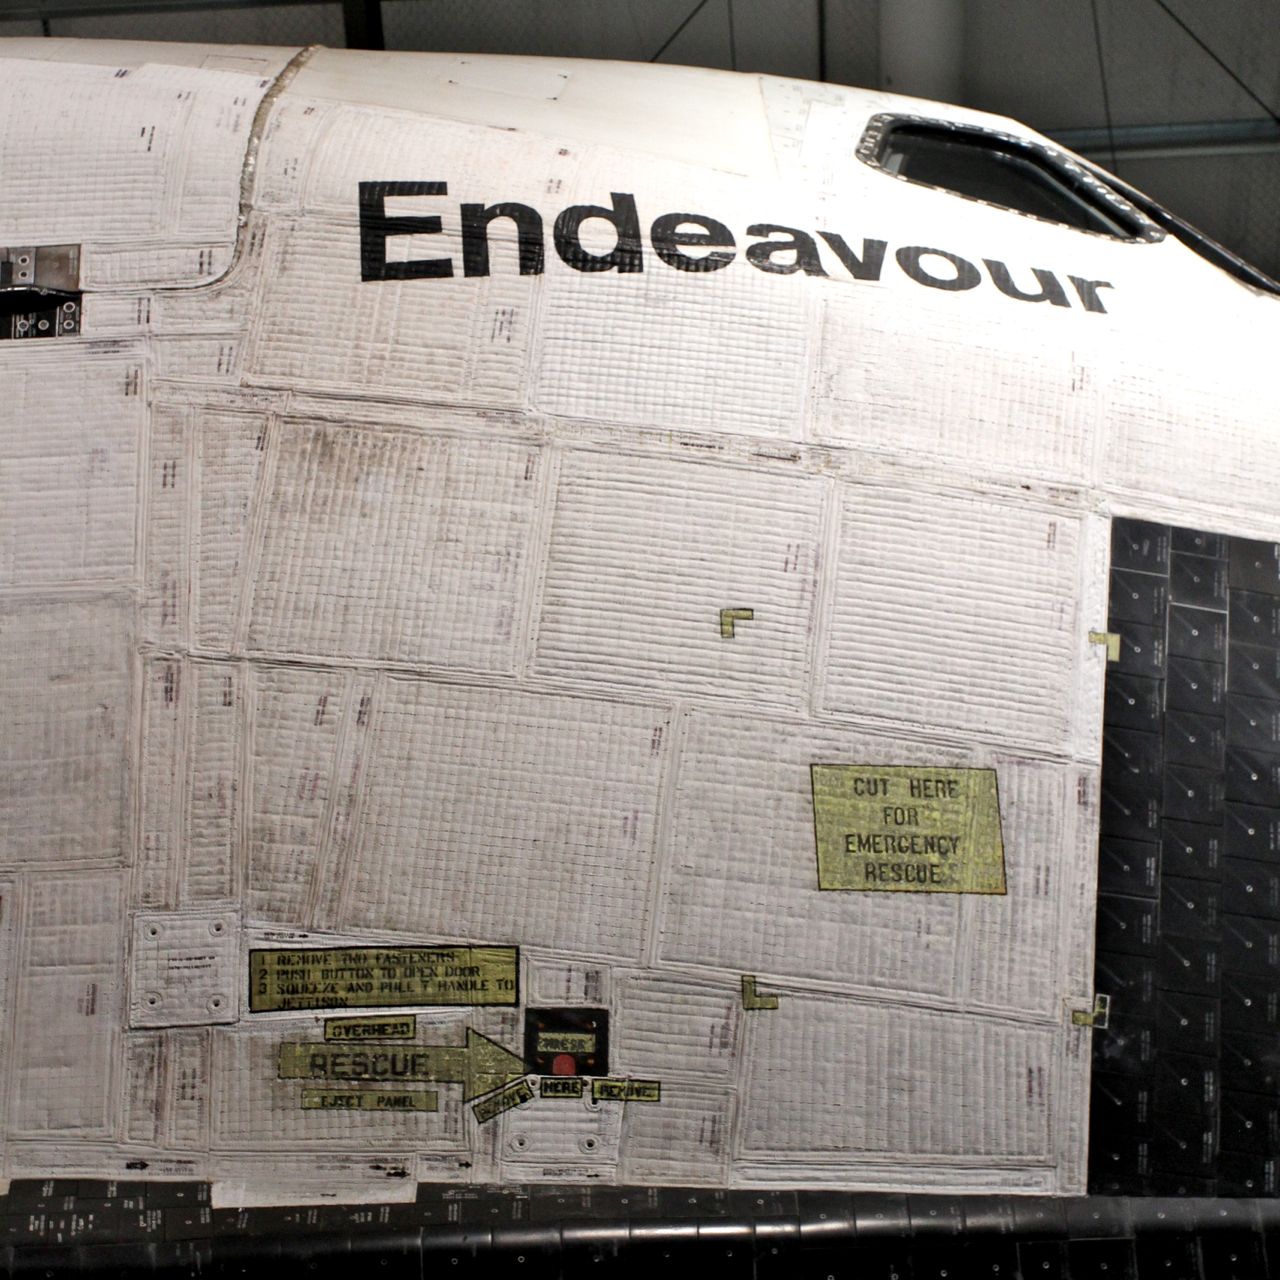
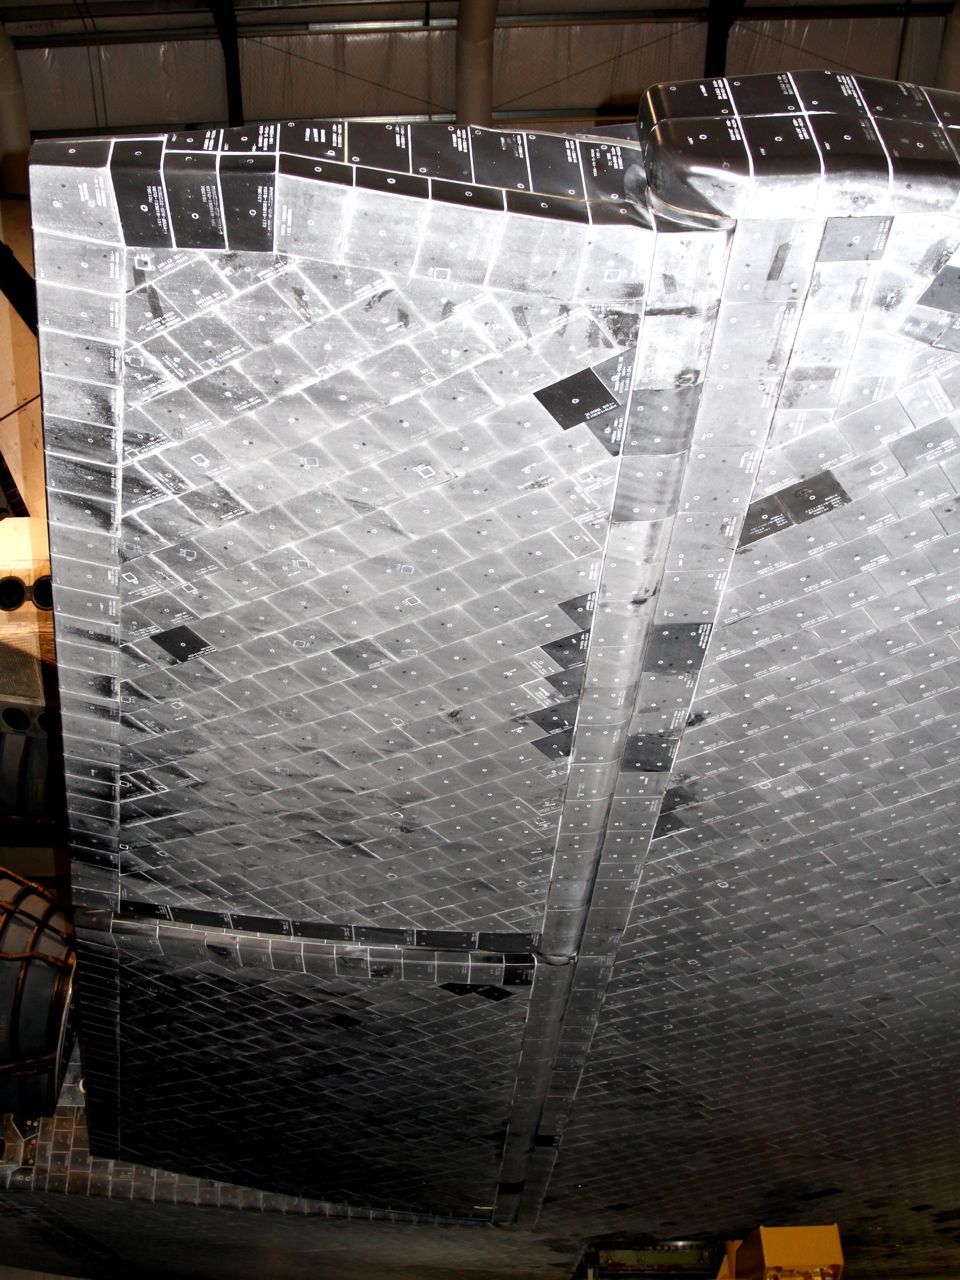
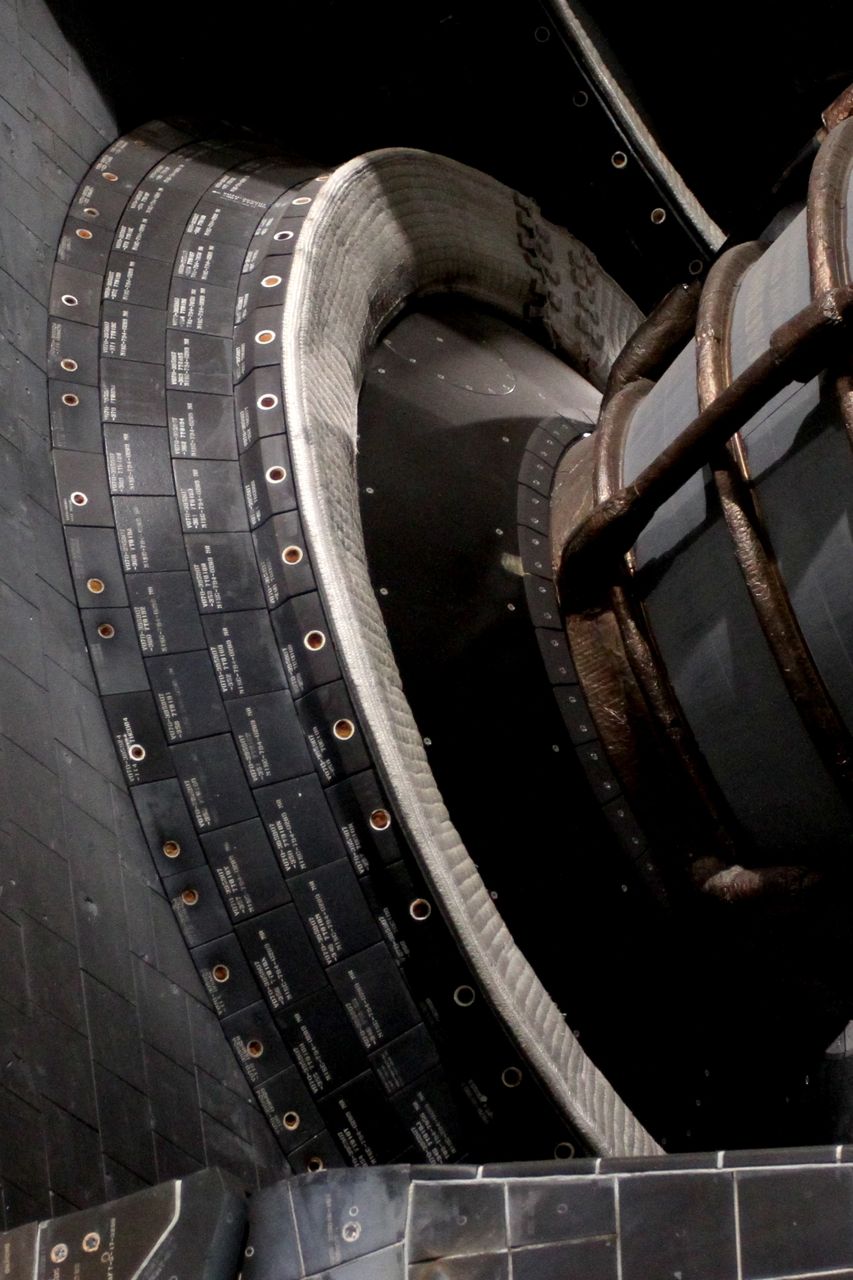
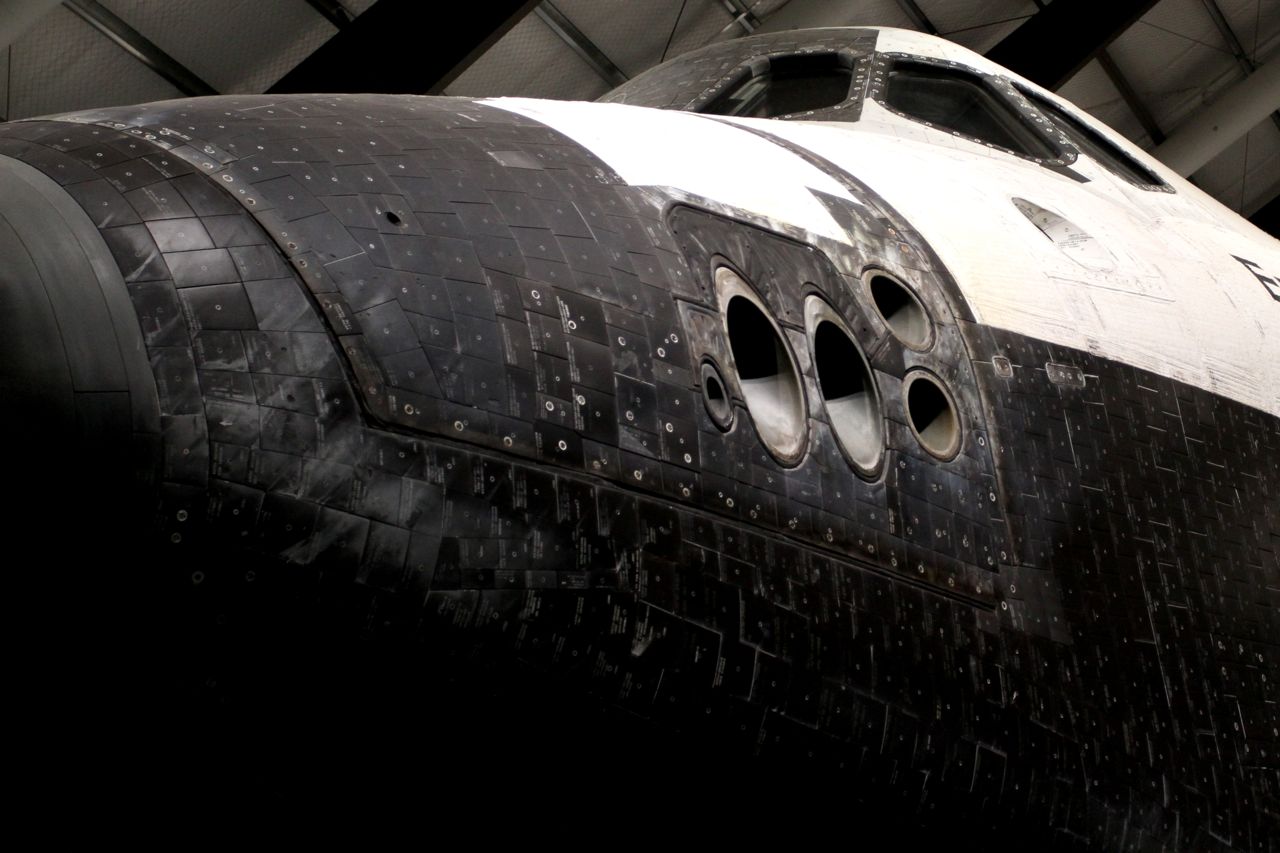
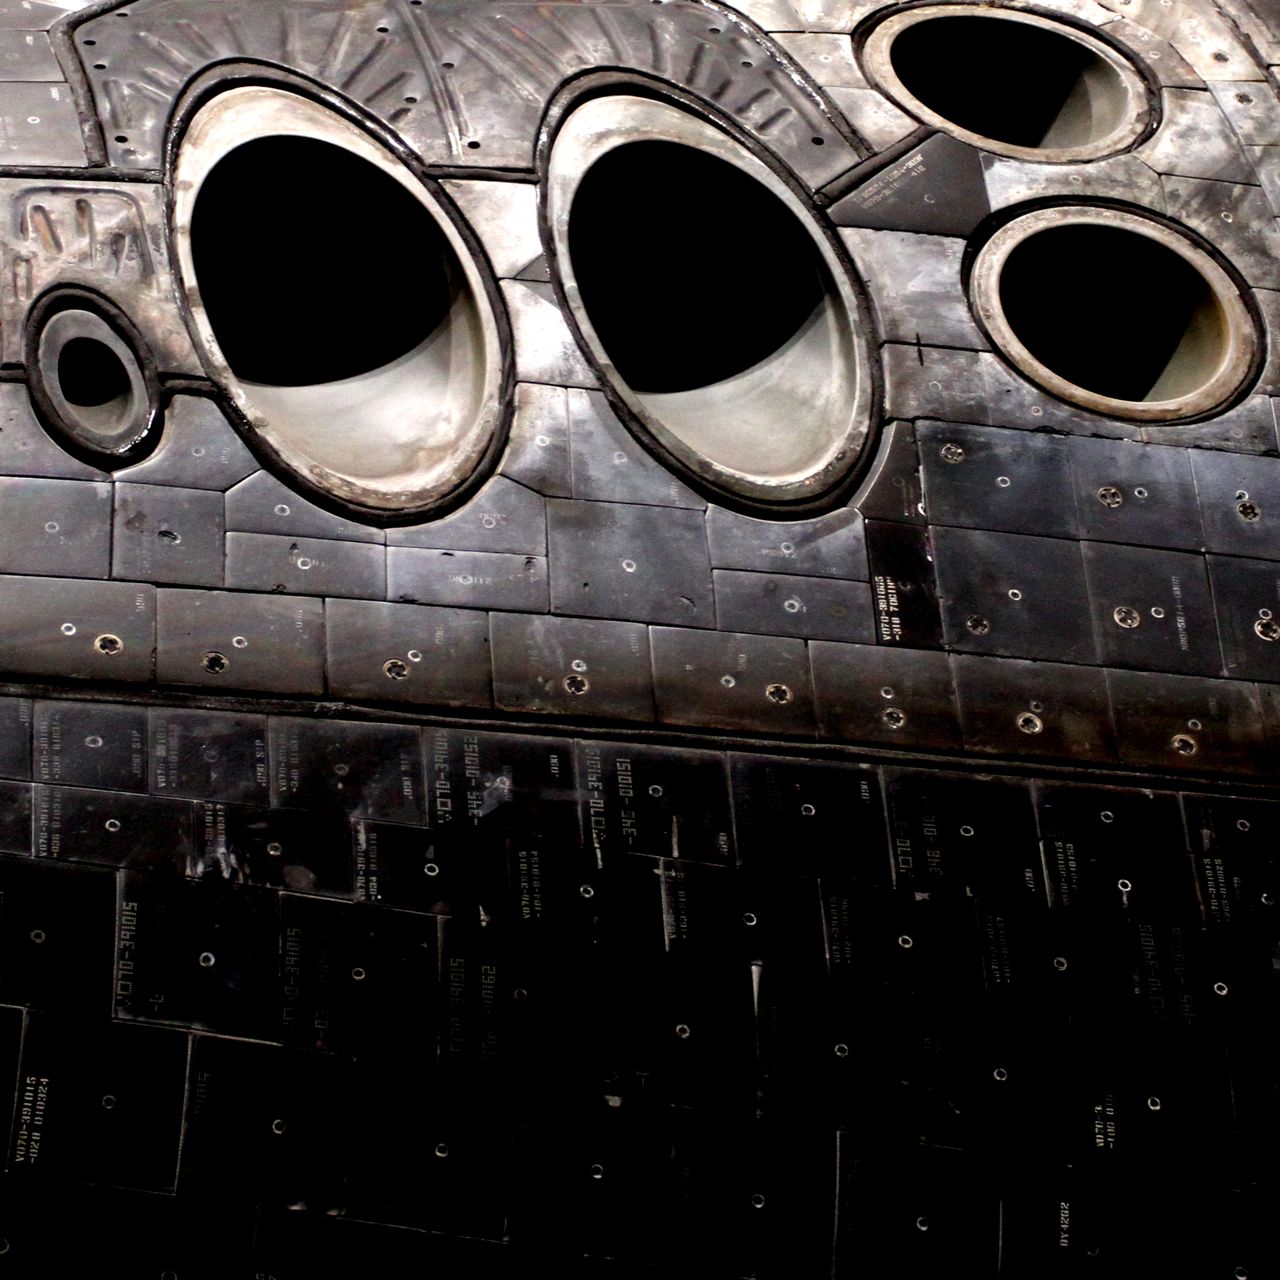
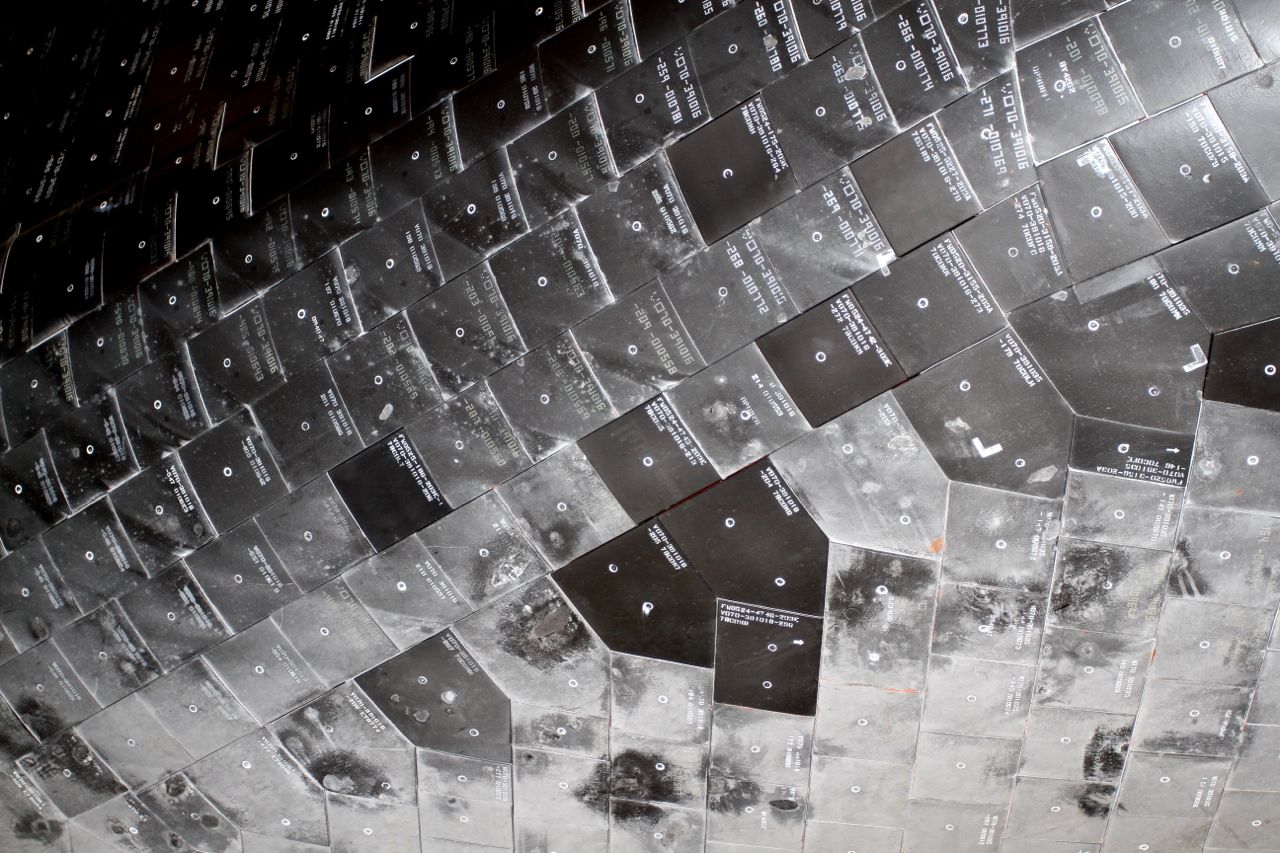
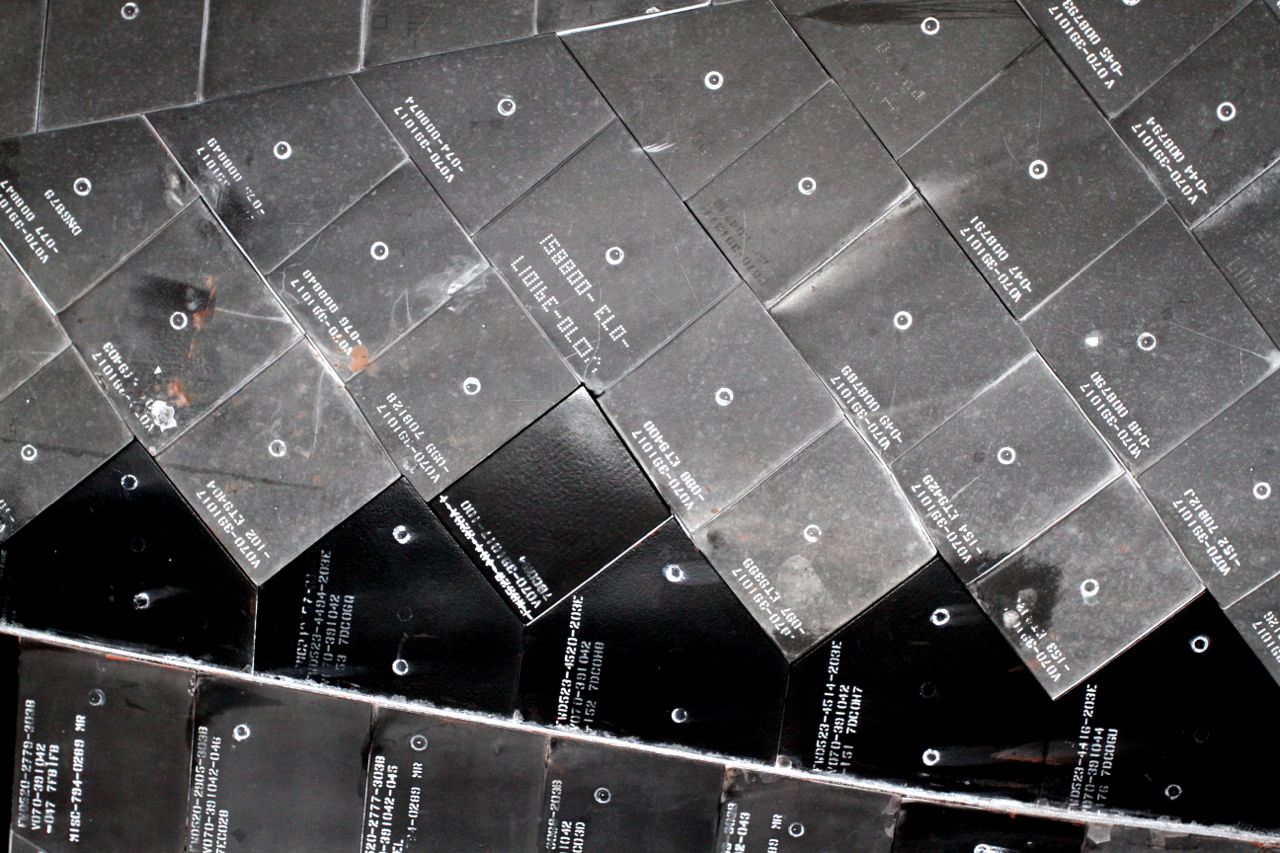
The famous tiles, part of the Shuttle’s Thermal Protection System (TPS), are unmistakable. Designed not to ablate like the heat shields on the Apollo capsules, tiles do suffer wear and damage, and some had clearly been replaced with new ones for display.
The complexity and variation of tile design is striking. If you think tiling round the bathroom wash-basin is tricky, take a look at the area round the main engine gimbals and thrusters of the Shuttle. No wonder maintenance costs were high.
Tiles (part of Space Shuttle Thermal Protection System TPS)Tiles (part of Space Shuttle Thermal Protection System TPS)Tiles (part of Space Shuttle Thermal Protection System TPS)Tiles (part of Space Shuttle Thermal Protection System TPS) Close-up
Earthquake Protection
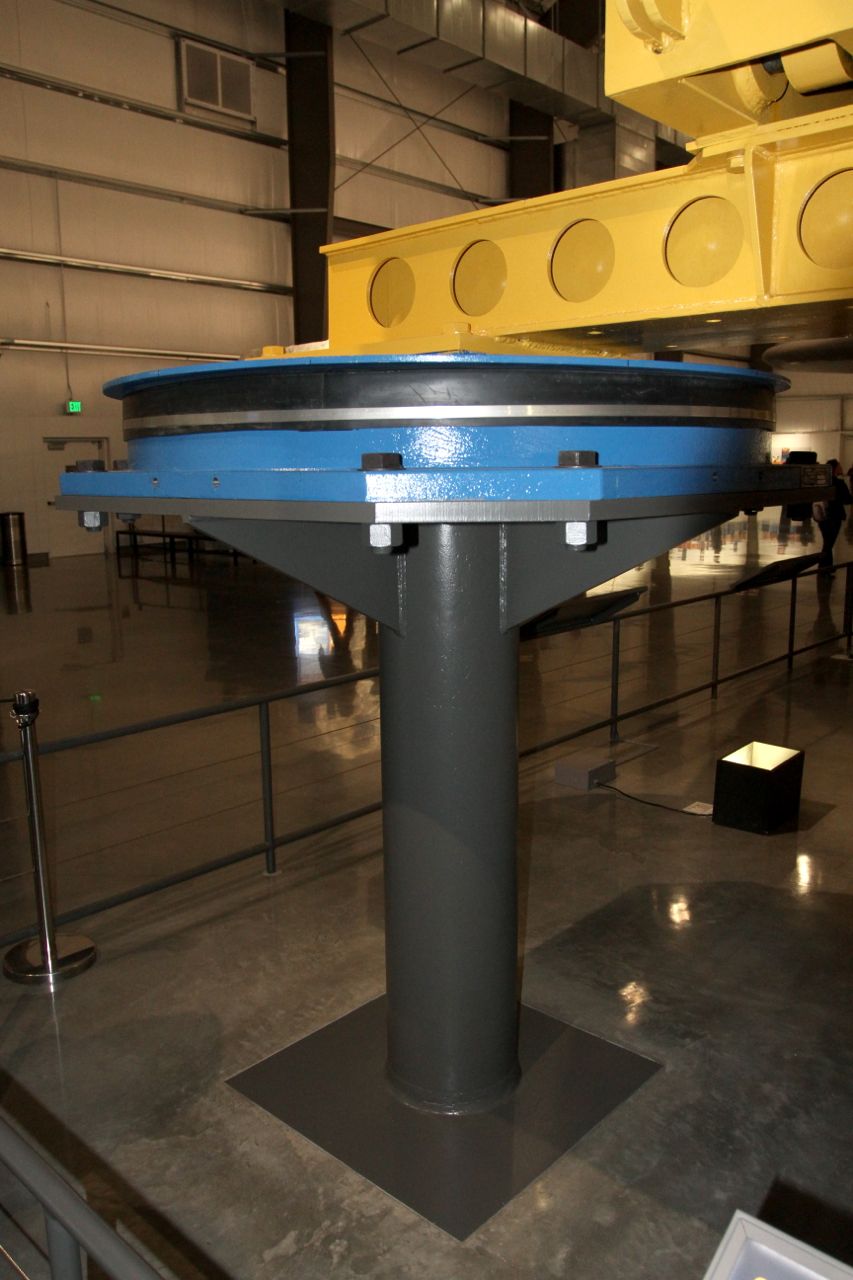
Several sliding bearings, or seismic isolators, sit between the Shuttle and its supporting pillars, insulating Endeavour from the perils of Los Angeles’ earthquakes. The idea is the Shuttle rocks around harmlessly until the shaking ground settles down.
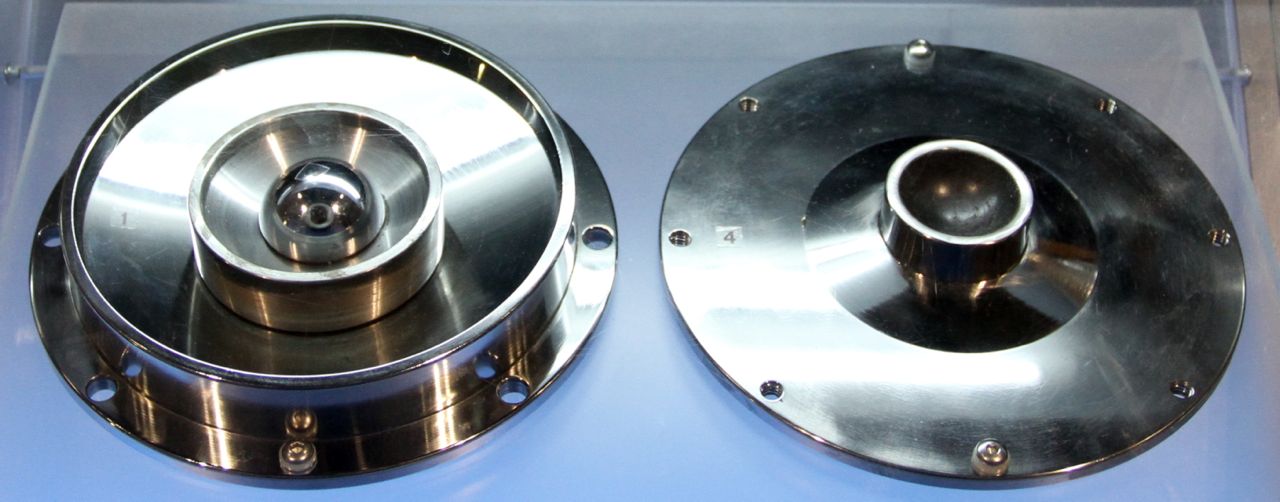
Endeavour is mounted on Seismic Isolators to protect it from earthquake damage.Seismic Isolator Bearing Surfaces
Visiting
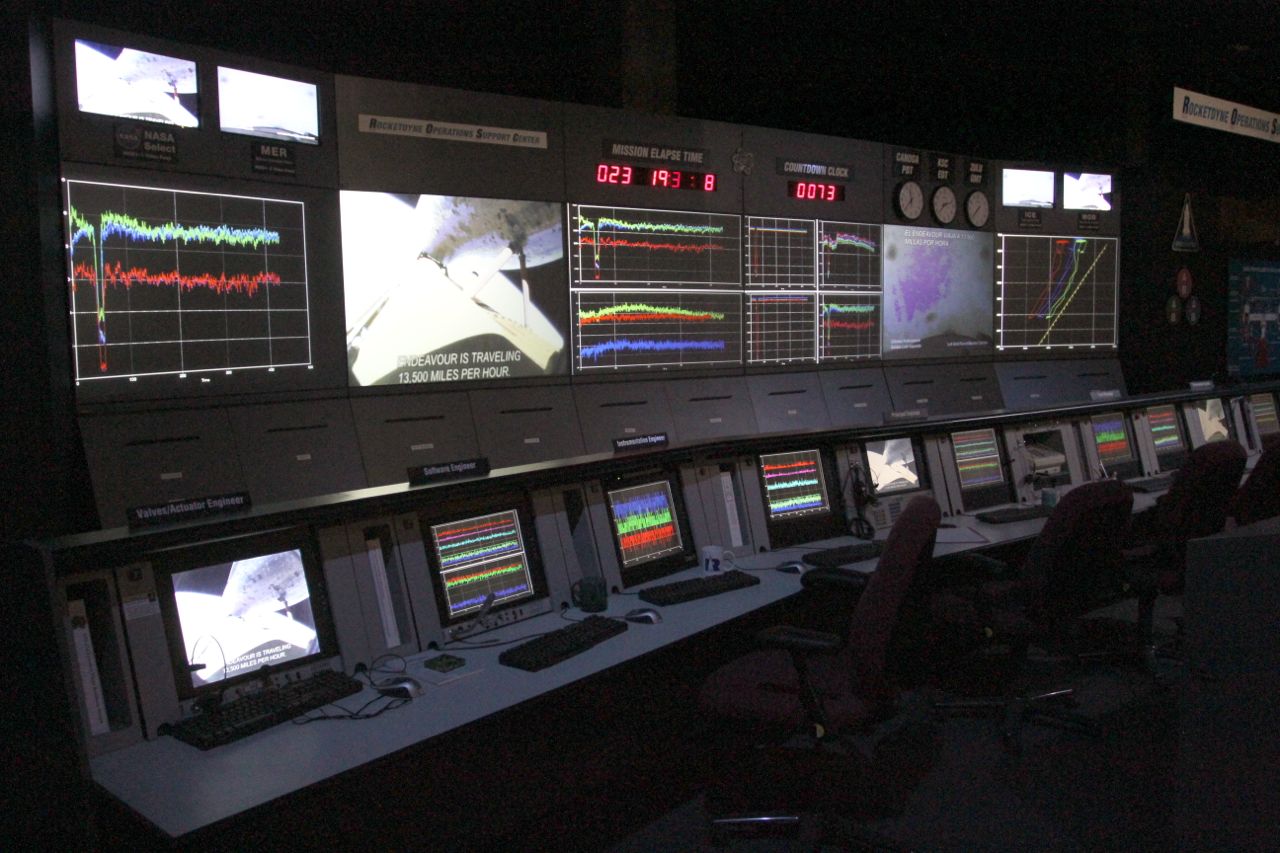
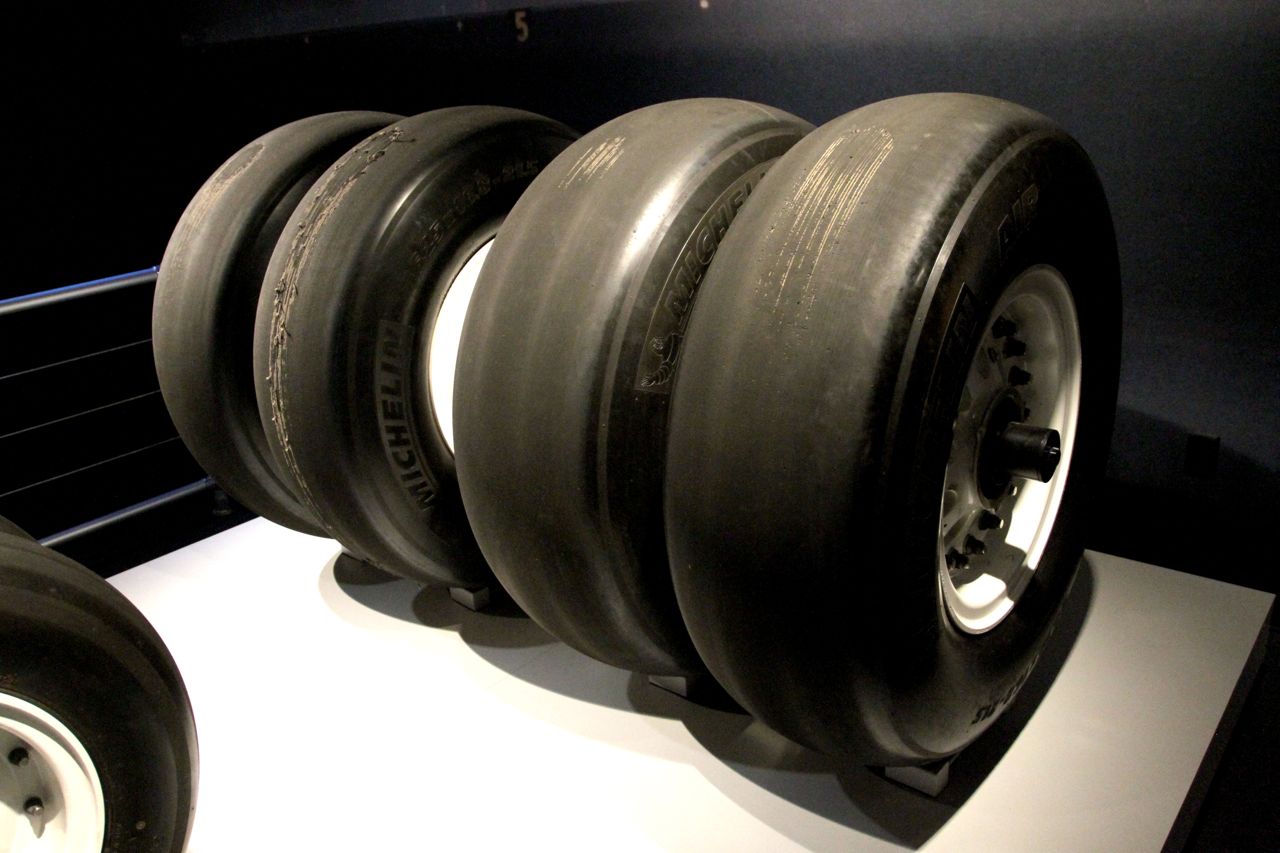
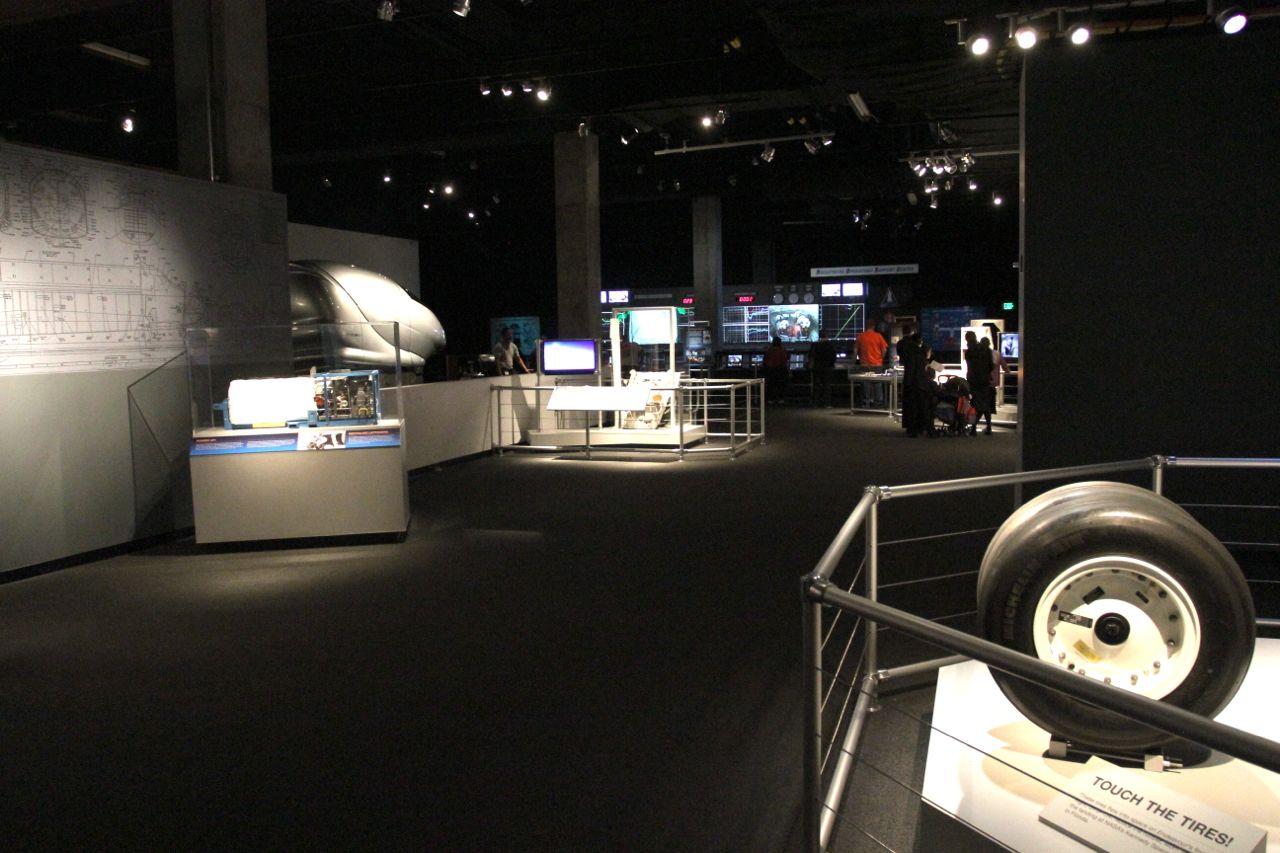
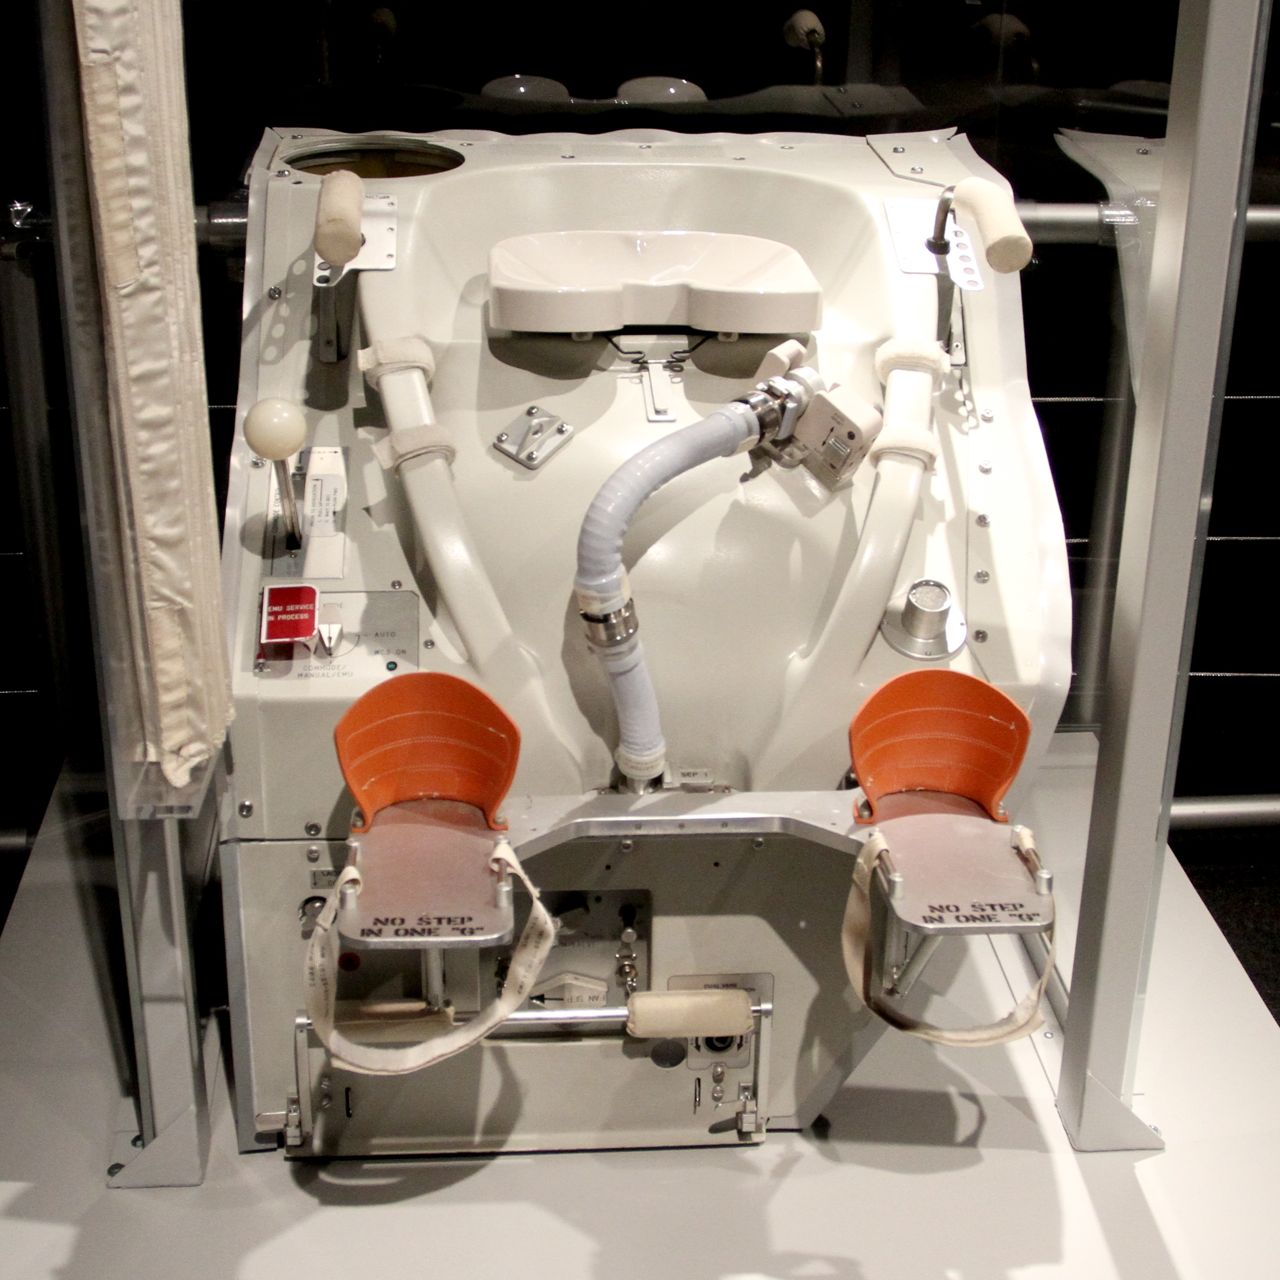
We saw Endeavour in temporary accommodation; it’s destined to be mounted vertically in a custom-designed building. That said, the exhibition as it stands doesn’t feel temporary, and the associated display areas and accompanying audio-visuals describing California’s particular role in the Shuttle story and showing off various artifacts from the program – including, importantly, the Shuttle’s WC or ‘space potty’, are excellent.
Entry to the California Science Center is free, but there’s a very reasonable $2 entry charge or ticket booking fee to see Endeavour.
Entrance to Endeavour Display AreaSimulated Mission ControlSpace Shuttle WheelsCalifornia and artifacts display areaSpace Potty
Parting Impressions
I need a Tee-shirt, right?
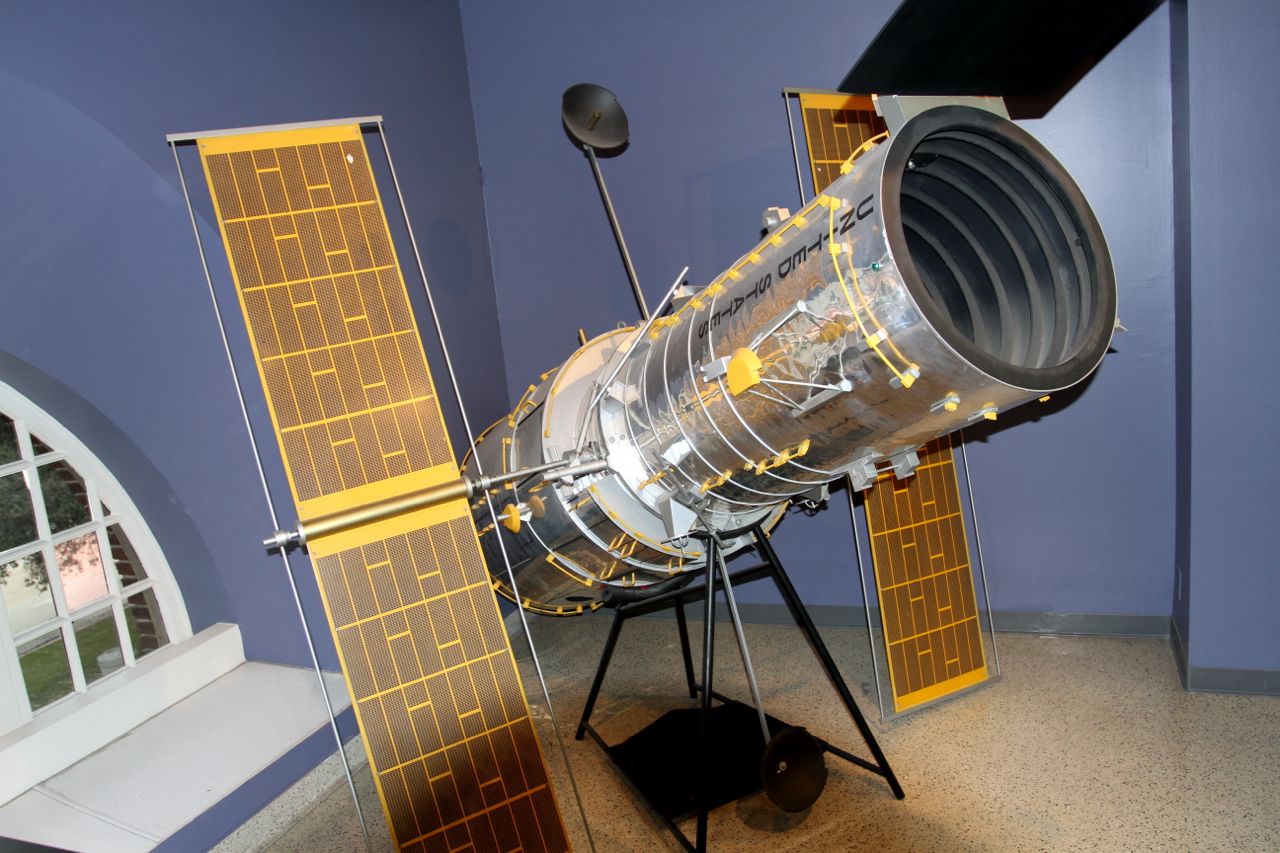
Even as we celebrate, the Space Shuttle program is criticised, particularly around issues of cost and safety, but also the scope of its achievements. As always, it’s easy to find fault in hindsight, and judge historical decisions by the political and economic expedients of the present day. Personally, I reckon we’d be in a much sorrier state had the program not gone ahead. The Shuttle was the workhorse behind the International Space Station, the full learning from which I suspect has yet to be converted. And Endeavour personally, so to speak, enabled the repair of the Hubble Space Telescope.
The Hubble Space Telescope can see clearly now thanks to Endeavour. (Model at Cal.Science.Center)
NASA is at a turning point, collaborating more closely with private partners and, most recently, other nations on its manned space program. While the arrival of new entrants, working methods, and relationships are culturally refreshing, surely much of the knowledge and expertise behind them has its roots in the Shuttle and related programs.
Hopefully this note’s been short and sweet. There’s no point my repeating loads of technical and historical information you can get from many sources: not least the NASA and California Science Center websites, which, like Endeavour, are both worth a visit.
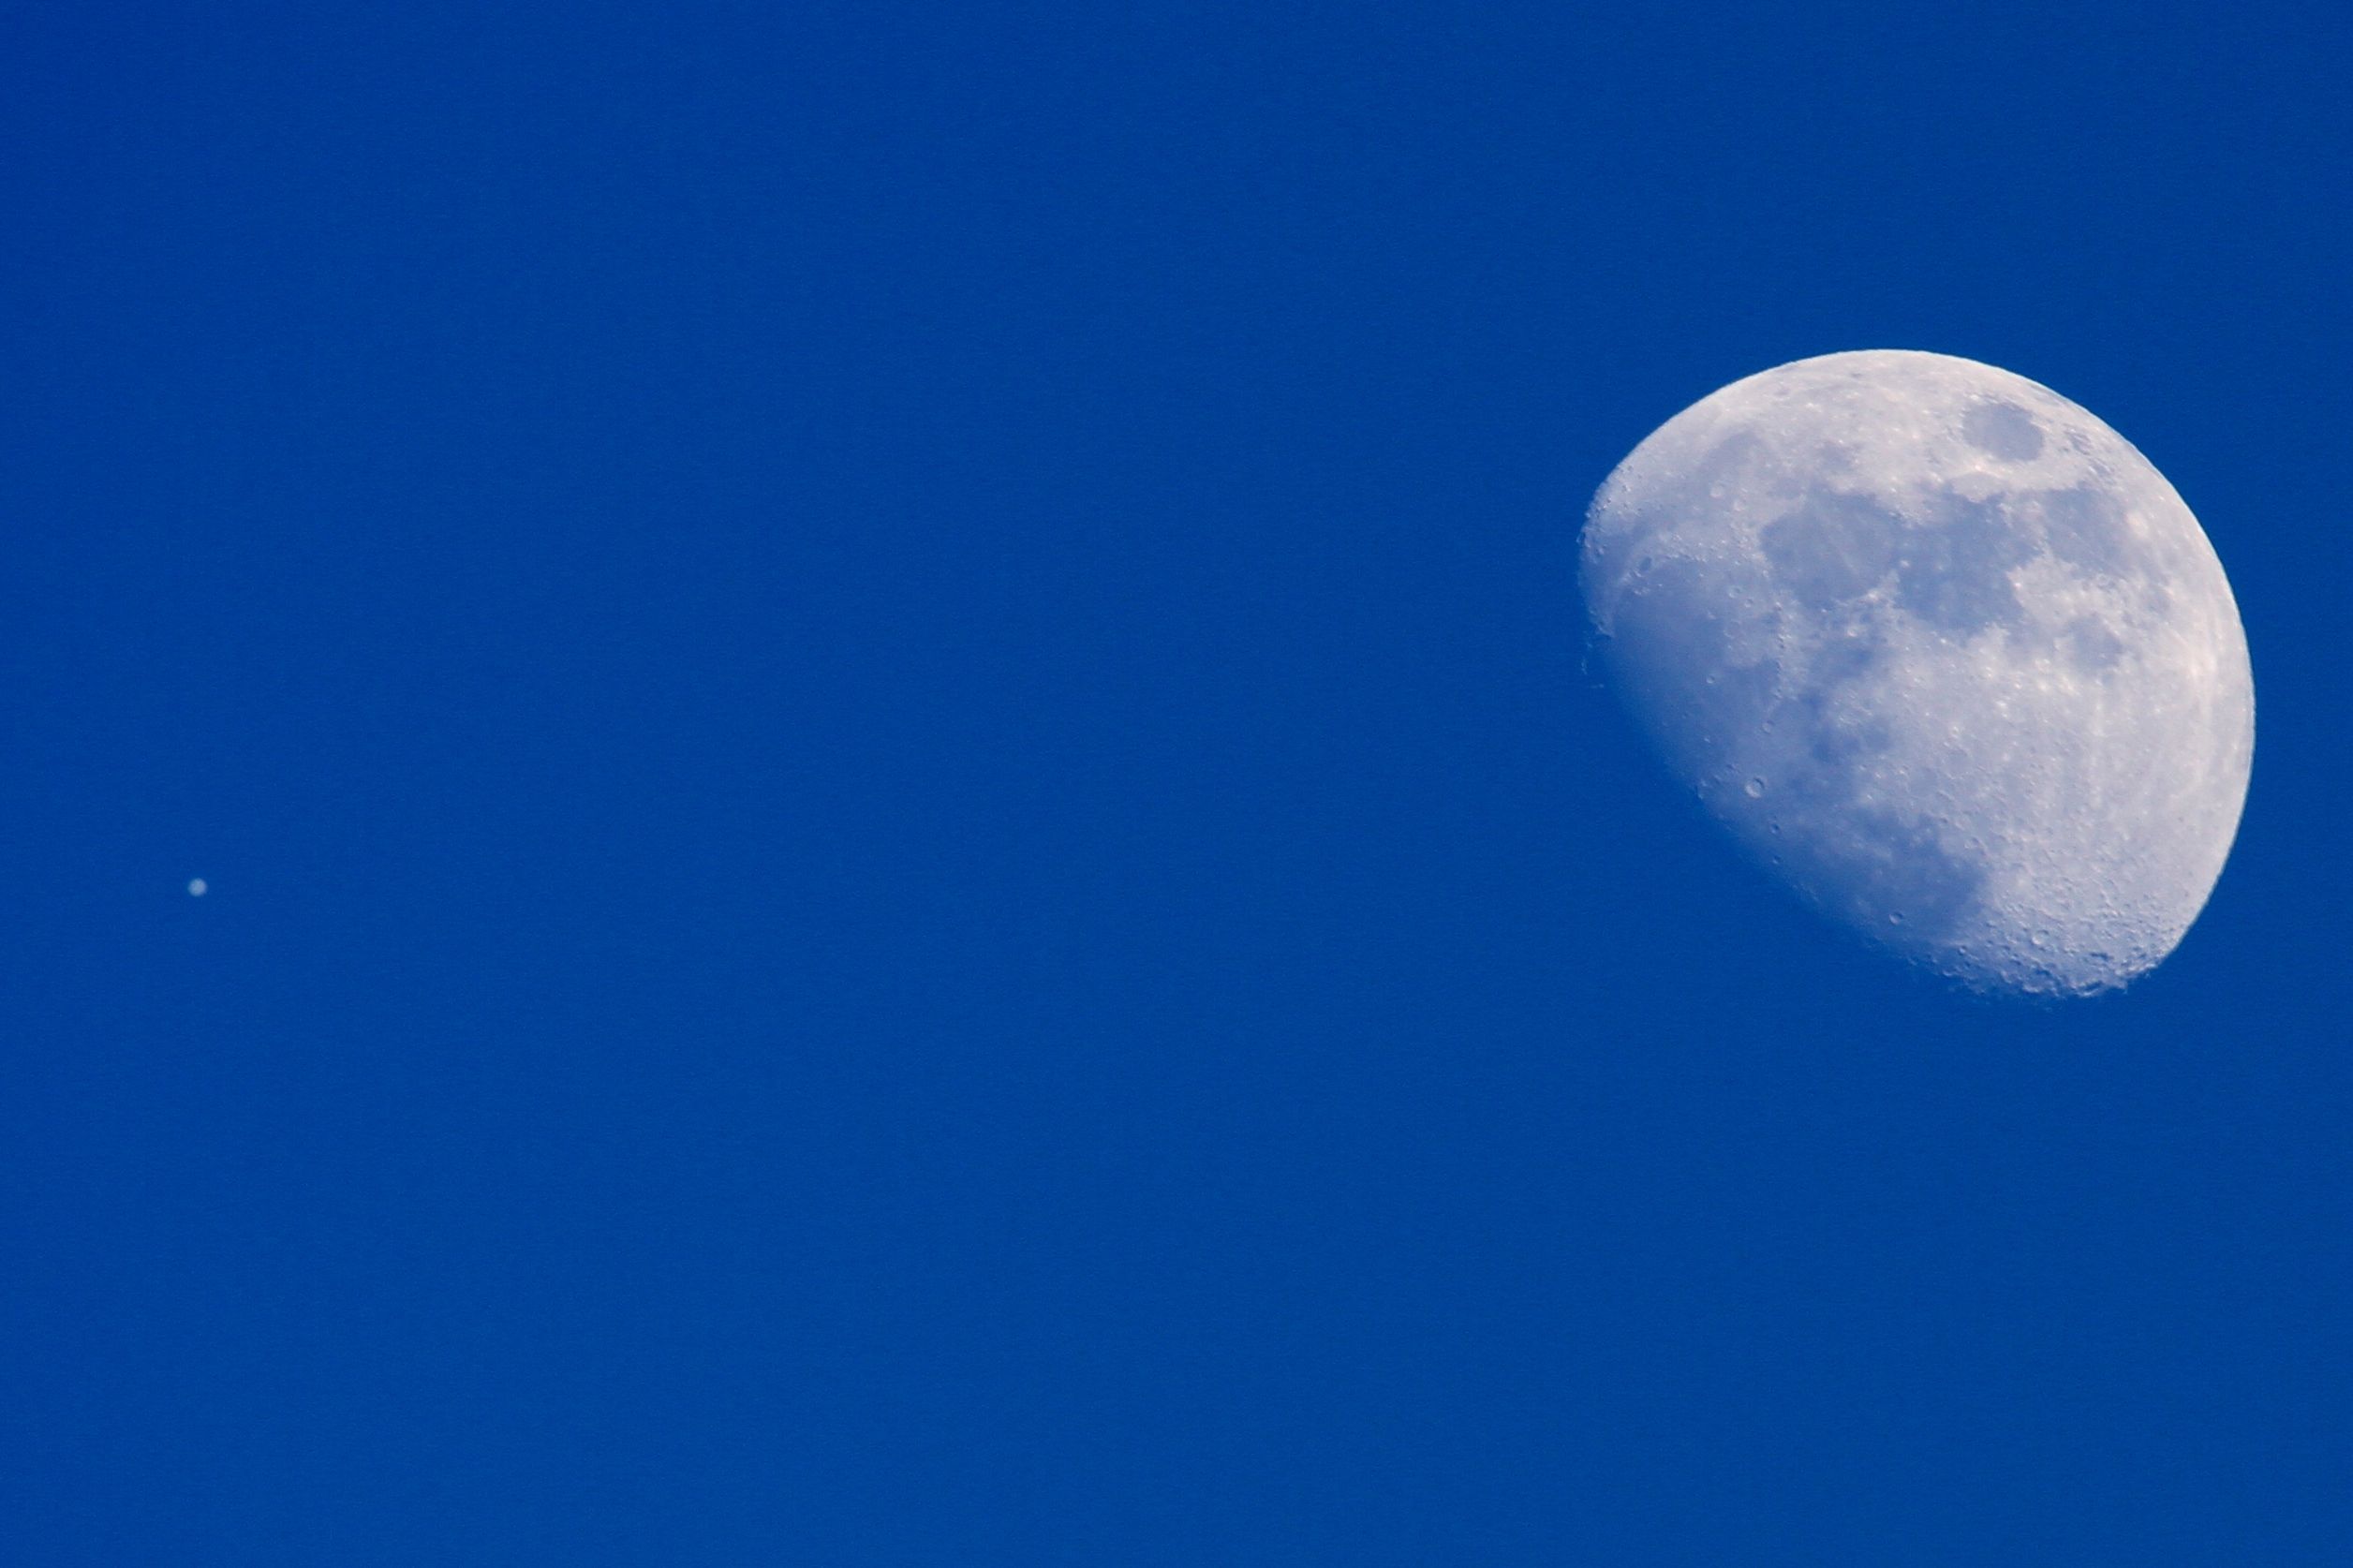
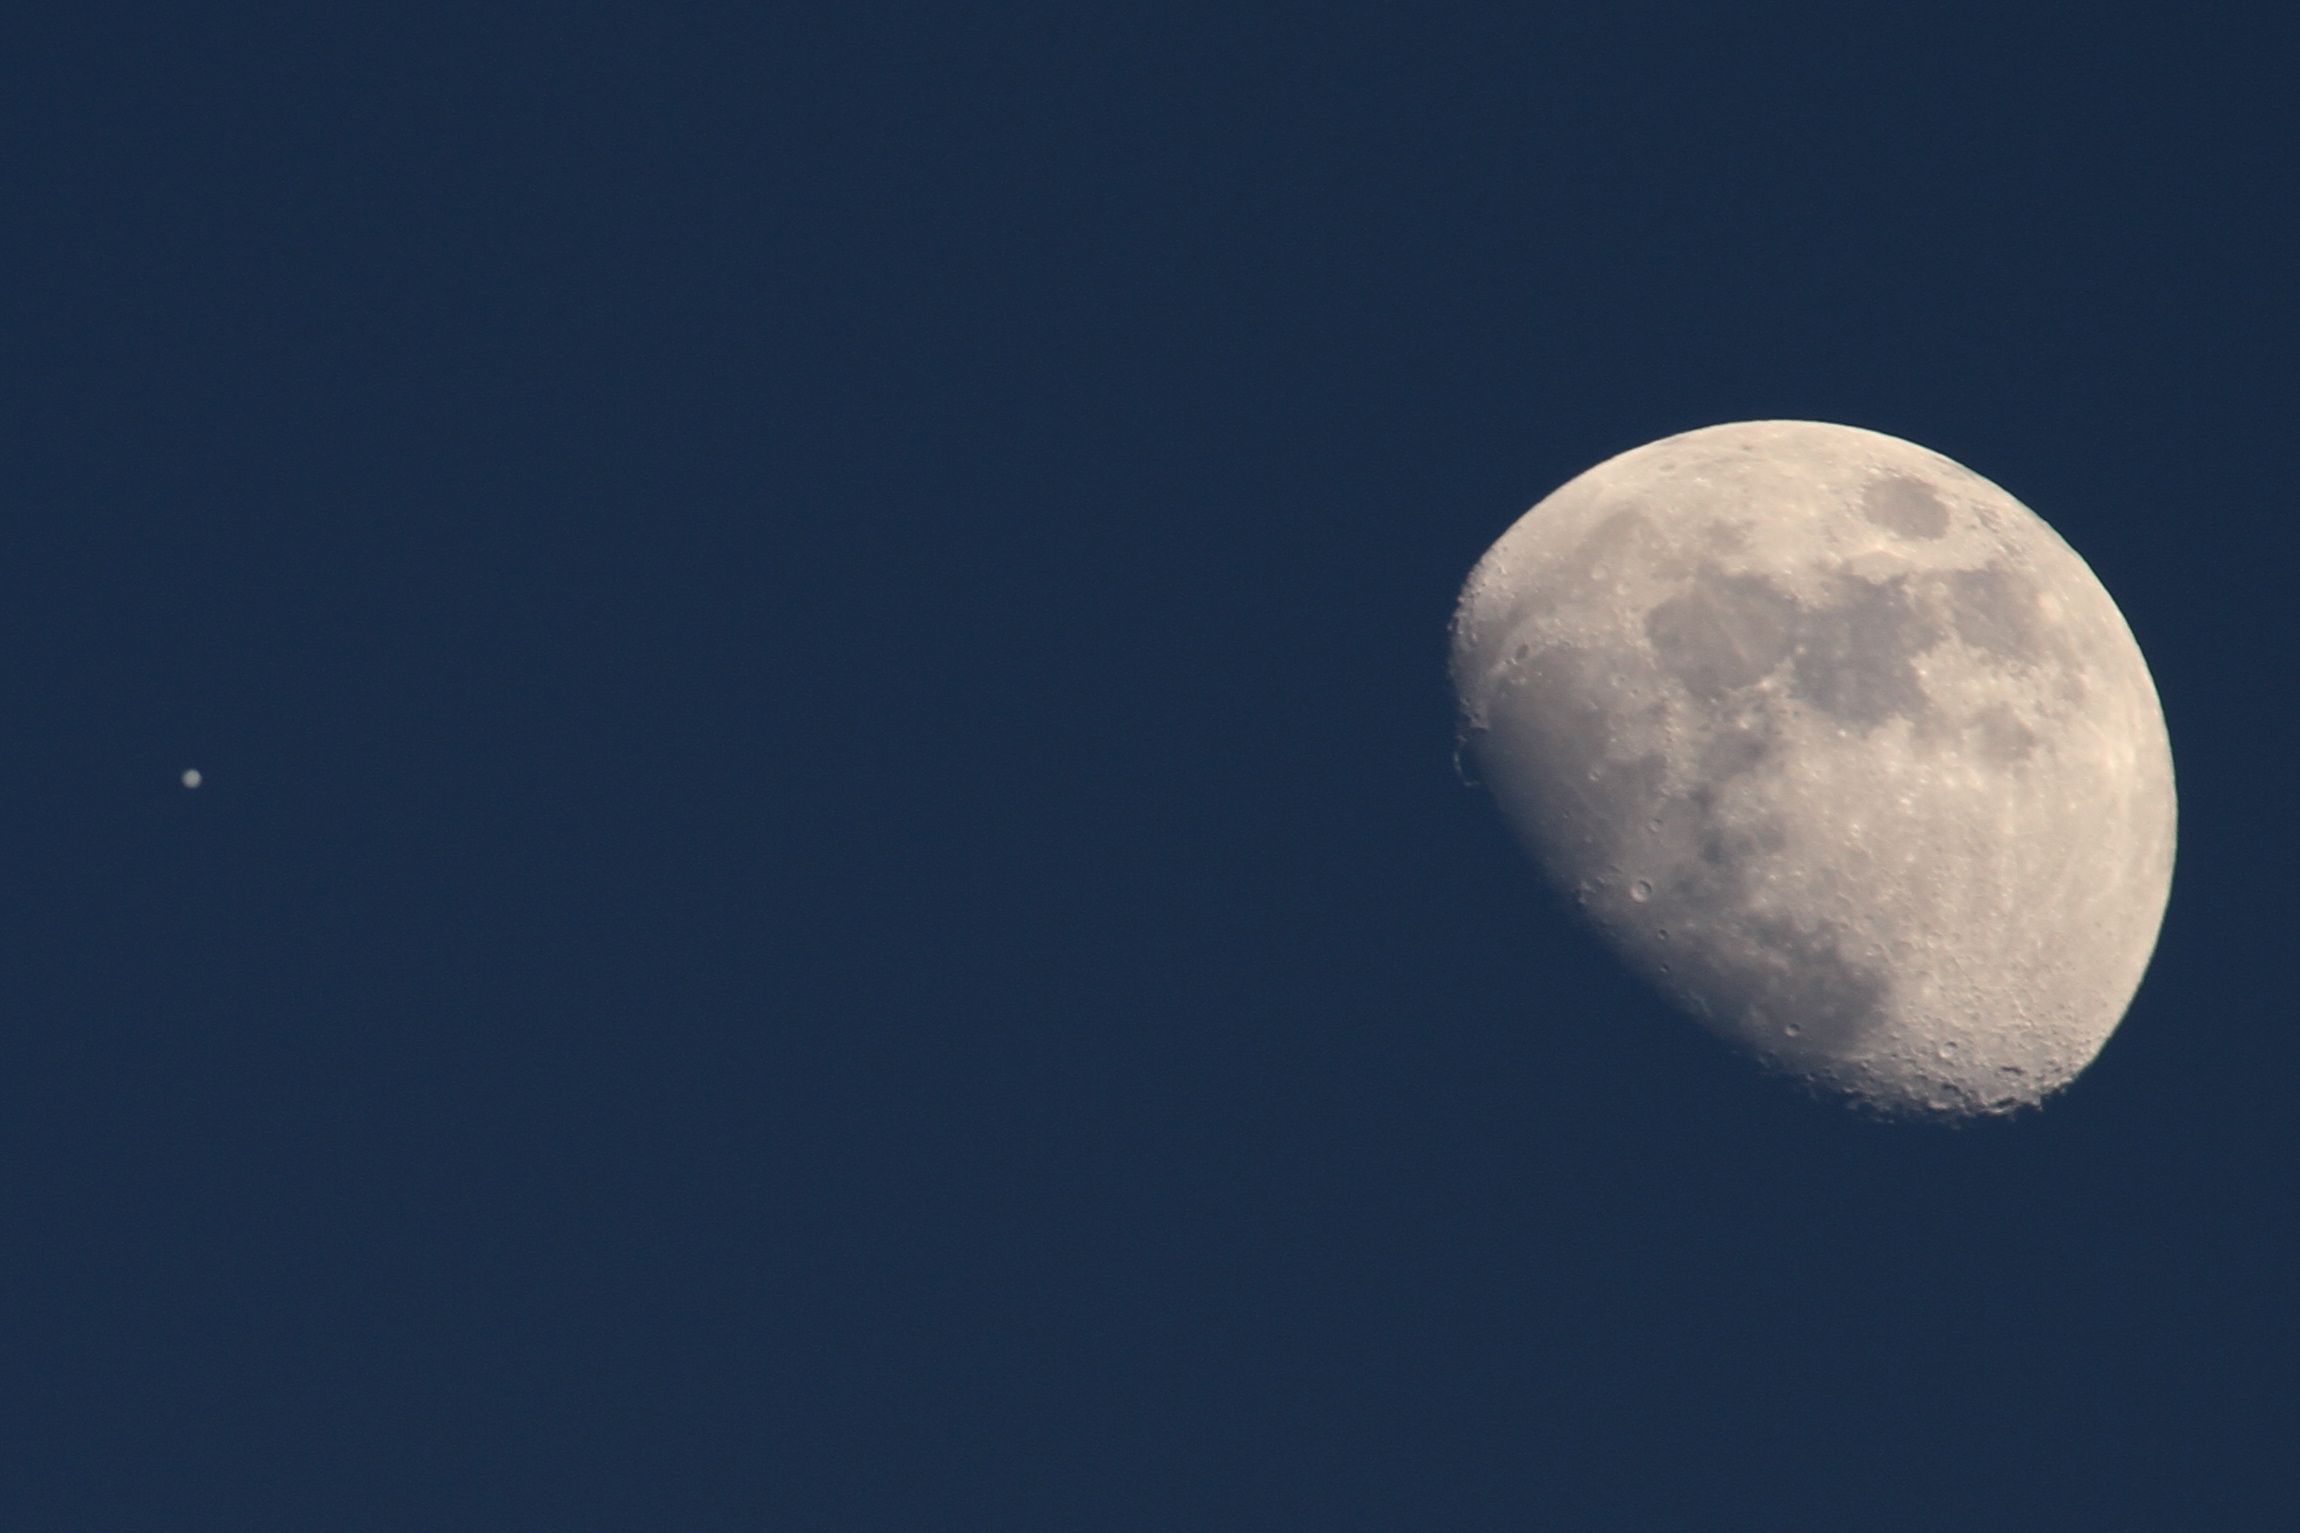
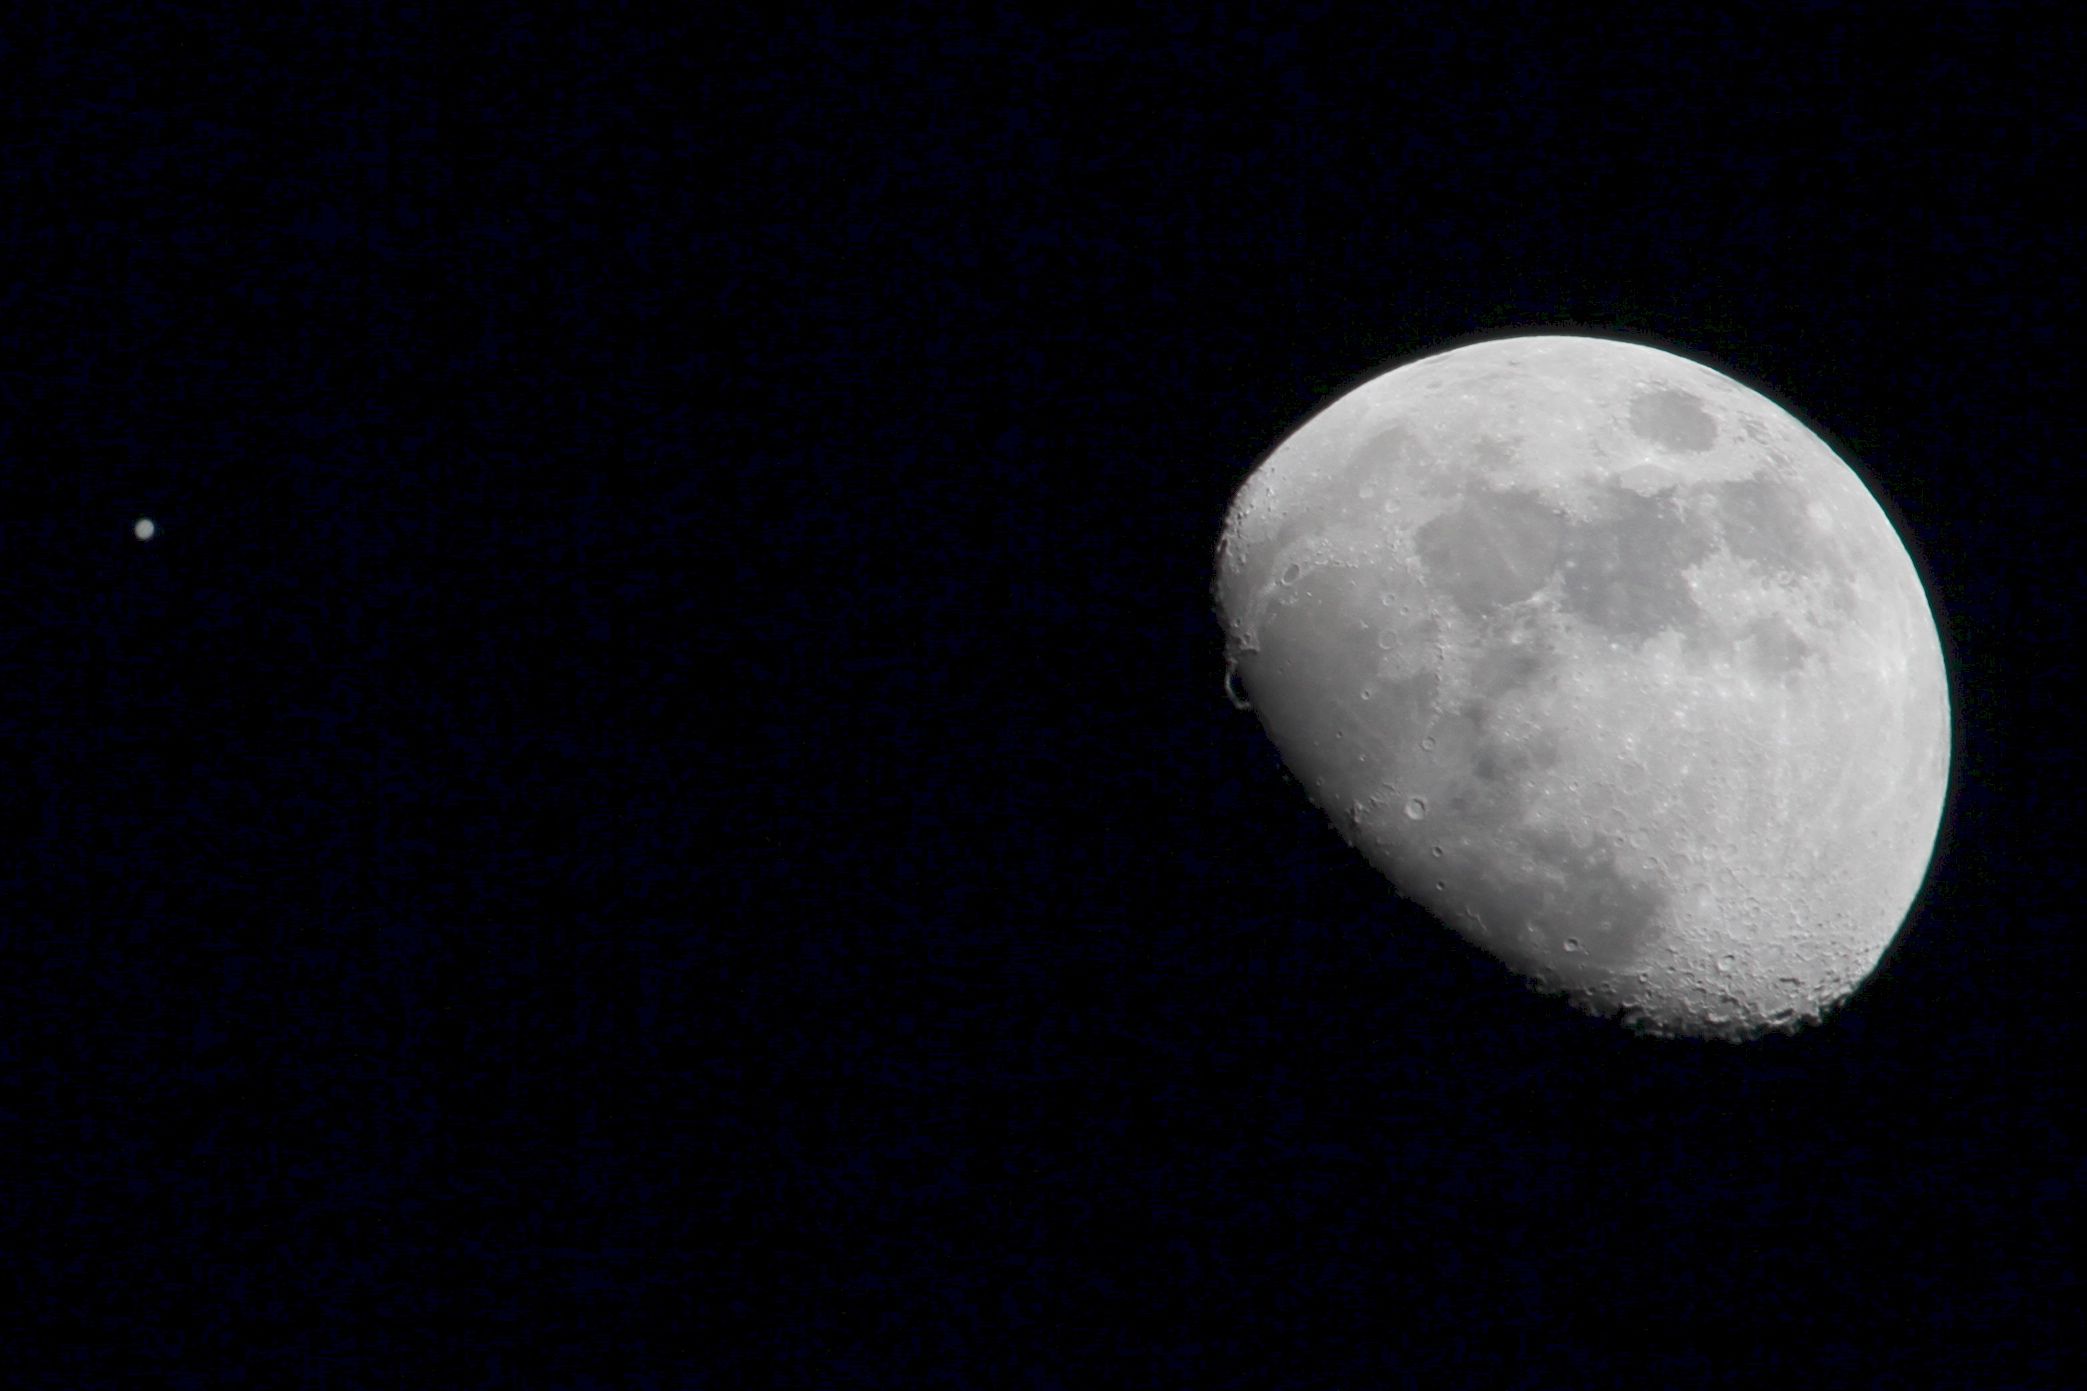
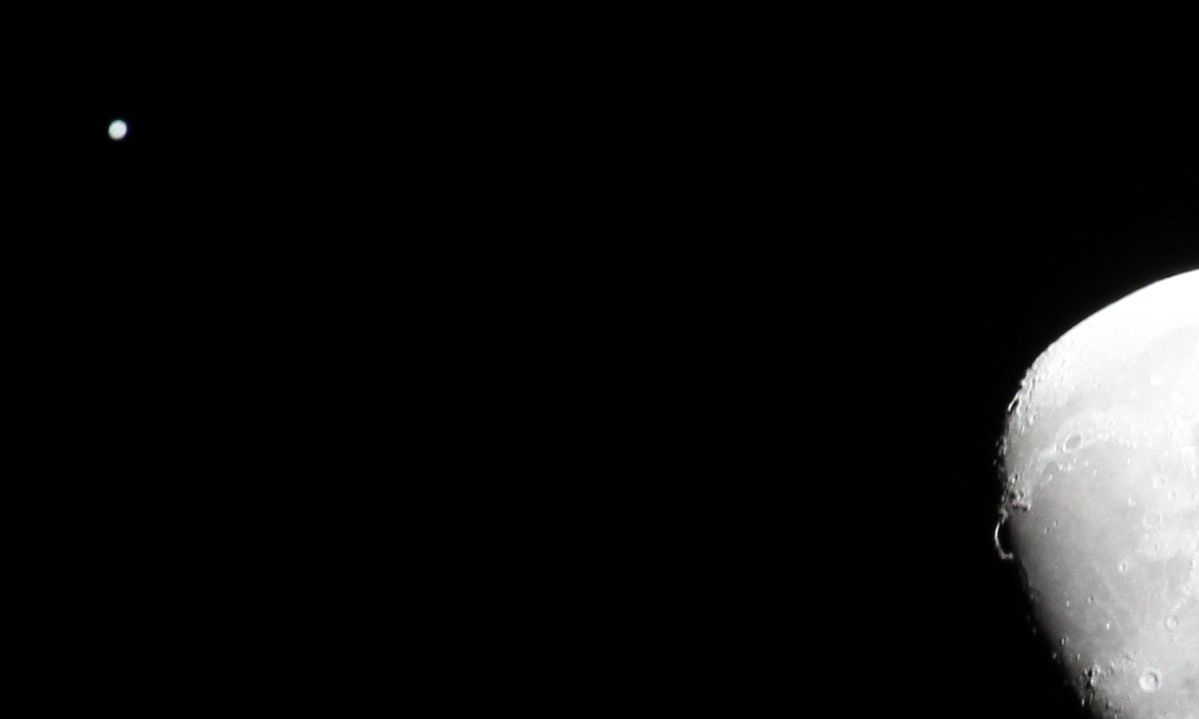
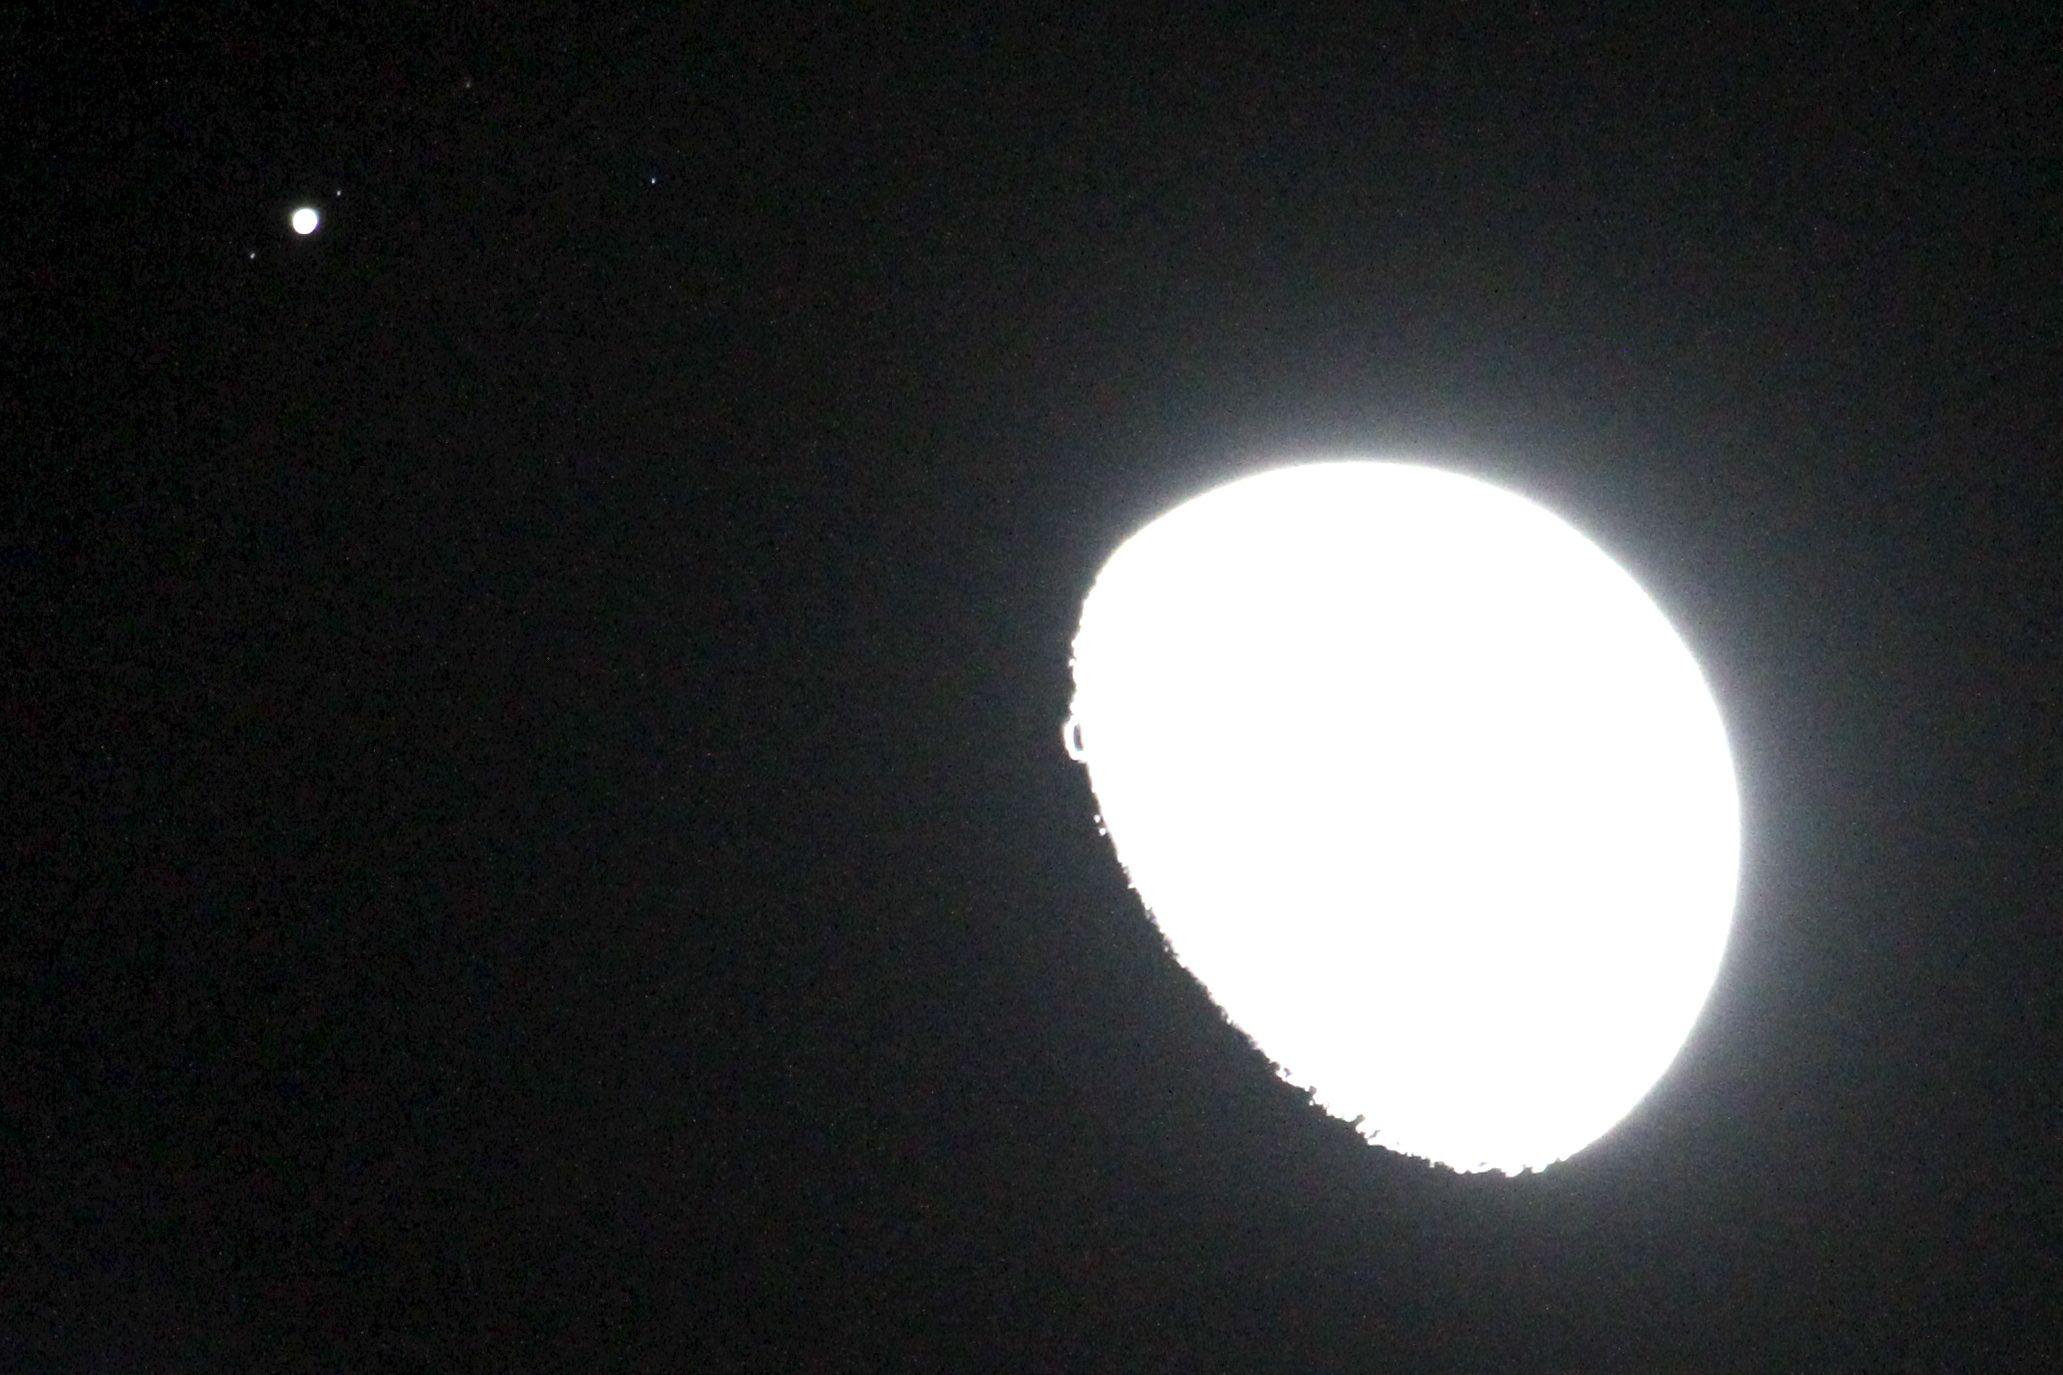
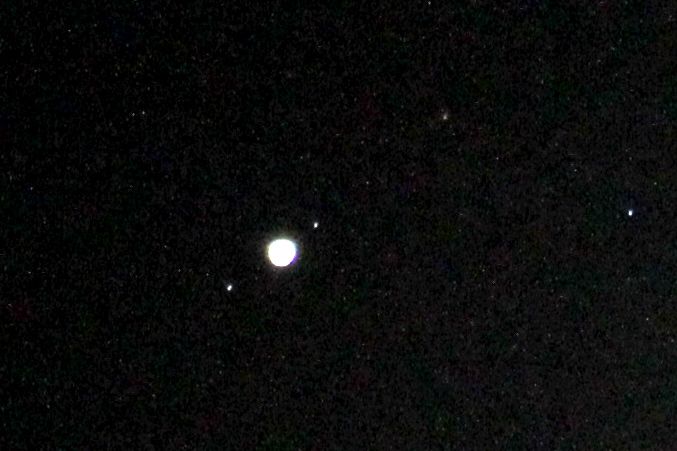
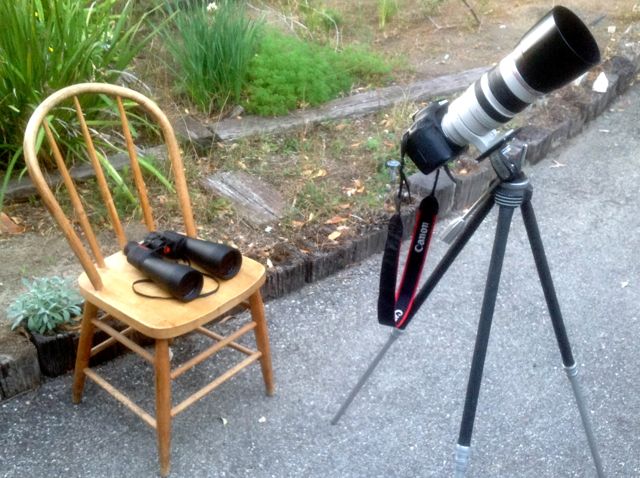
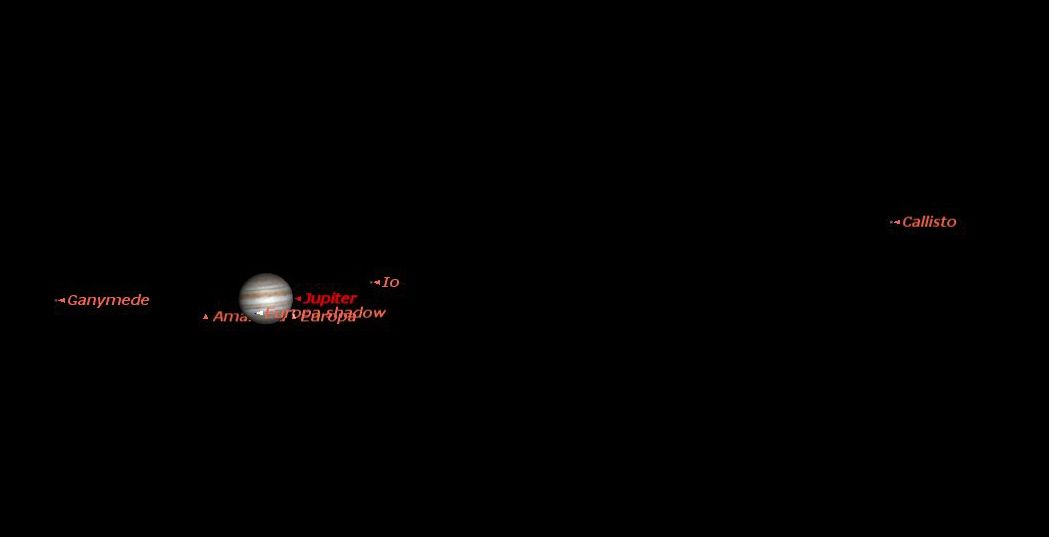
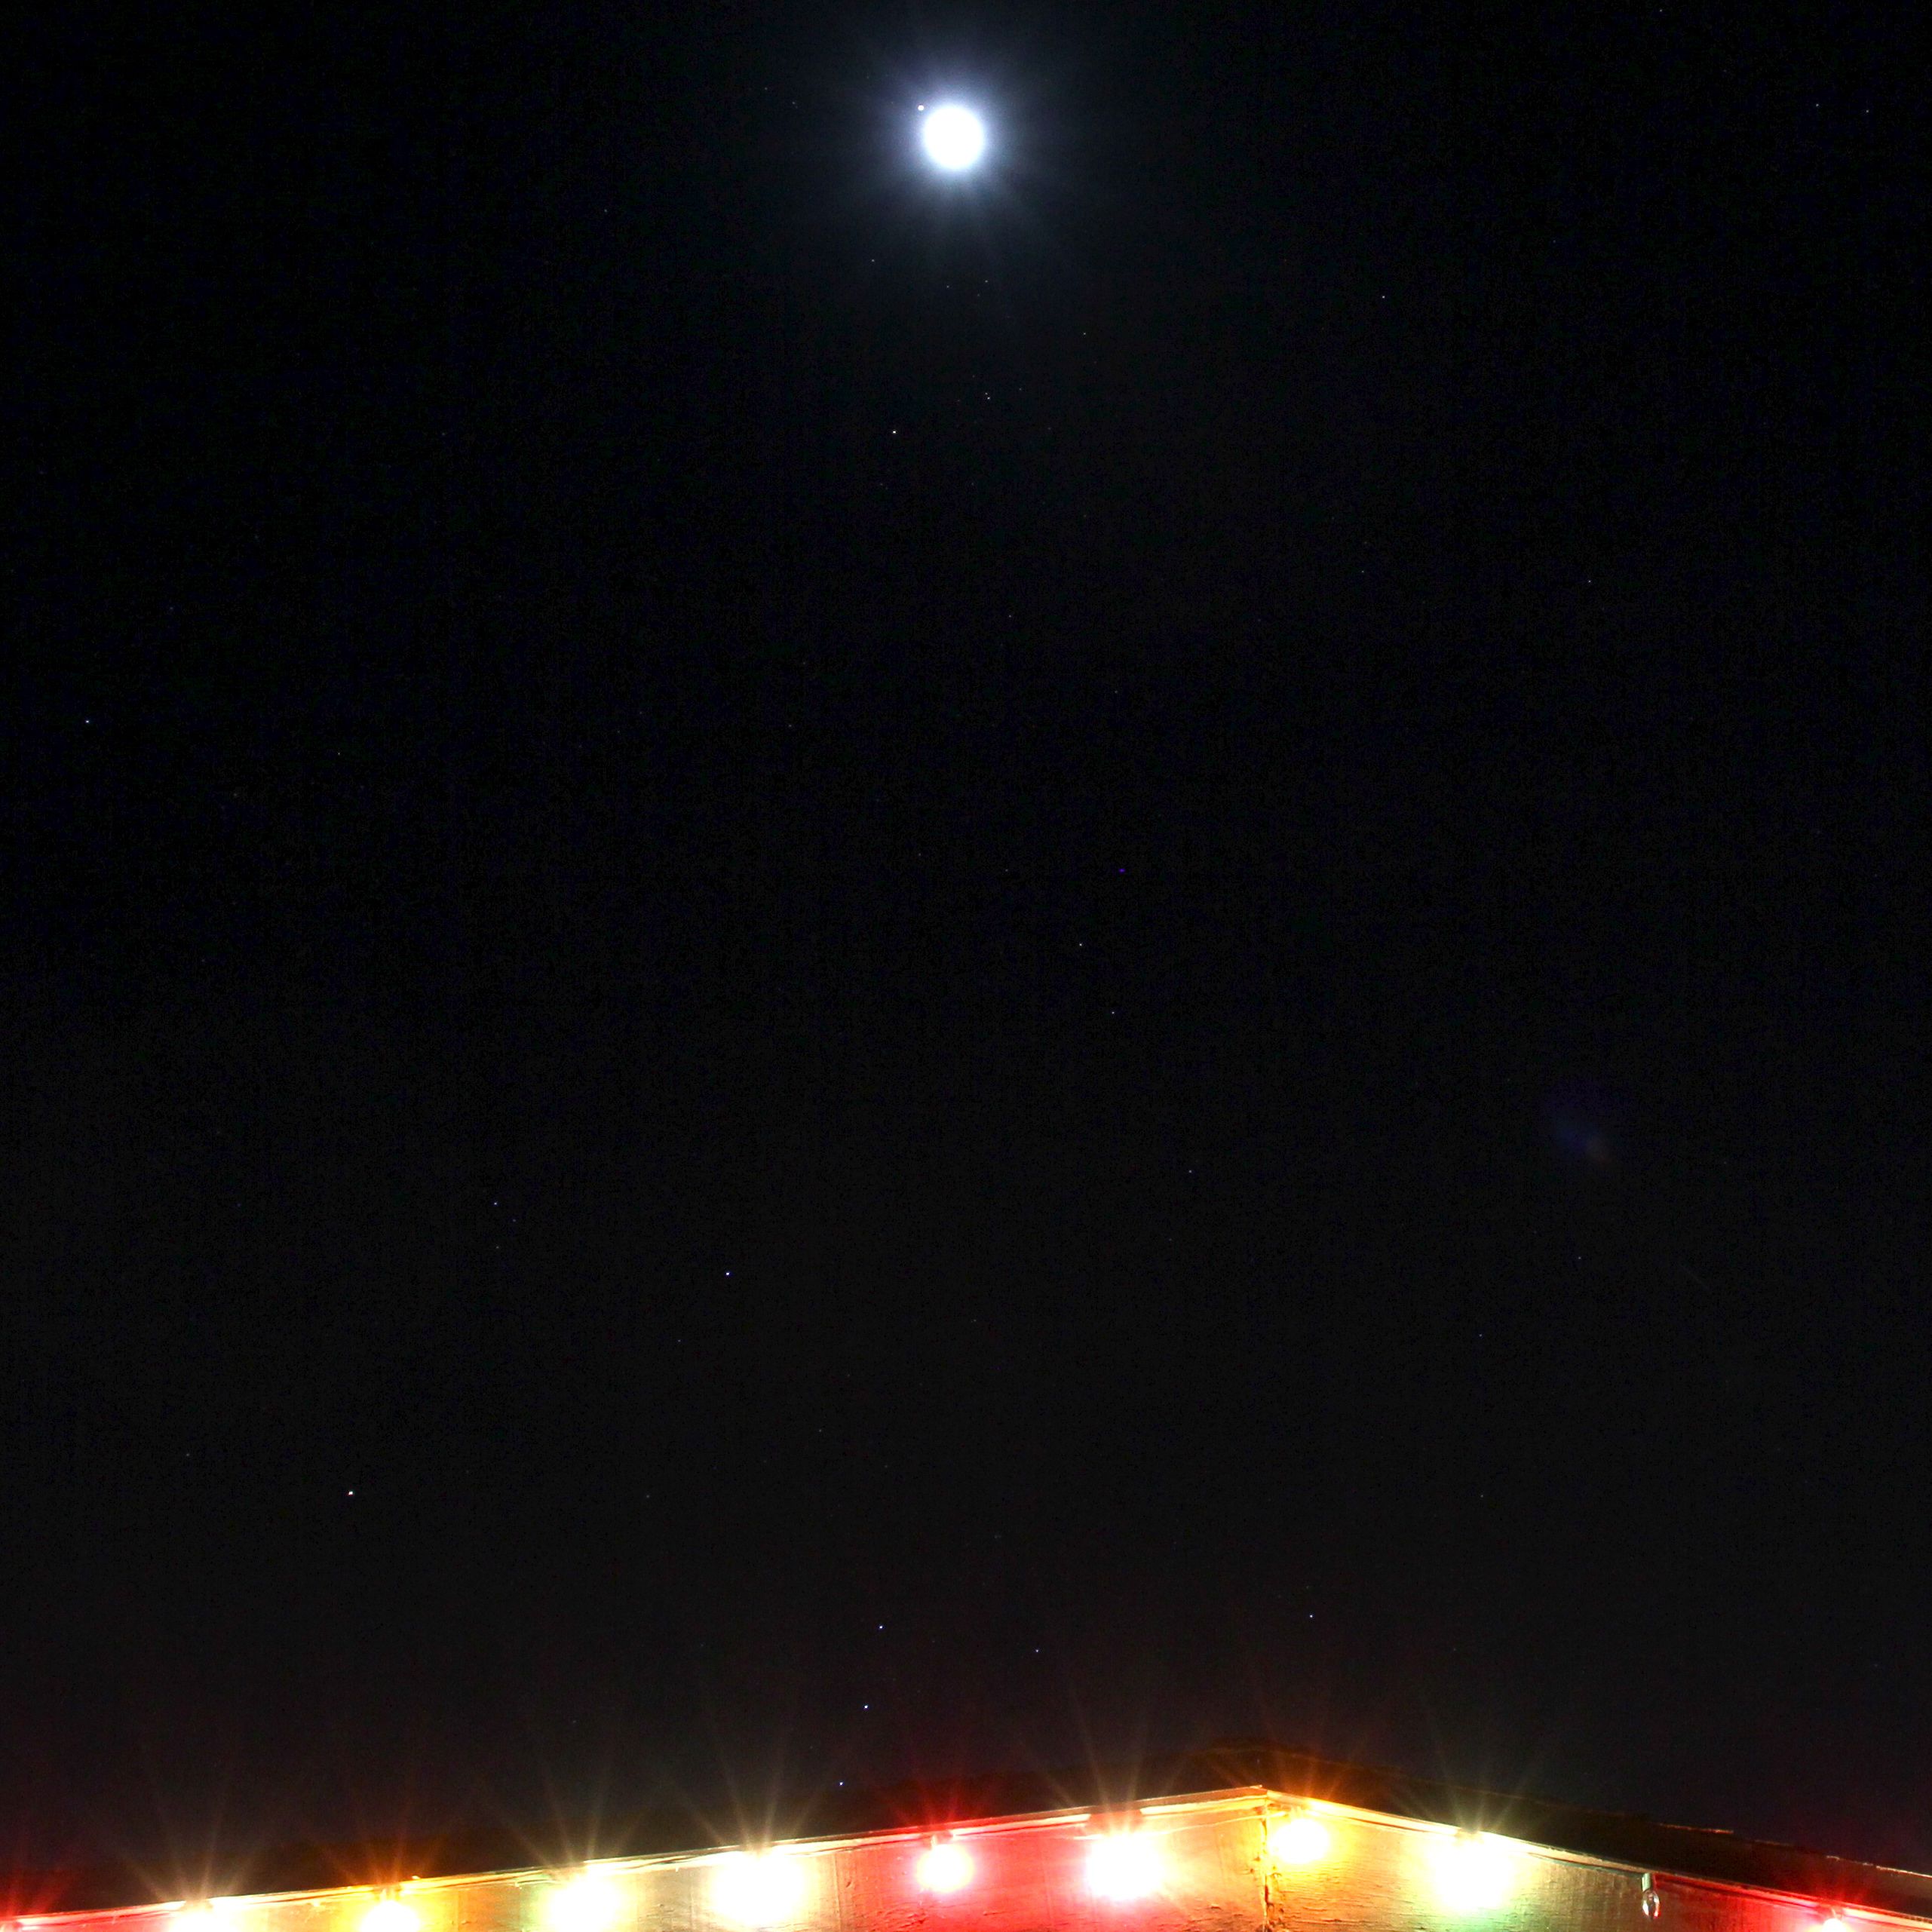
Jupiter is very bright and easily viewable in the daytime – especially with binoculars; the problem is you can never find it. Because it’s so close to the moon today, that’s no problem: find the moon and you’ve found Jupiter. This is my first pic of the day. I’ll update with new ones every few hours as Jupiter moves in to closest approach and the Jovian satellites start to appear. I have only a reasonable telephoto with me, not a telescope, but we’ll see how it goes.
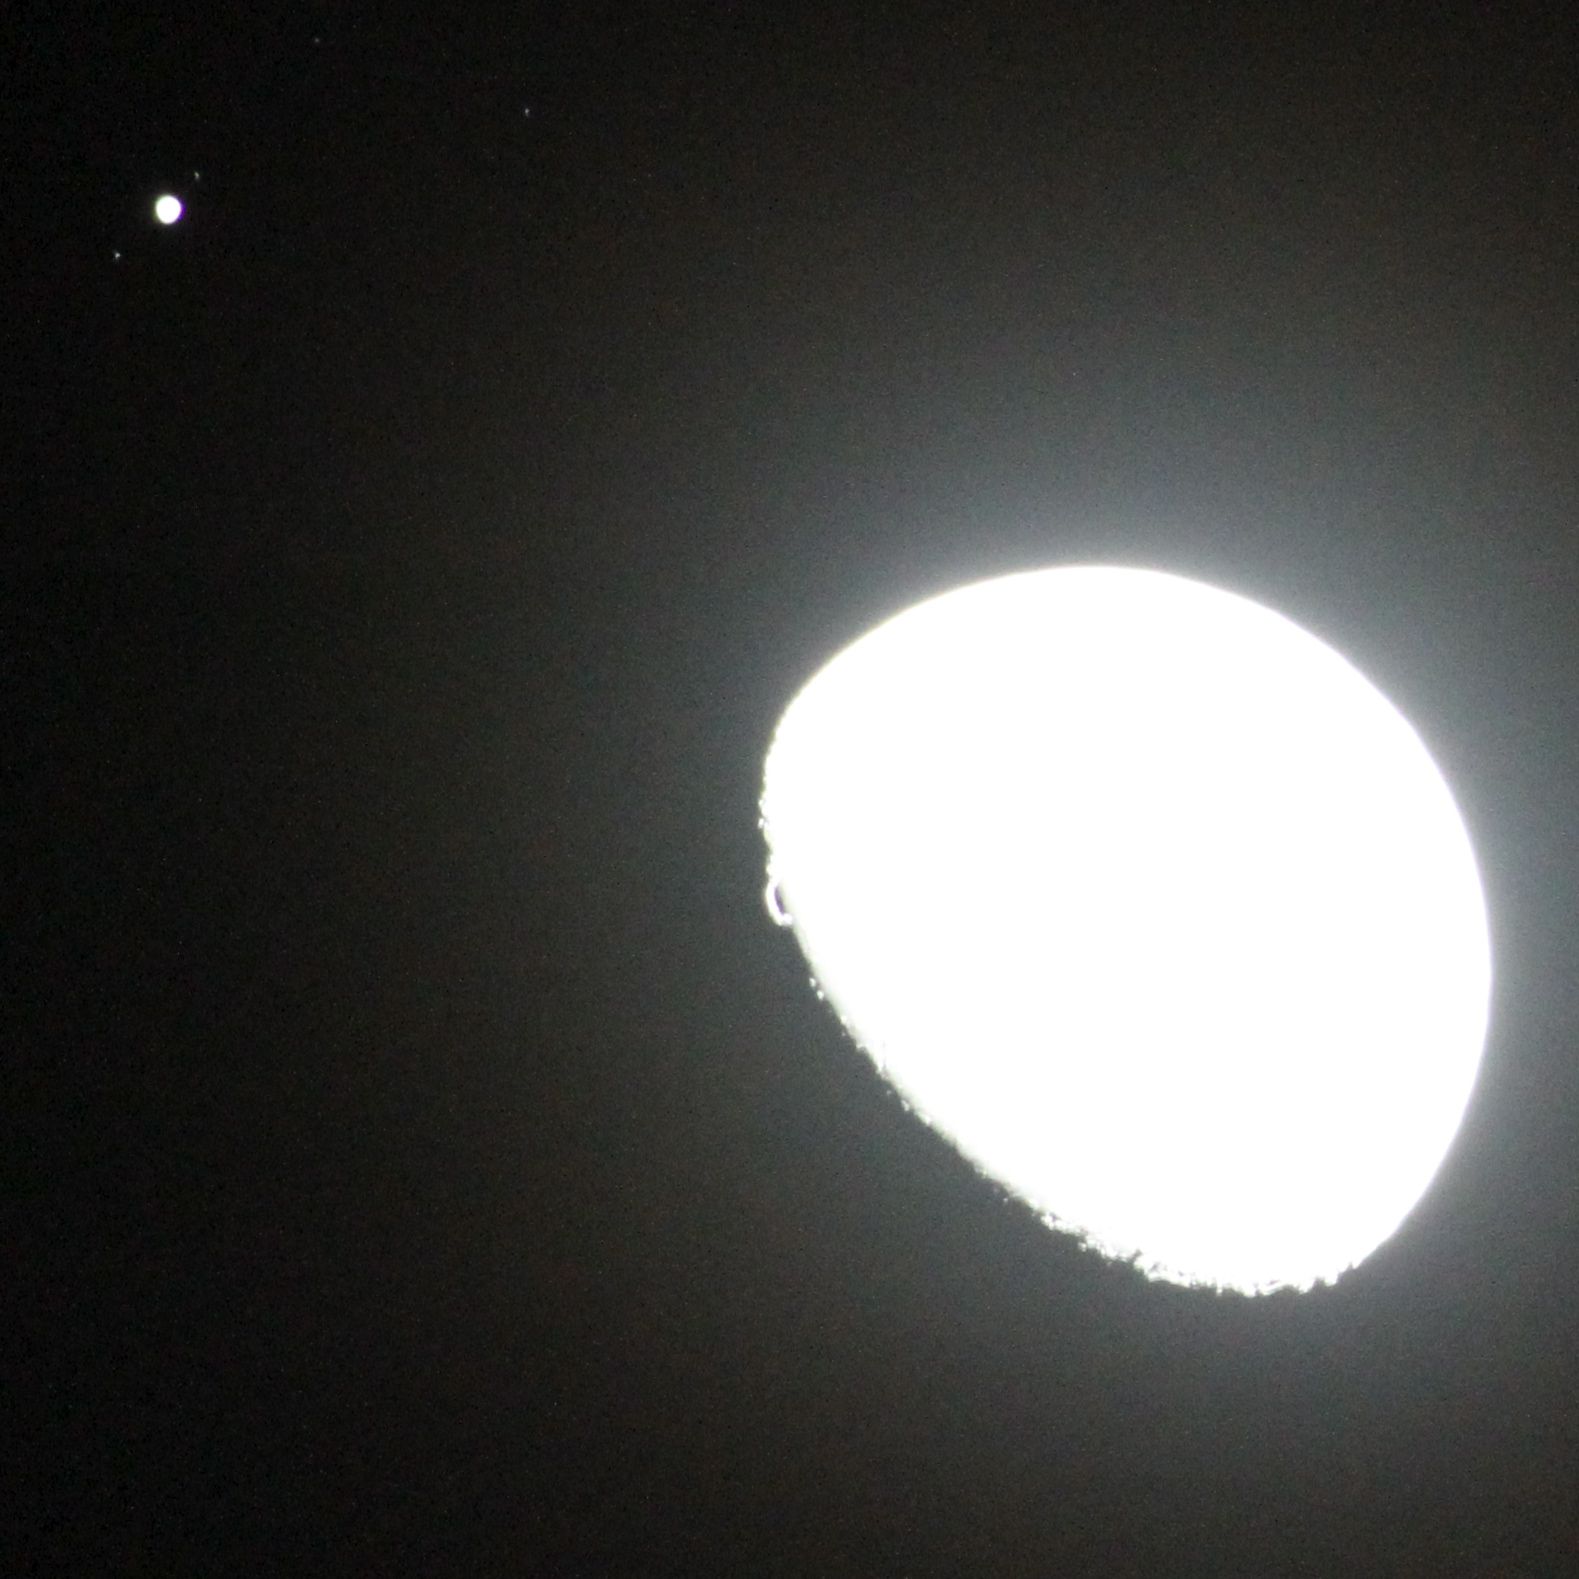
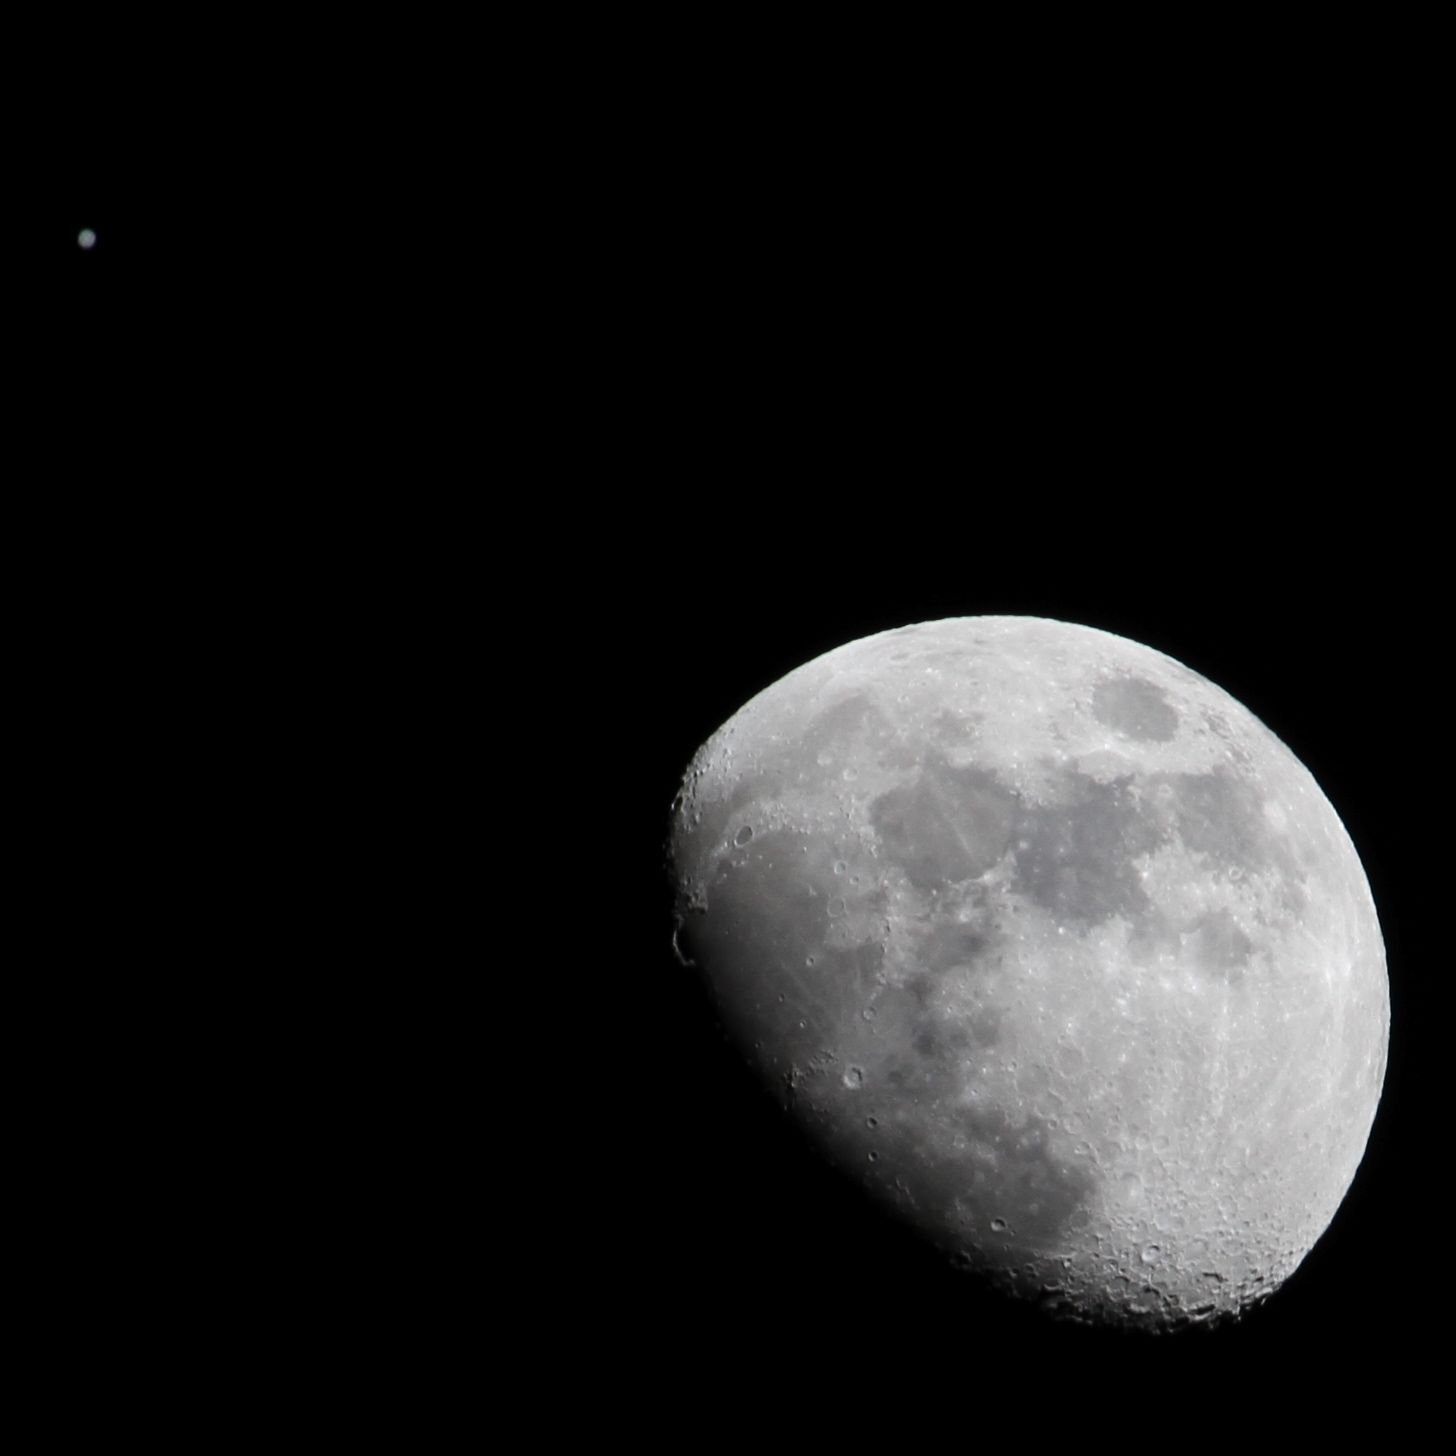
That’s about as close as it will get: 30 minutes of arc, or a Moon’s diameter. Some folks in the Southern Hemisphere will see Jupiter completely disappear behind the moon – an occultation. But that’s me done for the evening. Happy stargazing!
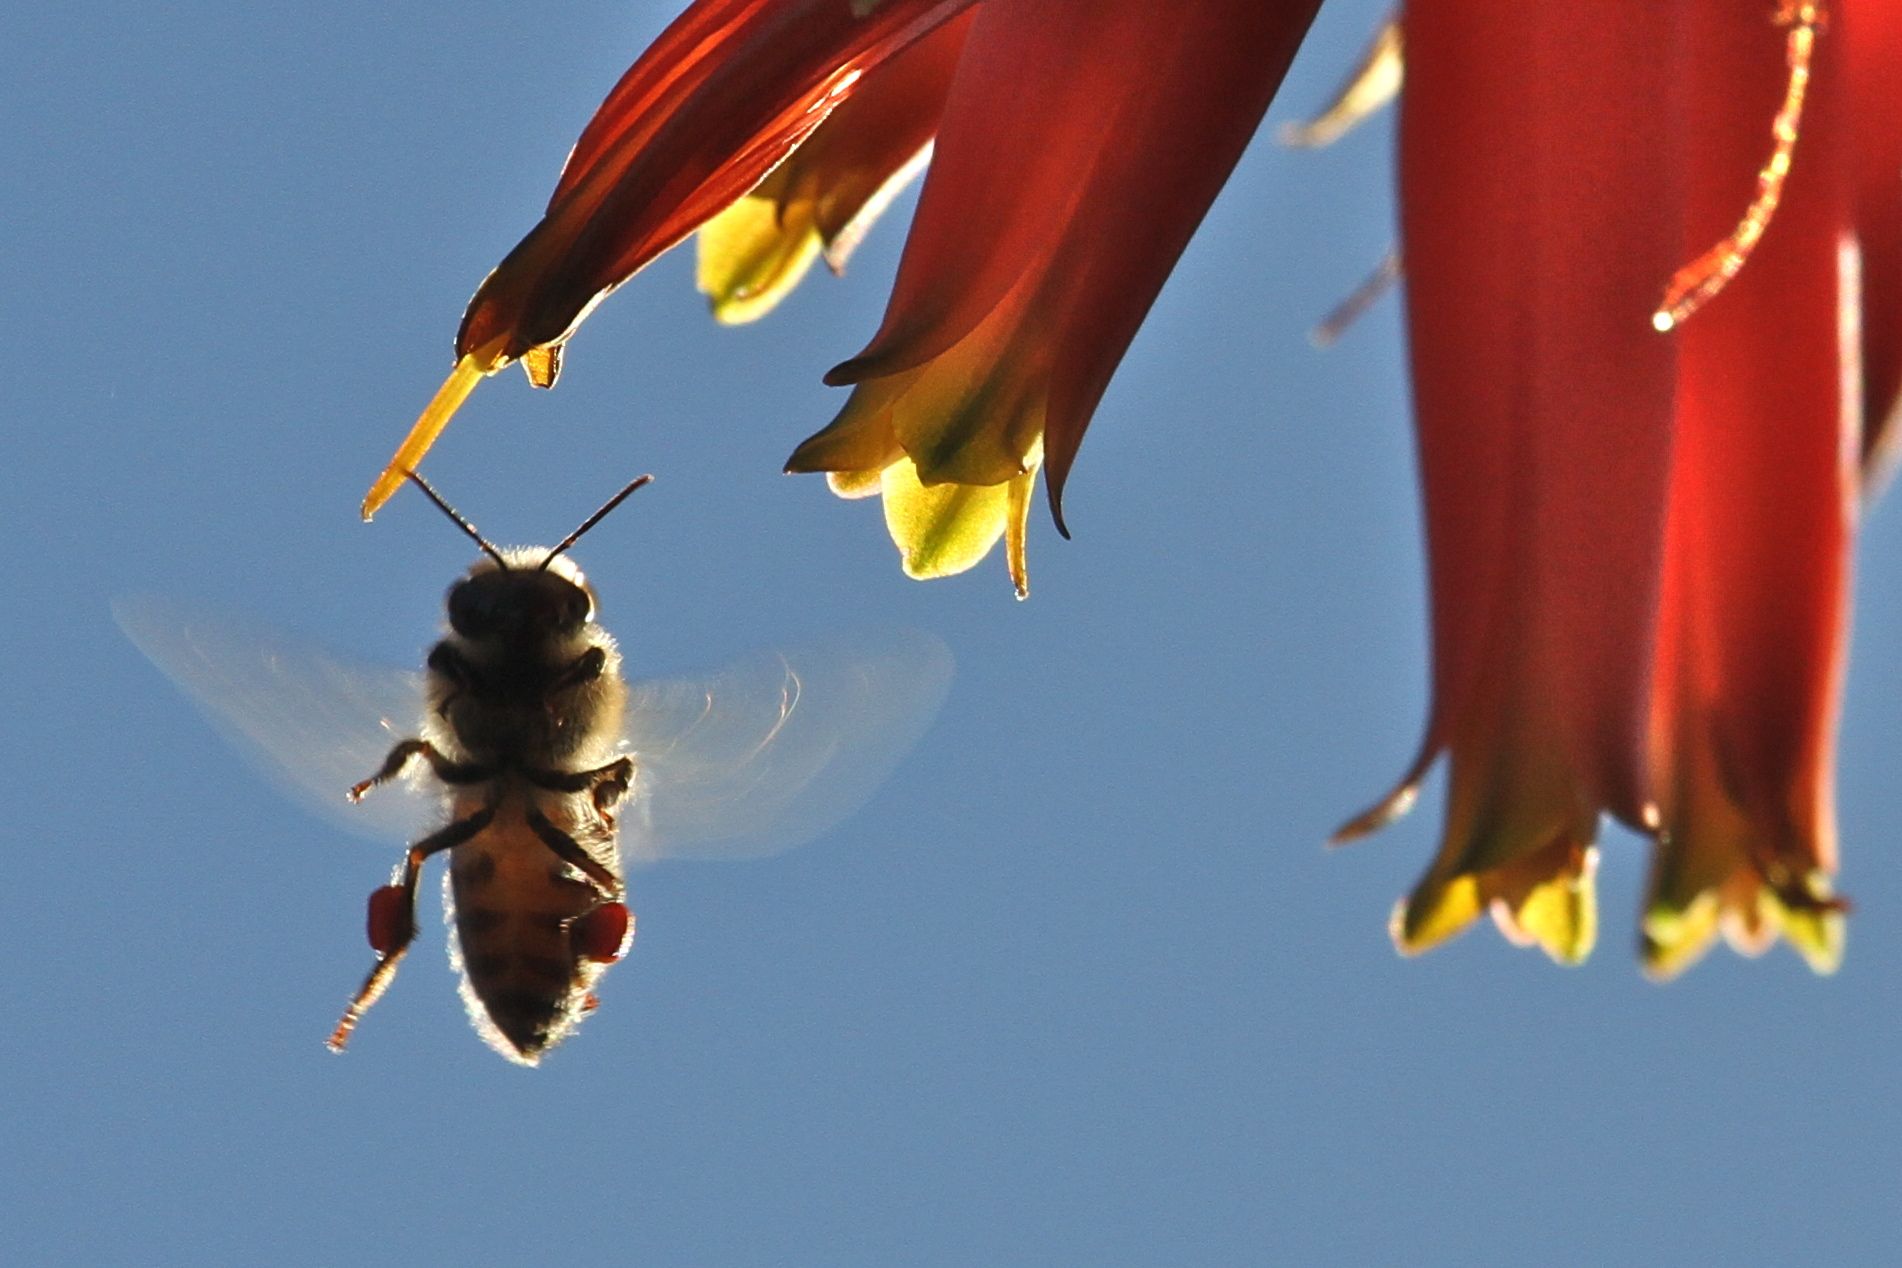
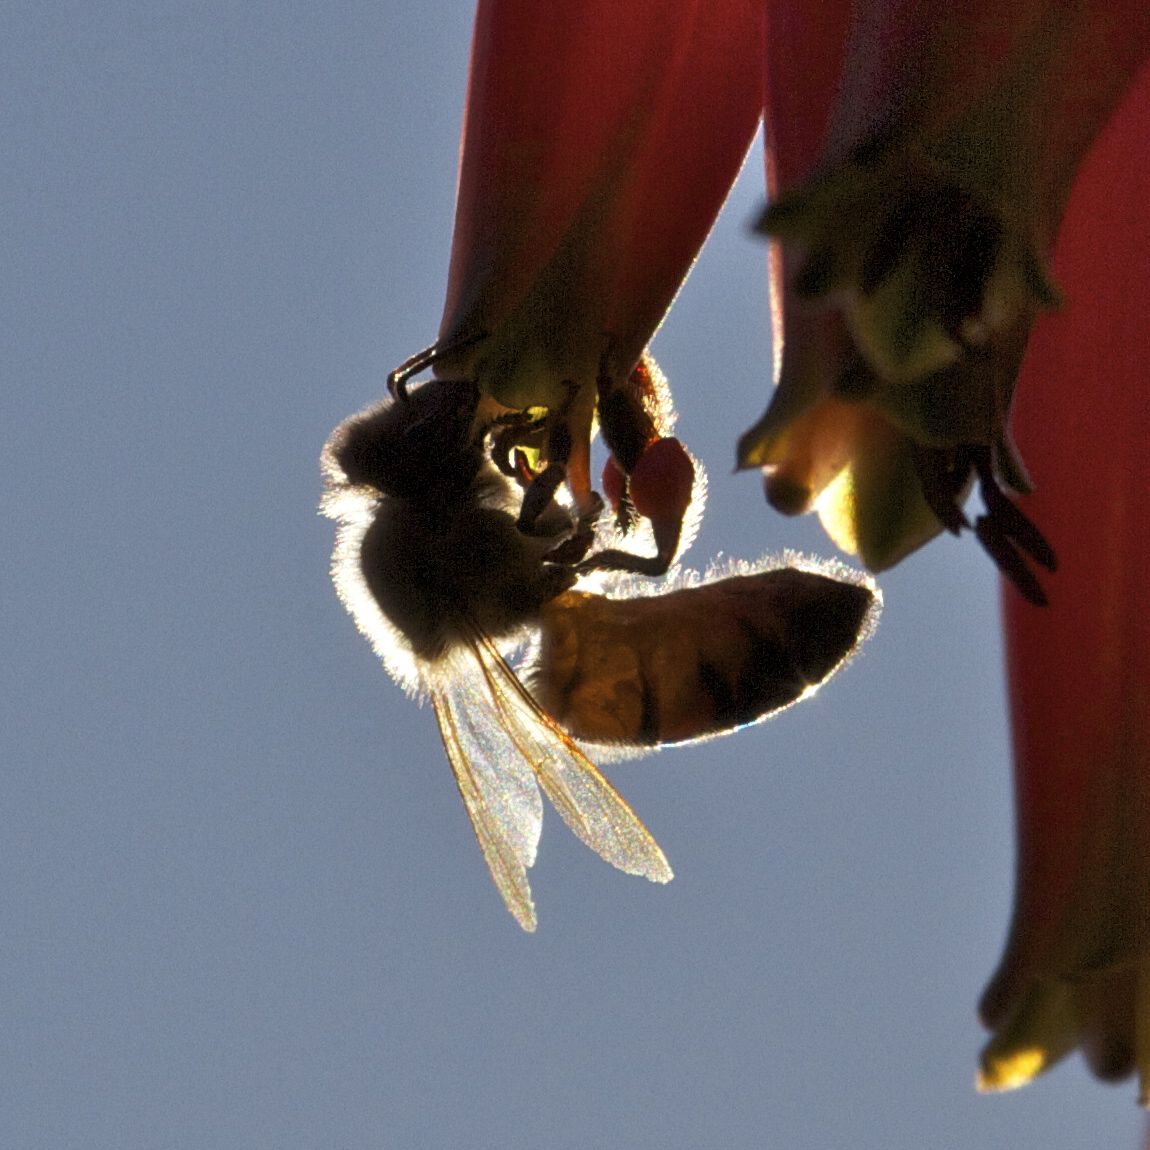
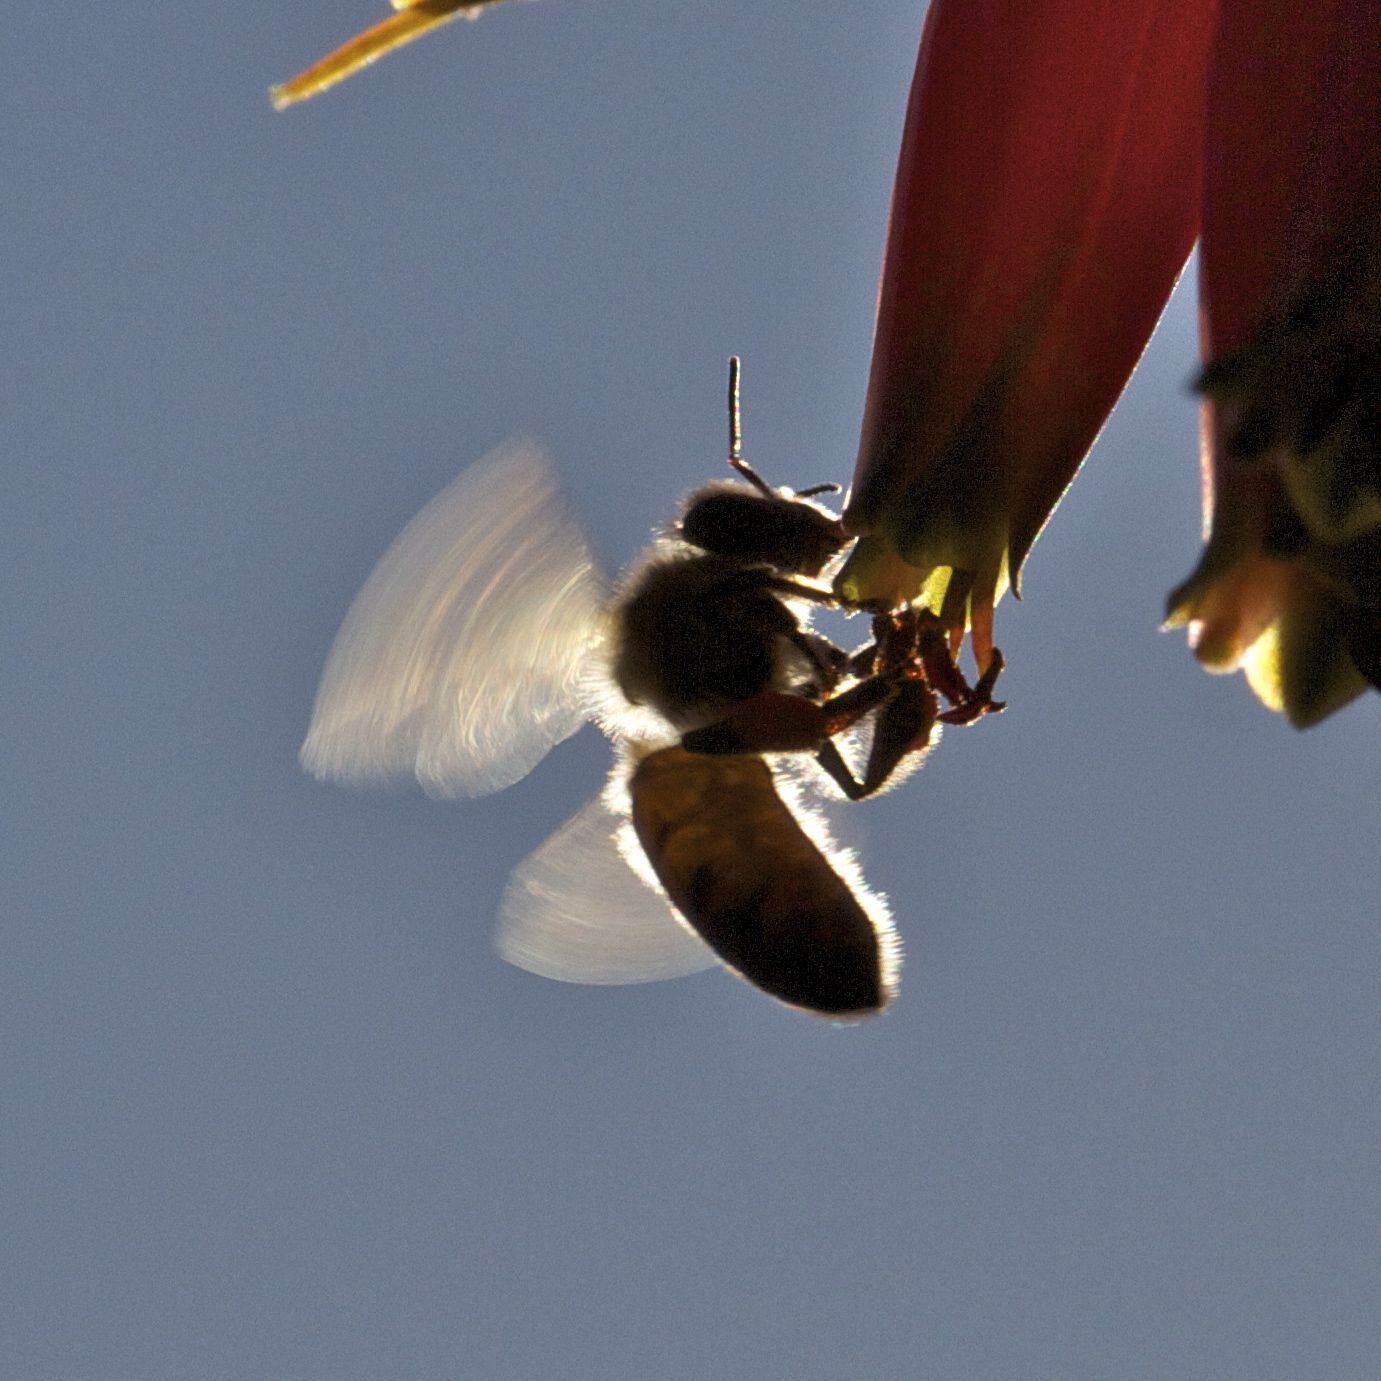
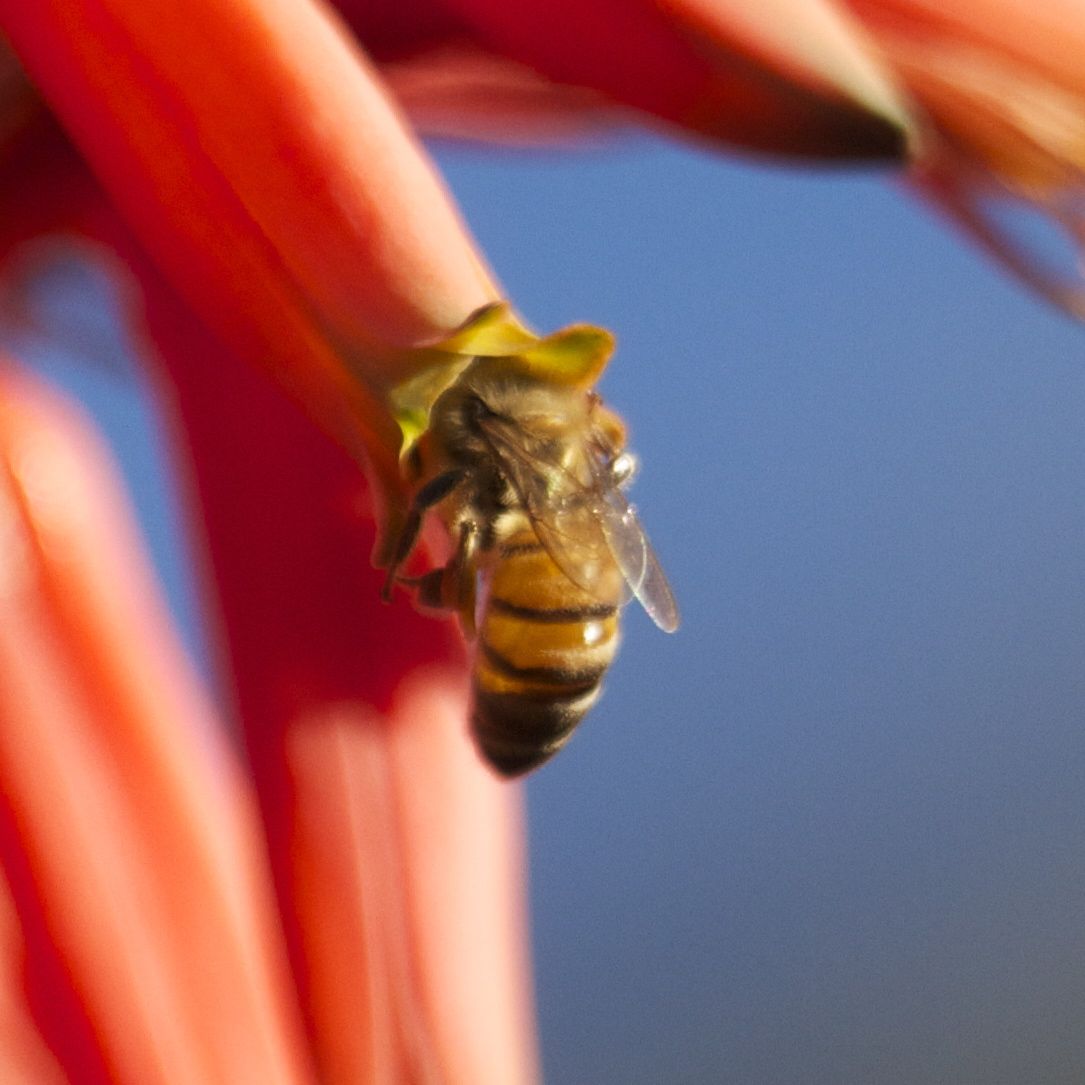
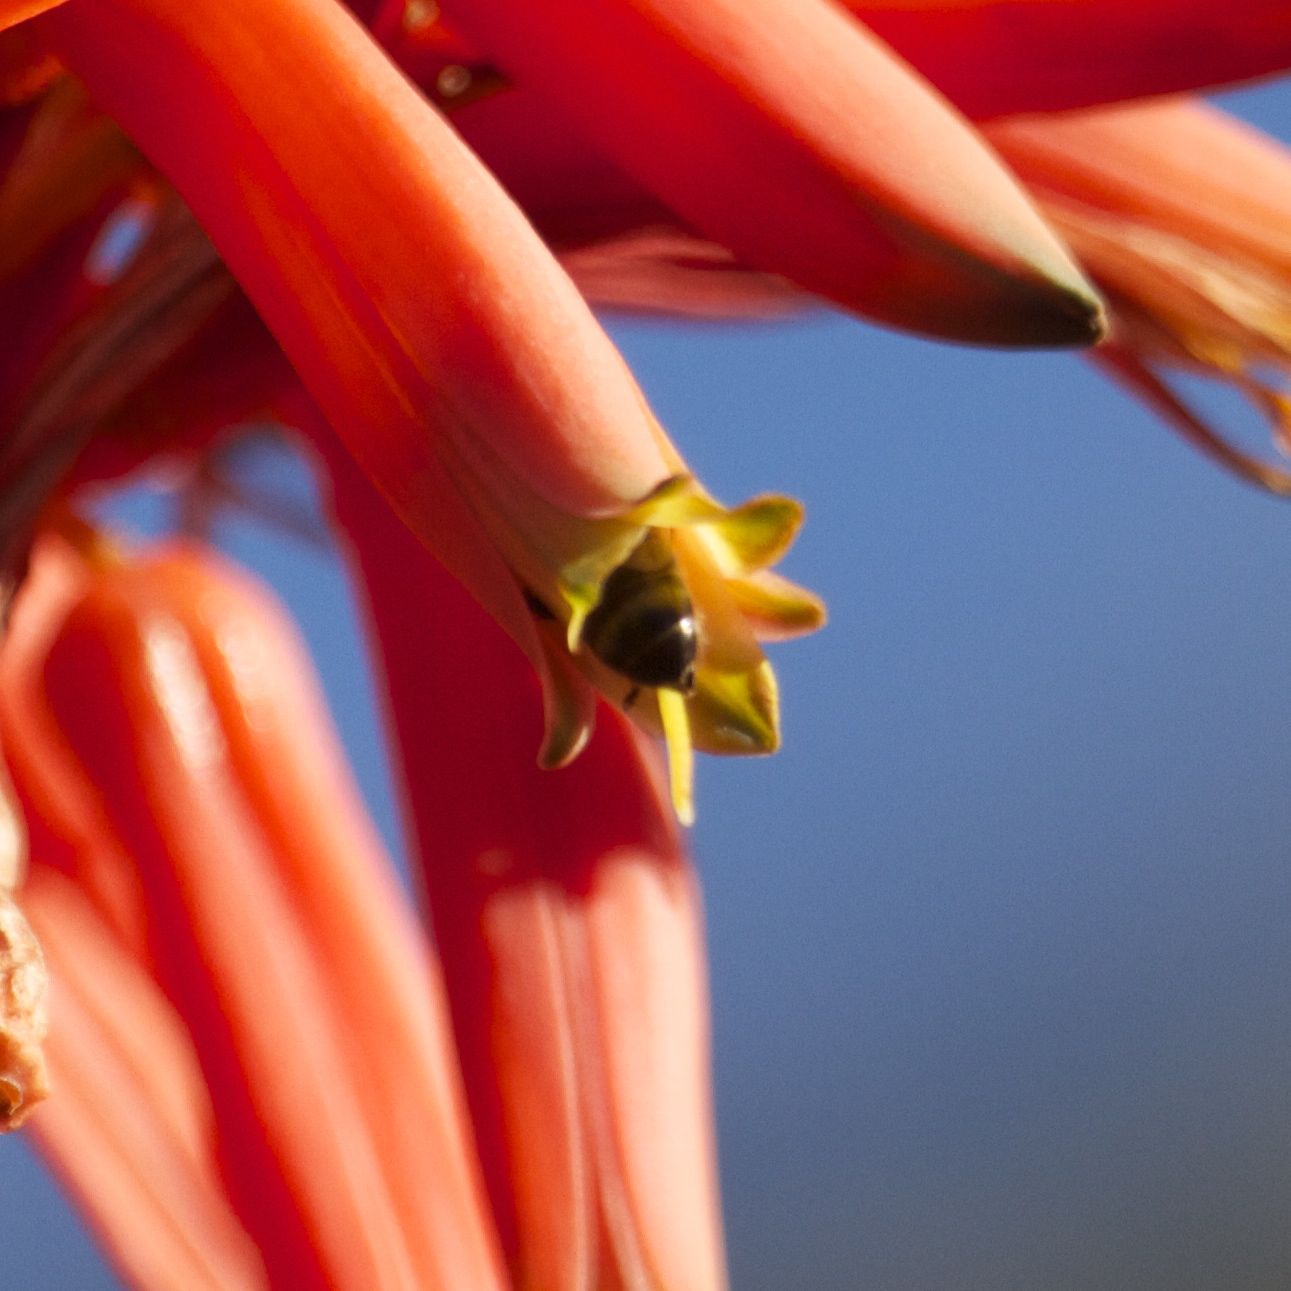
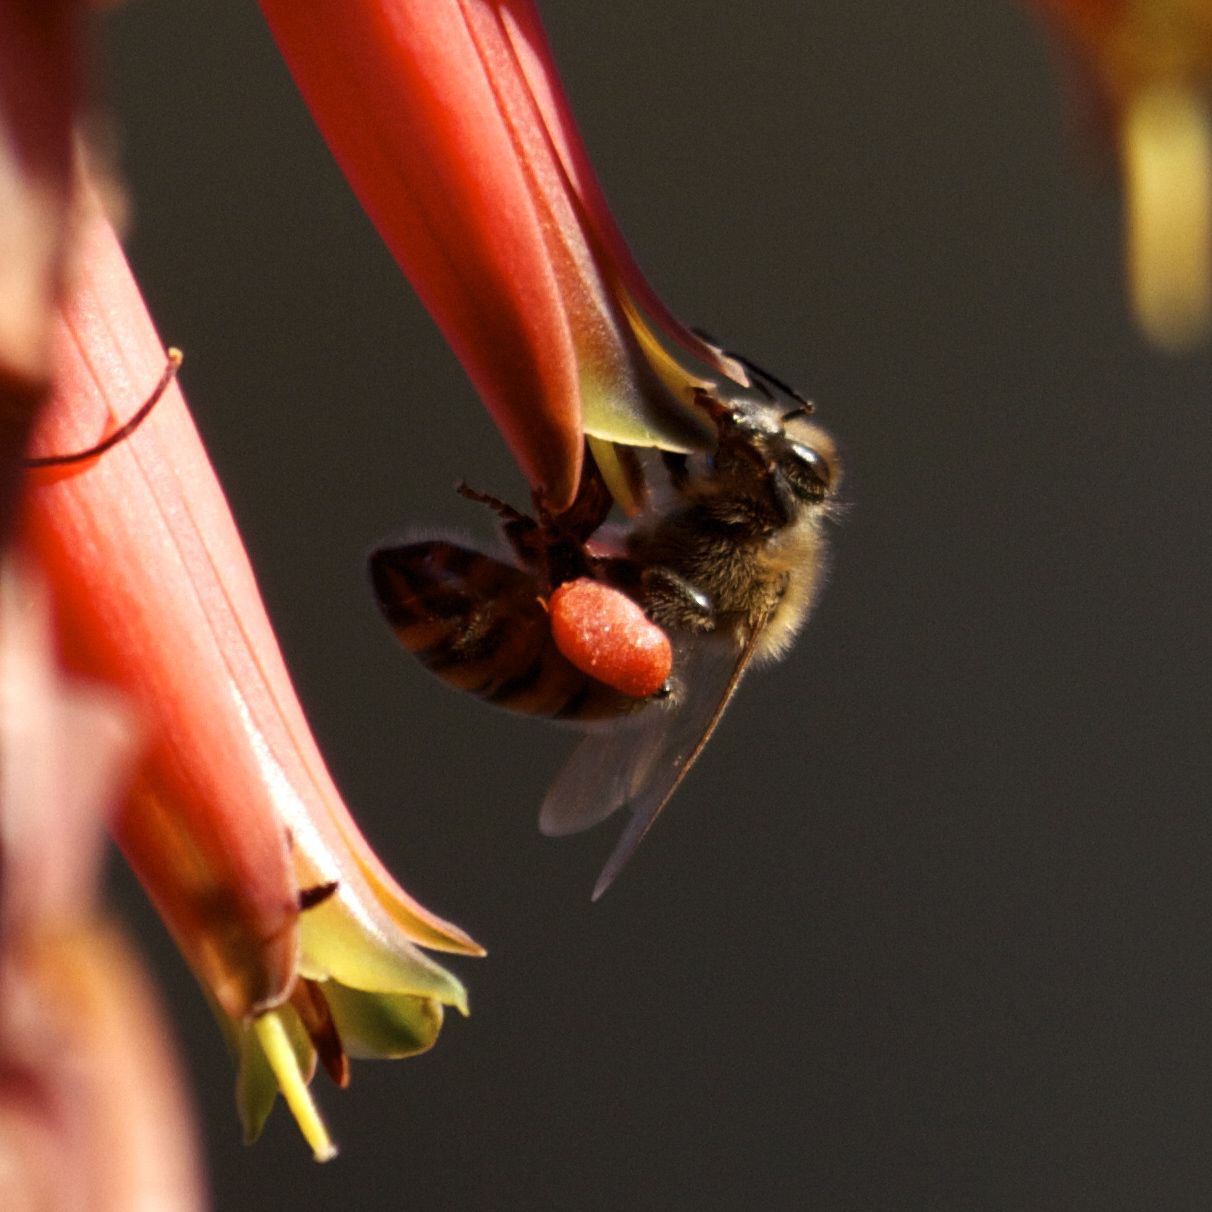
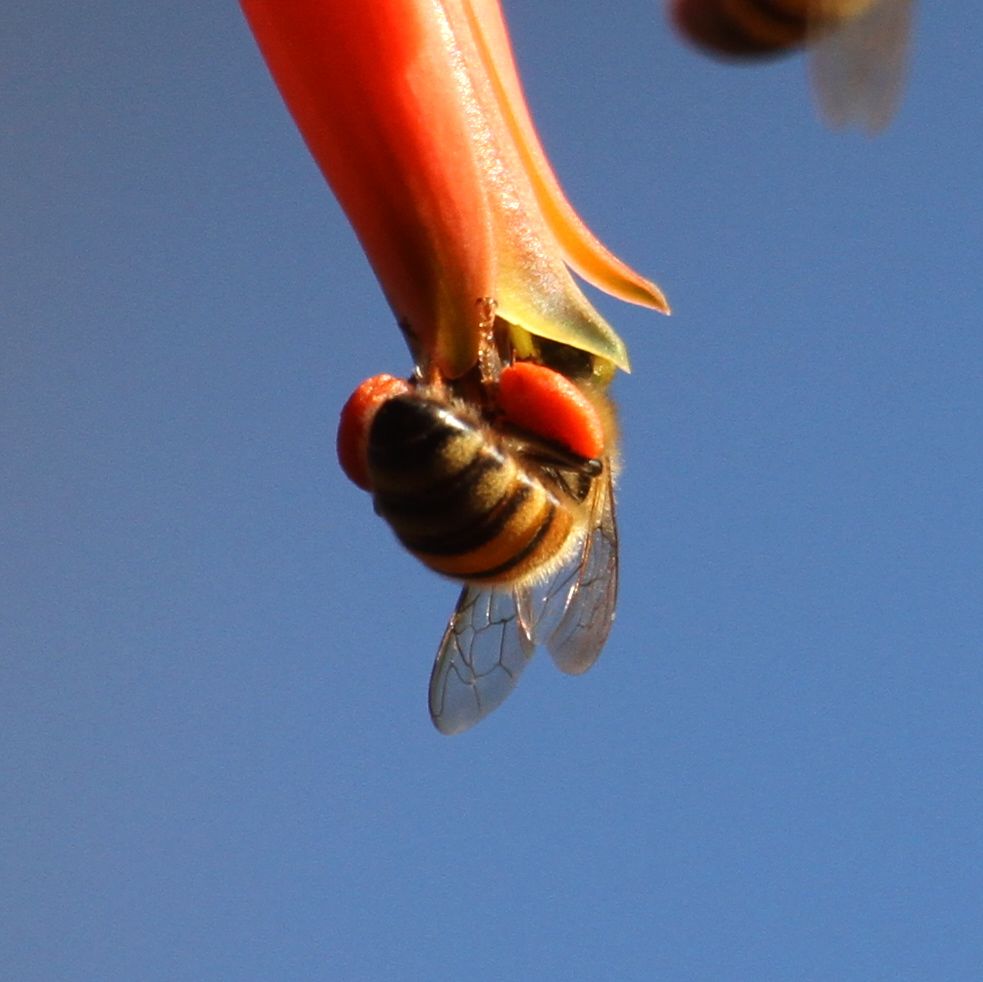
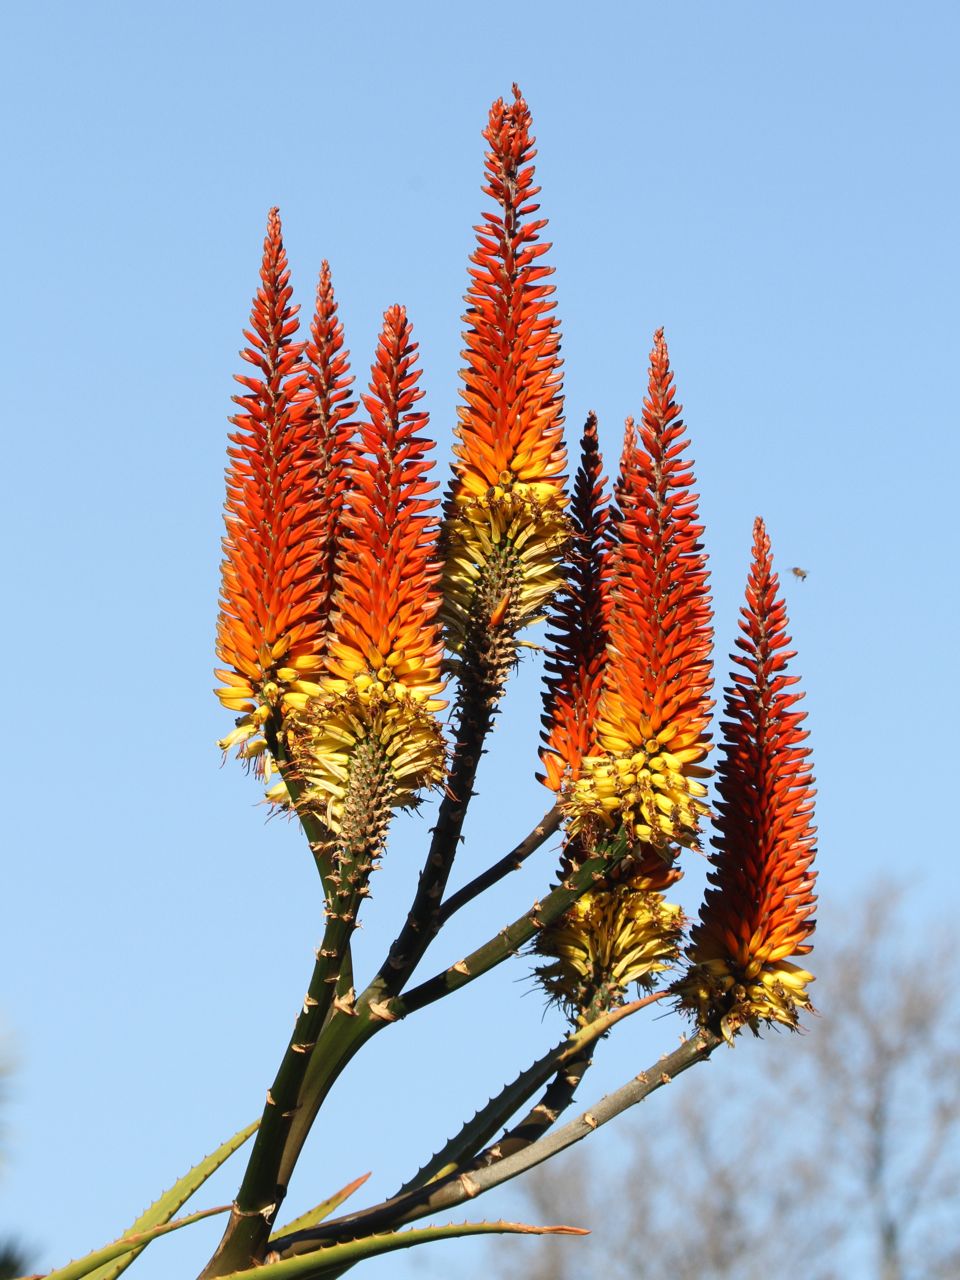
Pollen baskets are attached to the hind legs by a single hairBee entering Aloe flower with pollen basketsAloe Plant at Huntington Gardens (San Marino)These guys get a look-in too
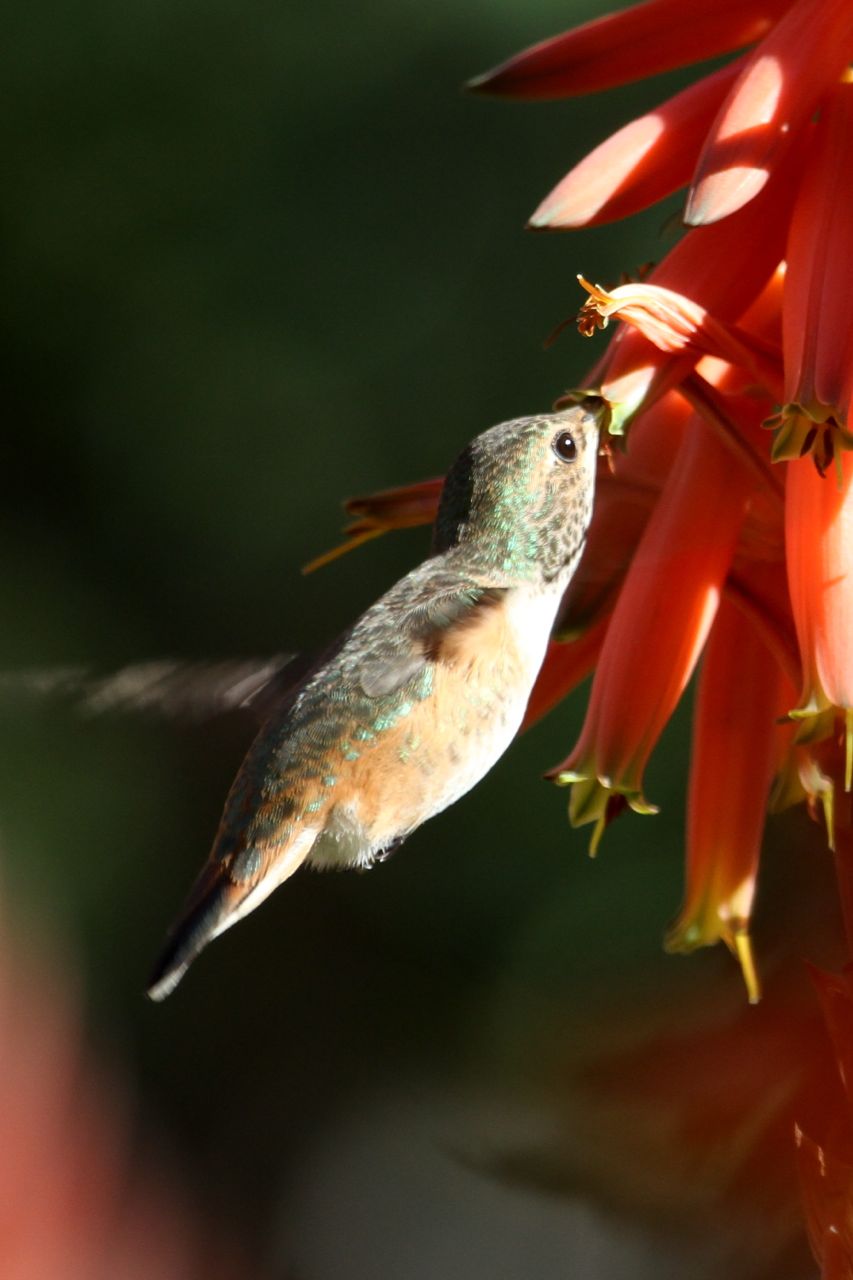
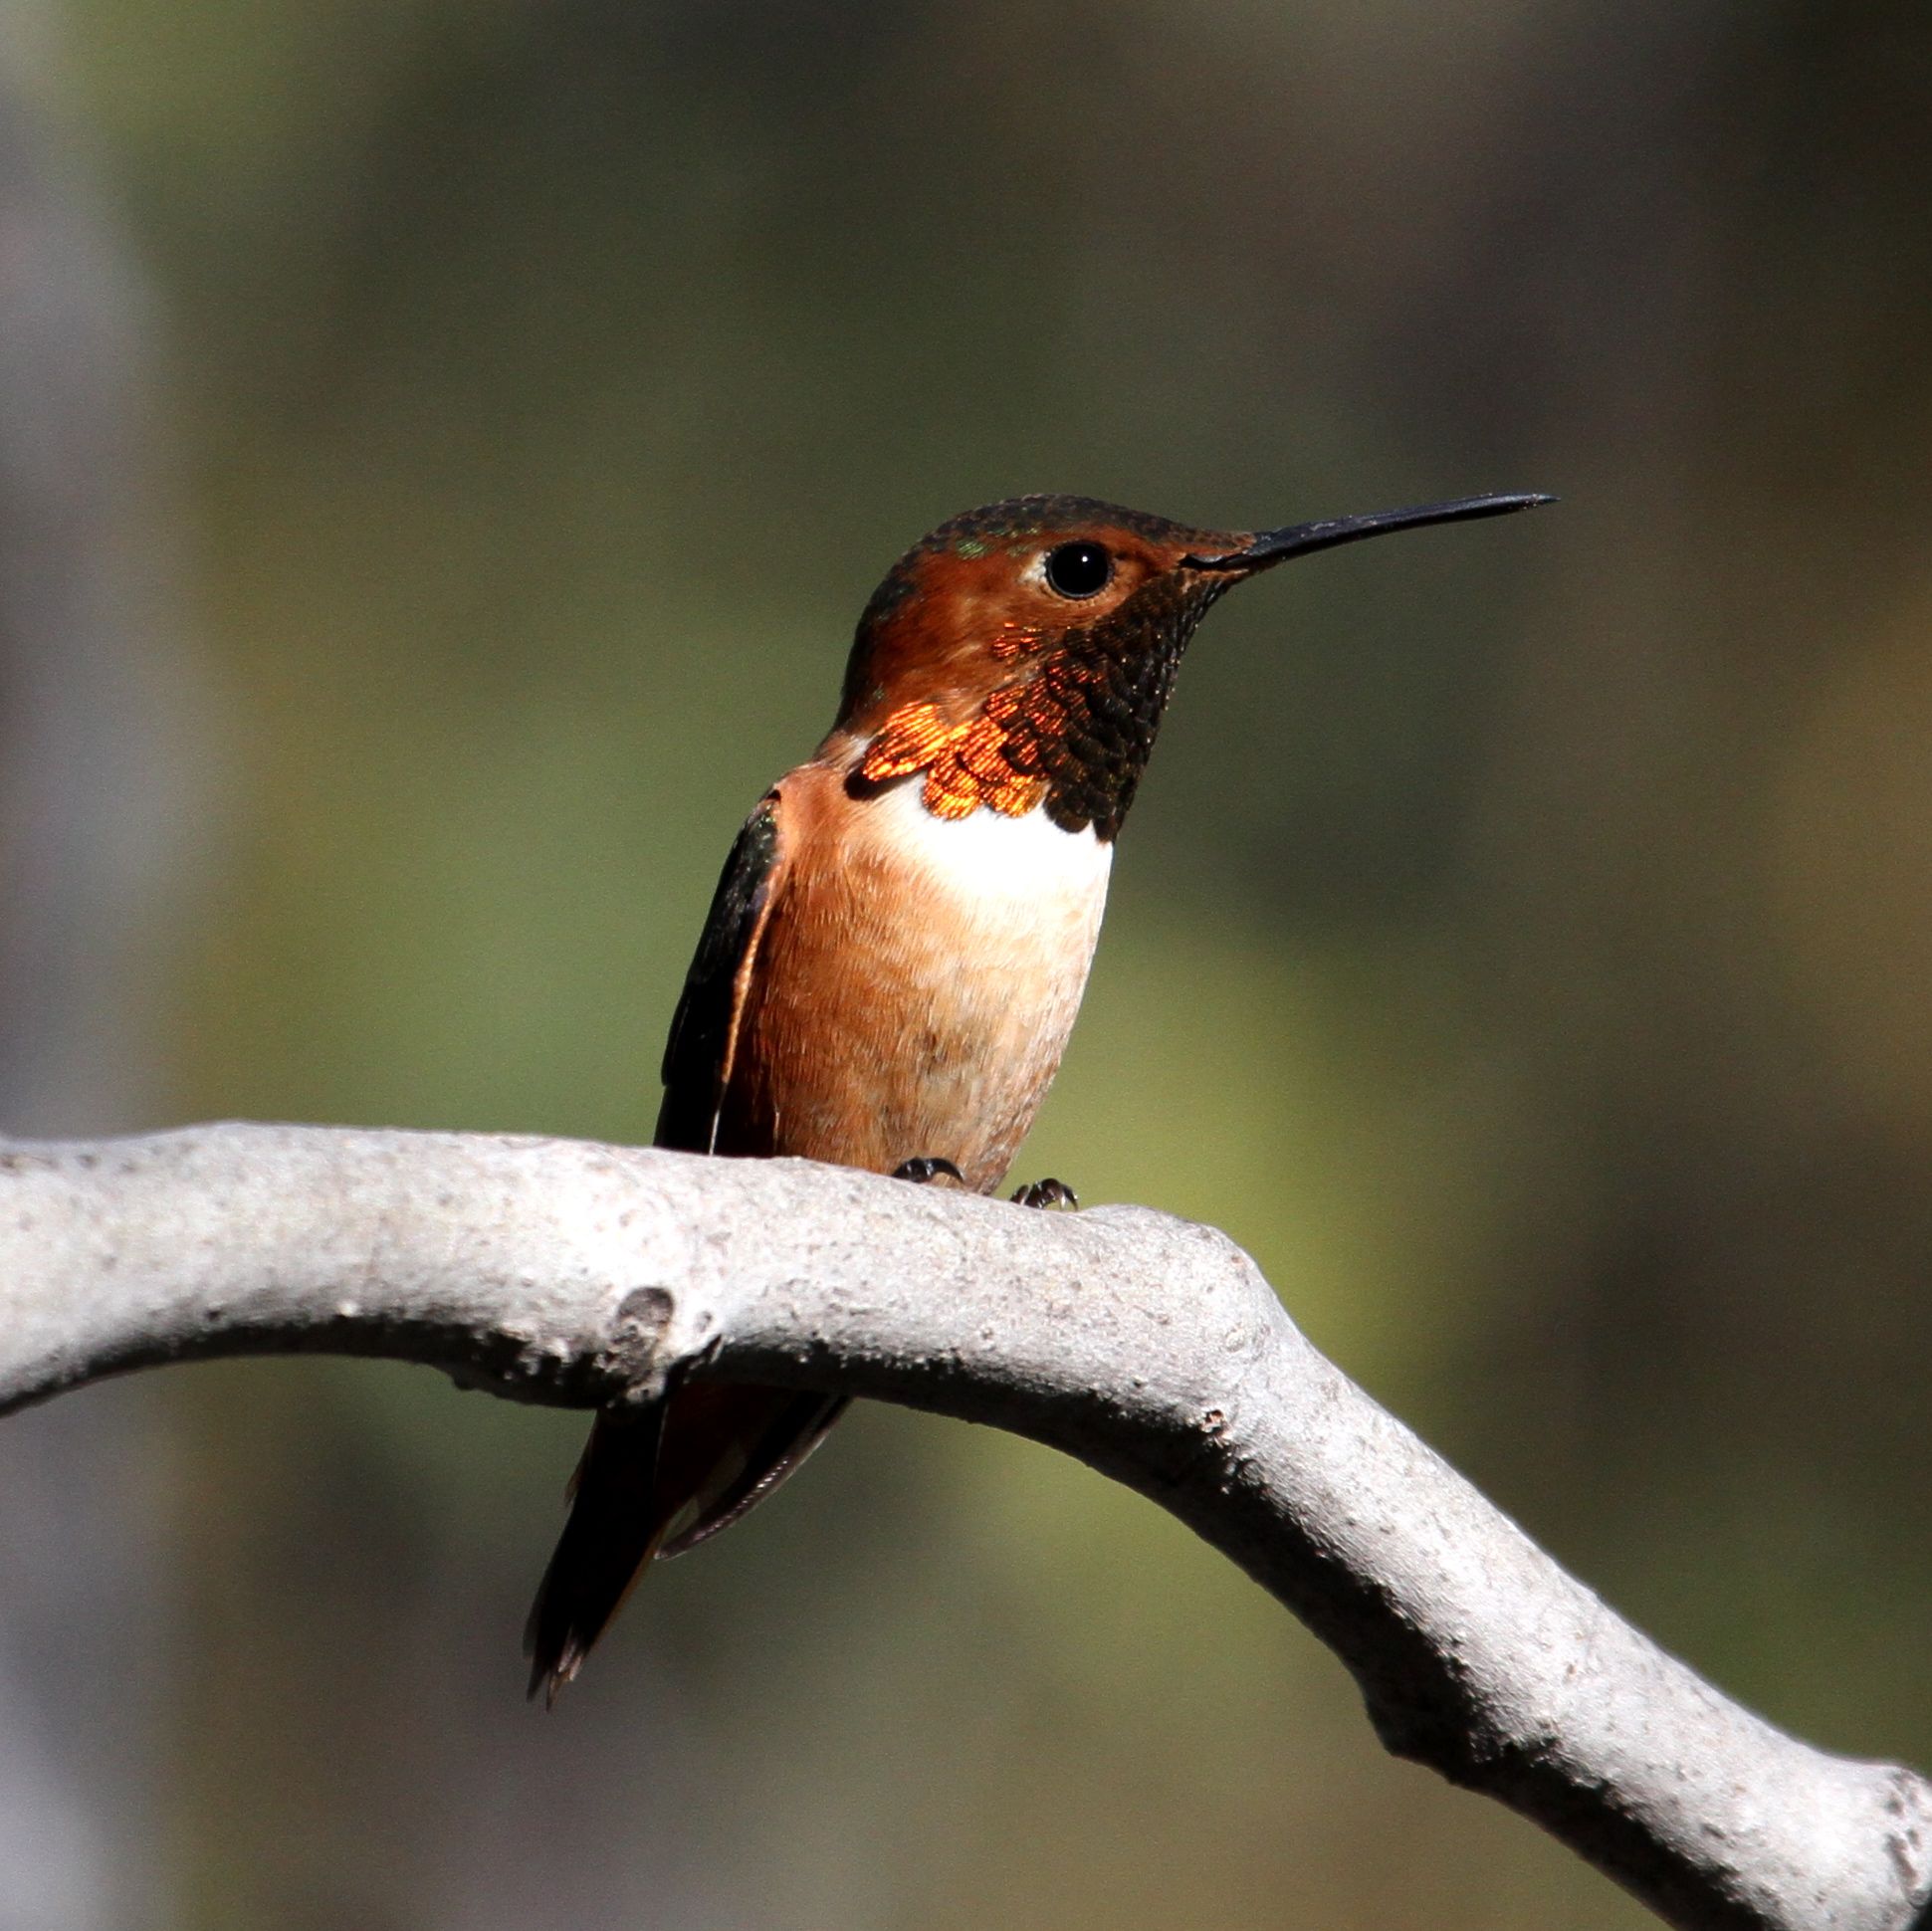
It’s no secret humming birds beat their wings fast, but it’s also nice to catch one in the act.
I snapped this Allen’s Hummingbird (Selaphorus sasin) yesterday at a shutter speed of 1/800th second (0.00125 s) and his wings are still a blur.
Humming birds can beat their wings at up to 200 beats per second – the wing completing its travel in 0.005 s. I reckon the blurred area above represents about a quarter of a full beat, which is just what we’d expect if this guy were flapping near the max. (i.e. 4 x 0.00125 = 0.005).
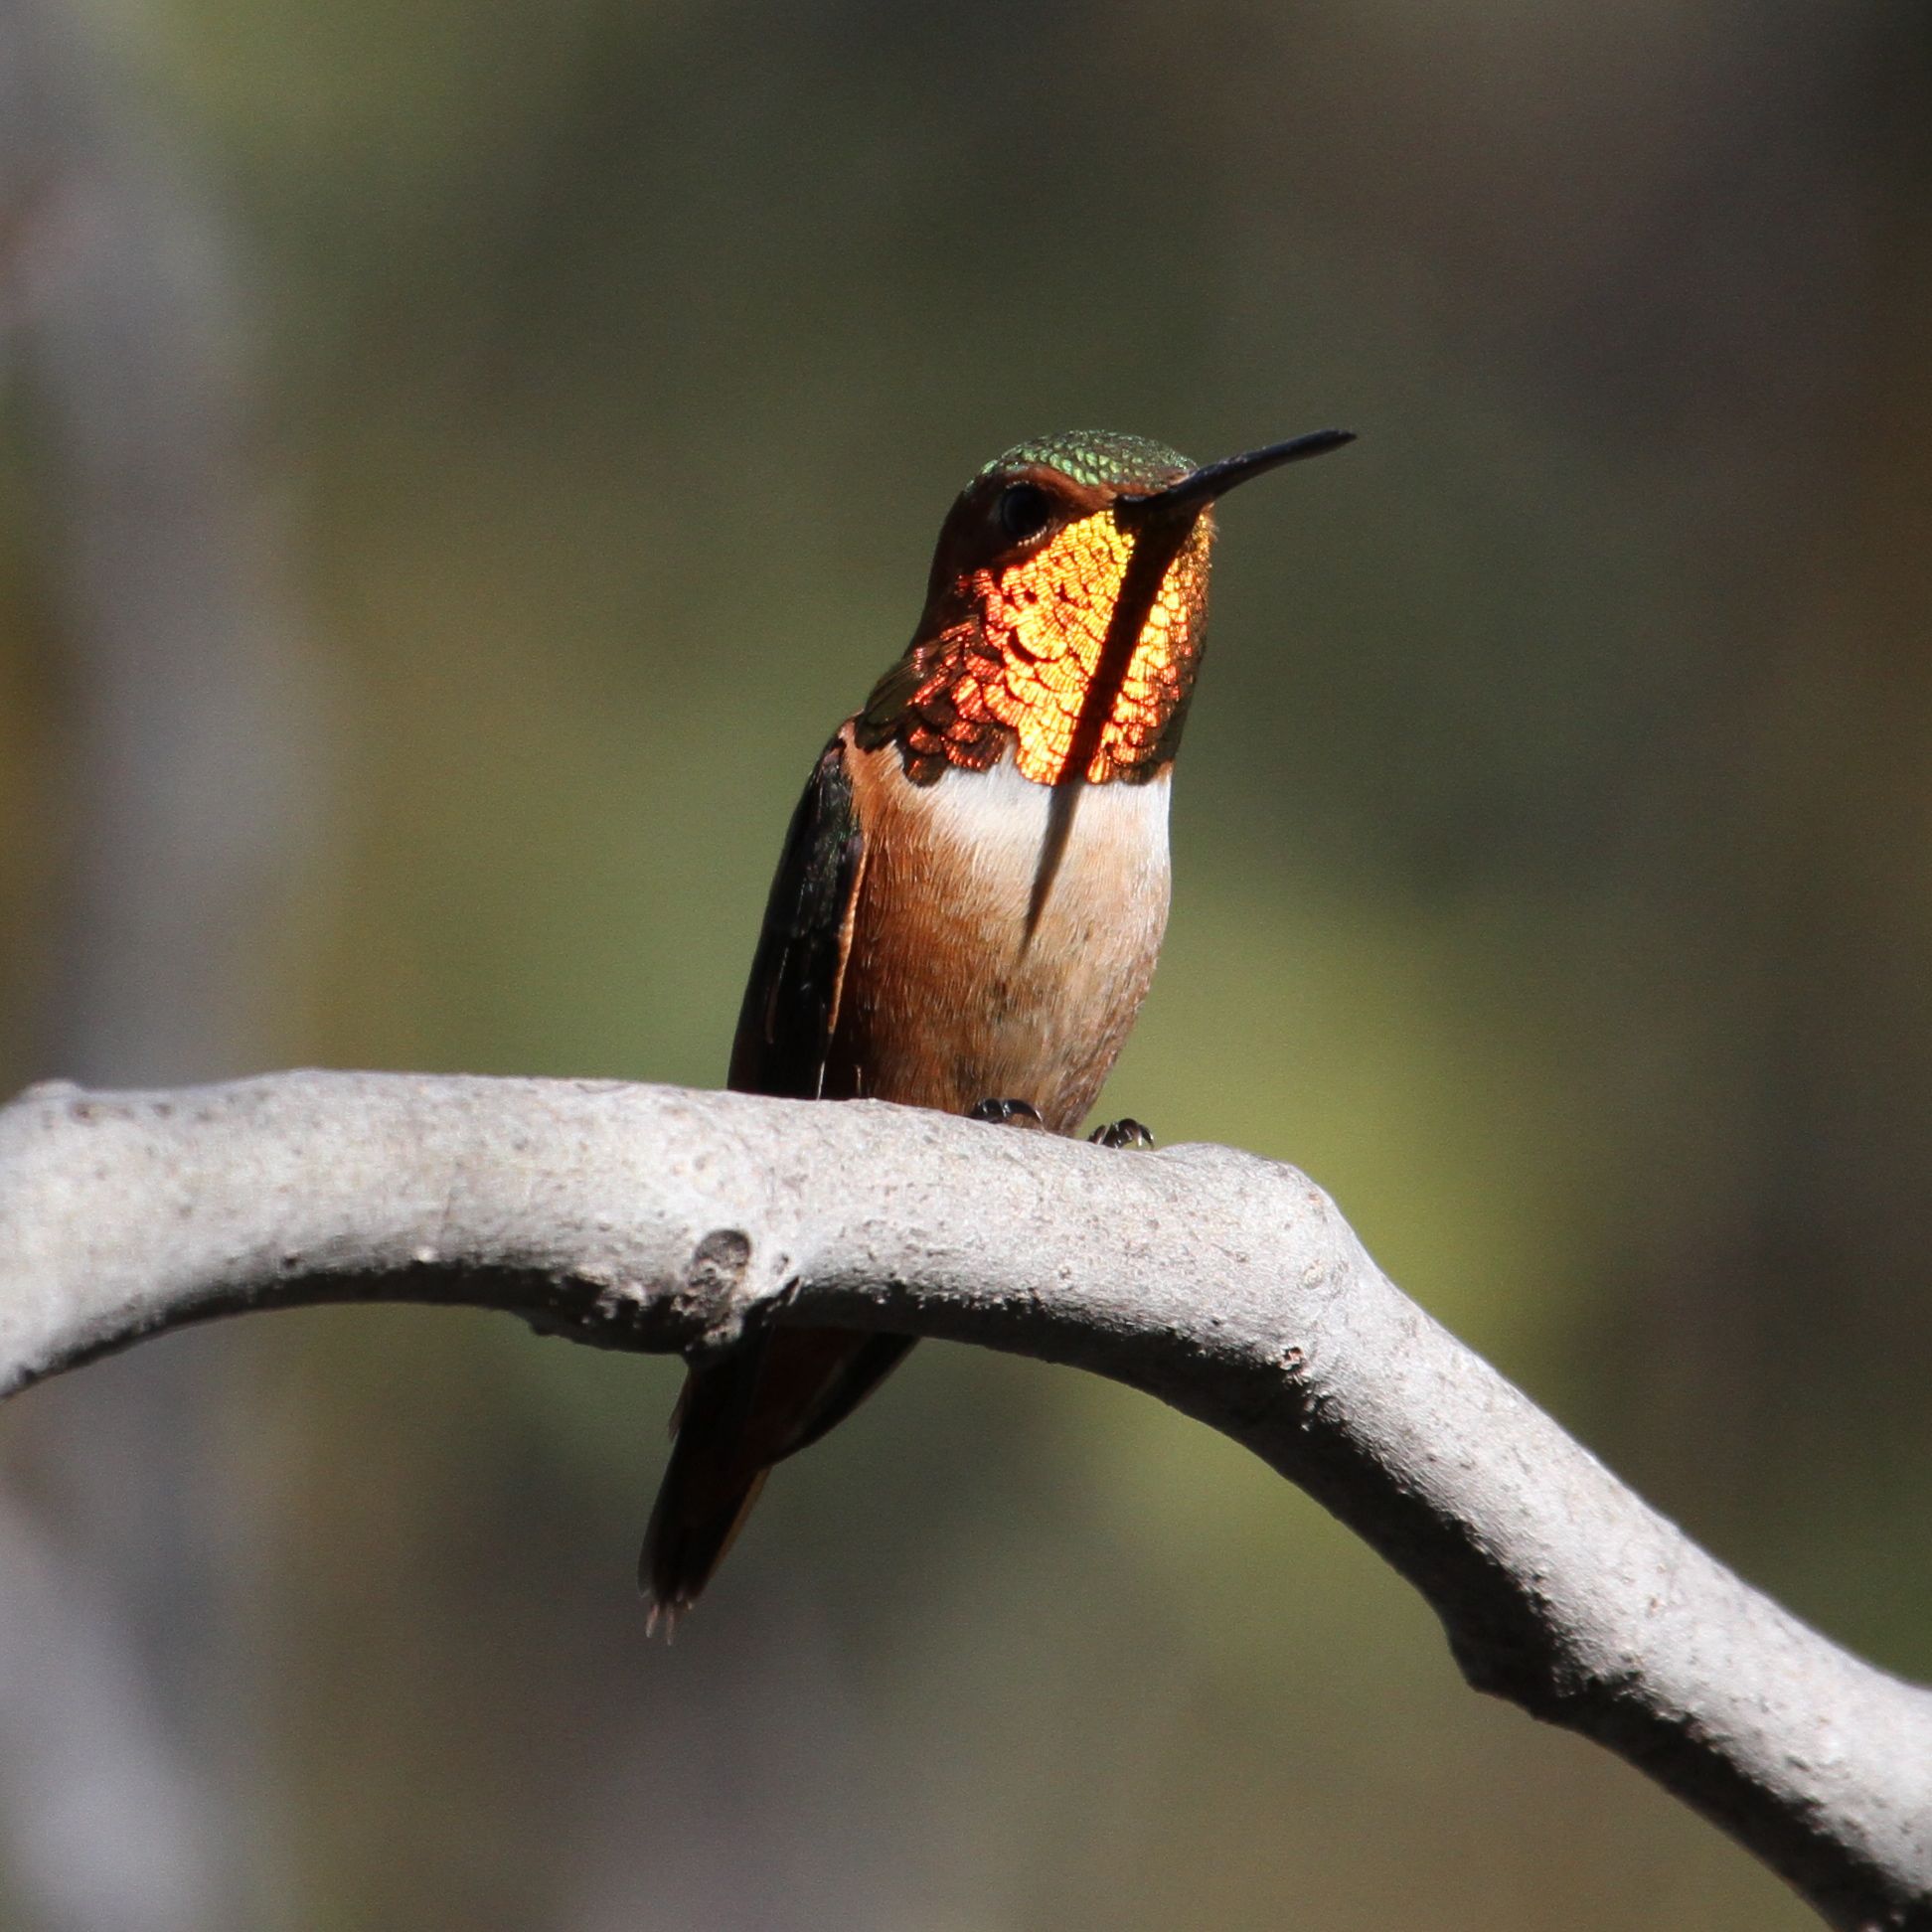
Look how the body stays almost perfectly still; it reminds me of those stories about being able to balance a coin on the bonnet of a Rolls-Royce. There is a slight wobble: if you compare his head to his foot (and the pictures below where he’s settled down) the head shows a slight shimmer.
With the sun catching him like that, we’re also getting a good demonstration of the iridescent color effects humming birds exhibit due to interference of light within the microstructure of their feathers.
It’s still the holiday season, so no apologies for doodling on about gingerbread, which, as it turns out, can be pretty strong stuff – if a bit bendy.
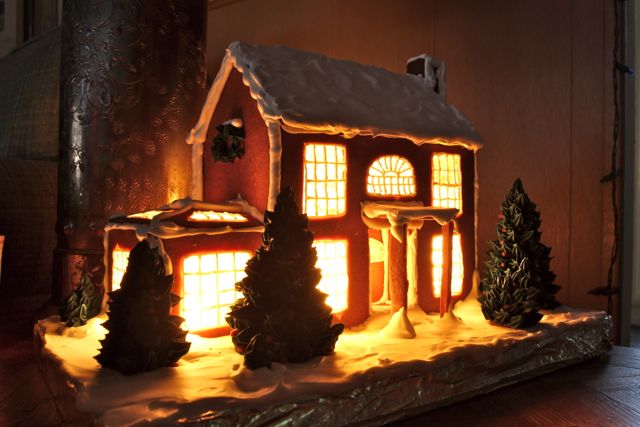
Cue my wife Erin’s first attempt at a gingerbread house (above). Pretty good, huh? The heat from the incandescent fairy lights has kept it from turning mushy, and nicely spiced up the room at the same time. The house is only eight inches tall, but prompts the obvious question: “How high can you build with gingerbread?”
A structural analysis of a full-on house with walls, windows and doors is too tall an order, even with finite element techniques, so I settled on calculating a ballpark maximum height based on standard engineering equations for a free-standing gingerbread column.
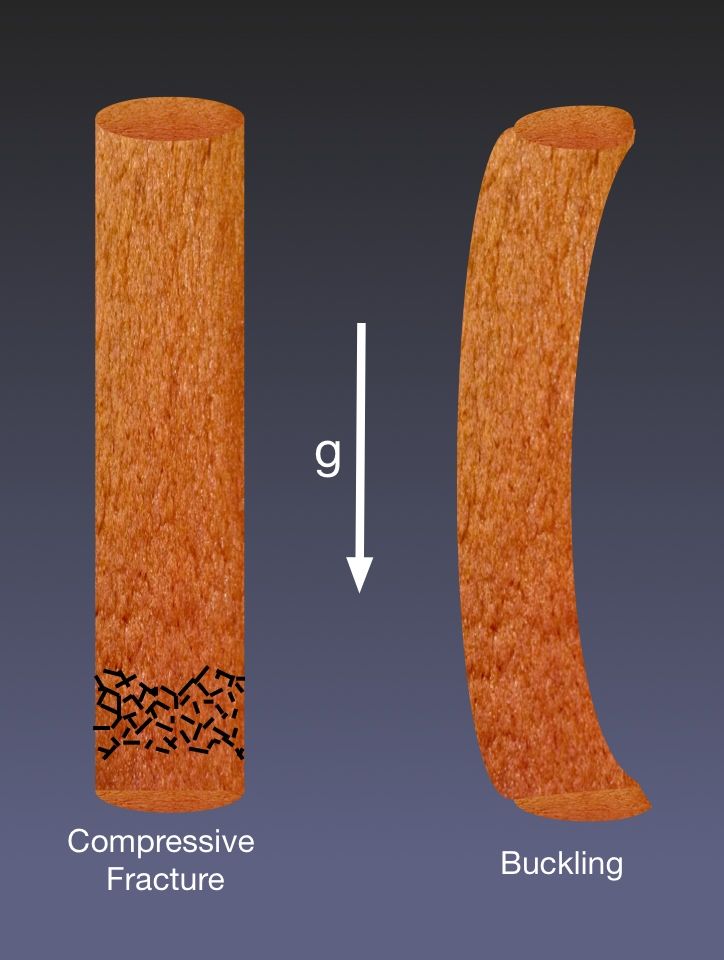
There’s no wind blowing through our lounge, so we can ignore sideways forces and focus on the two likely failure modes a column of gingerbread might suffer – just because of its own weight as it gets taller, i.e.:
(a) the construction materials can disintegrate under their own weight: a function of compressive strength, or
(b) the column can buckle, which is more related to the material’s elastic, or tensile properties.
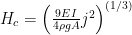
The heights at which these two failures occur can be found from, respectively:
where =column height at compressive failure (m), is the failure pressure (N/m2) = compressive strength of the gingerbread, g=gravity (9.8 ms-2), and is gingerbread density (kg m-3). And for buckling: is the critical height, E is Young’s Modulus of elasticity calculated as tensile stress/strain, I is the Area Moment of Inertia3, and is a factor called a Bessel function, used to solve this type of equation (Ref.2)
Using published gingerbread properties data1 (amazingly, there actually are some) for compressive strength and tensile stress/strain, I calculated values of:
(Workings in box below if you’re interested.)
which essentially means a gingerbread column will start to lean over and buckle sideways long before the gingerbread breaks up through compression under its own weight (I used an arbitrary but realistic 20 cm column diameter). You might think there’s no reason why a uniform, vertical, column would start to lean, but in real life the weight distribution is never uniform and, if the column is sufficiently slim, a turning moment will establish and drive a progressive buckle.
So if you’re going to build a gingerbread house out of free-standing columns, better stop at 3 metres.
Buckling is clearly the limiting factor, but the 3 metre figure is based on a relatively small 0.2m column diameter, and buckling is particularly sensitive to cross-sectional area (whereas compressive fracture of a column under its own weight is independent of area). Also, most real buildings are more complex than a bunch of pillars, and I’d expect the right combination of interconnecting members building up from a broad foundation could reduce buckling potential, making a full-size gingerbread house a reality.
Photo Brian Moen via Flickr
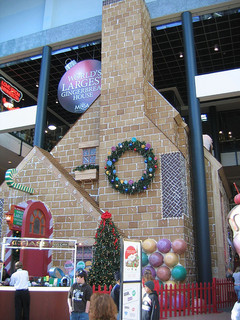
Indeed, the Guinness Book of Records ‘Worlds largest gingerbread house’ is 18.28m (60ft) on a 13.86m by 10.8m base; but closer inspection shows it’s built around a steel frame that presumably keeps incipient buckling in check. But then it’s more of a gingerbread and steel house – a bit of a con really.
Anyhow, our room’s about 3 metres high, so nothing stopping a more ambitious project next year: Empire State Building or Cathédrale Notre Dame ?
Workings
Note that for compressive failure of a column under its own weight, the area of the column A (m2) cancels and isn’t relevant: i.e so, and as above.
I couldn’t measure my own gingerbread density easily (although it for sure floated in water, so < 1000 kg m-3), and used a middle value of 700 kg m-3 from this unlikely study by students at the University of British Columbia (UBC)1. In addition to the UBC data for of 346 kPa, I measured my own value for by pressing a sample (squirrel-shaped in this case, but taking the narrowest foot area as 1*10-4m2) vertically downwards onto a balance and recording when it crumbles.Still intact when the balance read 6kg, I took my to be at least 6 * 9.8 / 1*10-4, or 588 * 103 N/m2 (588 kpascal kPa). In fact, for compressive strength, my numbers and the published data are conservative, as in neither case did the gingerbread actually fail at these values. So:
(UBC data)
(my gingerbread)
Whether it buckles first, at a lower height, depends on the elasticity of the gingerbread and the slenderness of the column: i.e. the ratio of column area to length.
The height at which buckling occurs can be found from Cox & McCarthy2:
where is the critical height for buckling, E is Young’s Modulus of elasticity calculated as tensile stress/strain, and I is the Area Moment of Inertia3.
To calculate , I chose an arbitrary column diameter of 20 cm diameter, and used stress/strain data from the Canadian study1 to calculate E = 9790 kPa; i.e. 219/0.02237 (the change in dimensions of my squirrel under tension are too small to measure with the kit I have).
The Area Moment of Inertia for a circular cross-section , which for a 0.2m dia. column gives . And (, is the appropriate Bessel function of order -1/3 (Ref.2) Note: in the source equation, weight density is specified; hence g added here.) So:
A more complex structure would best be assessed computationally using finite element analysis, but I’m not getting into that.
References
1. ‘Building with gingerbread: Engineering students put holiday delight to the test’ refers to ‘Structural Analysis of Gingerbread. Engineering Design Project Term 2’ by Mercedes Duifhuis and Sean Heisler (pdf)
2. The Shape of the Tallest Column. Steven J.Cox, C.Maeve McCarthy, Society for Industrial and Applied Mathematics. Vol29,No.3. pp.547-554. (Also see Wikipedia page on buckling.)
3. Engineering Fundamentals efunda.com/math)
This website uses cookies to improve your experience while you navigate through the website. Out of these, the cookies that are categorized as necessary are stored on your browser as they are essential for the working of basic functionalities of the website. We also use third-party cookies that help us analyze and understand how you use this website. These cookies will be stored in your browser only with your consent. You also have the option to opt-out of these cookies. But opting out of some of these cookies may affect your browsing experience.
Necessary cookies are absolutely essential for the website to function properly. This category only includes cookies that ensures basic functionalities and security features of the website. These cookies do not store any personal information.
Any cookies that may not be particularly necessary for the website to function and is used specifically to collect user personal data via analytics, ads, other embedded contents are termed as non-necessary cookies. It is mandatory to procure user consent prior to running these cookies on your website.











 =column height at compressive failure (m),
  is the failure pressure (N/m2) = compressive strength of the gingerbread, g=gravity (9.8 ms-2), and
  is gingerbread density (kg m-3). And for buckling:
  is the critical height, E is Young’s Modulus of elasticity calculated as tensile stress/strain, I is the Area Moment of Inertia3, and
  is a factor called a Bessel function, used to solve this type of equation (Ref.2)

 so,
so,  and
and 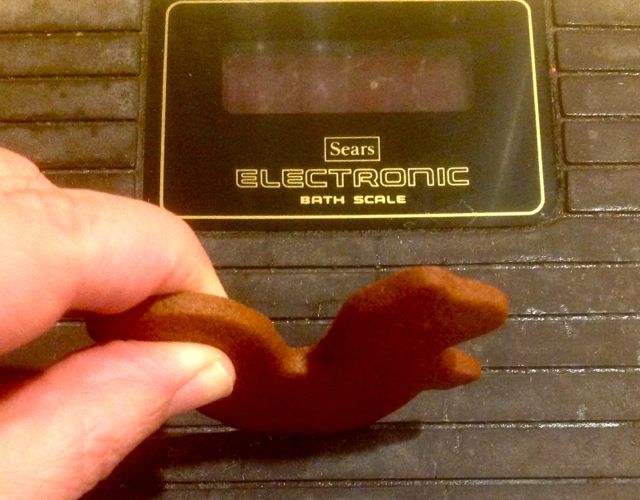
 (UBC data)
 (my gingerbread)
 , I chose an arbitrary column diameter of 20 cm diameter, and used stress/strain data from the Canadian study1 to calculate E = 9790 kPa; i.e. 219/0.02237 (the change in dimensions of my squirrel under tension are too small to measure with the kit I have).
 , which for a 0.2m dia. column gives
  . And (
